15 Christmas Village Display Ideas for a Magical Miniature Town
Introduction
Christmas village display ideas start with a simple truth: a village is not a row of houses, it is a small town. The houses need streets, the streets need people, and the whole scene needs height — tall buildings at the back, small cottages in front — so every piece can be seen.
The tradition is older than most people think. It traces back to the Moravian putz displays of the late 1700s, and the modern version began in 1976, when Department 56 introduced six hand-painted ceramic buildings — the first Original Snow Village. Our Christmas living room decor ideas guide shows where a village fits in a full room.
1. Start with One Theme — Classic Christmas Village Display Ideas
A theme is the first decision, and it saves you from a shelf of random houses that never look like a town. Pick one: a classic snowy small town, a Victorian street with gas lamps and carolers, an Alpine village with chalets, or a North Pole workshop with elves and reindeer. One theme, and every new piece you buy has to fit it.
A theme also makes shopping easier. Department 56 and Lemax sell whole collections built around a theme. Hallmark’s guide to Christmas village display ideas walks through the same themes — snowy town, North Pole, gingerbread, and vintage — with theme ideas.
2. Build in Tiers — Risers Are the Secret
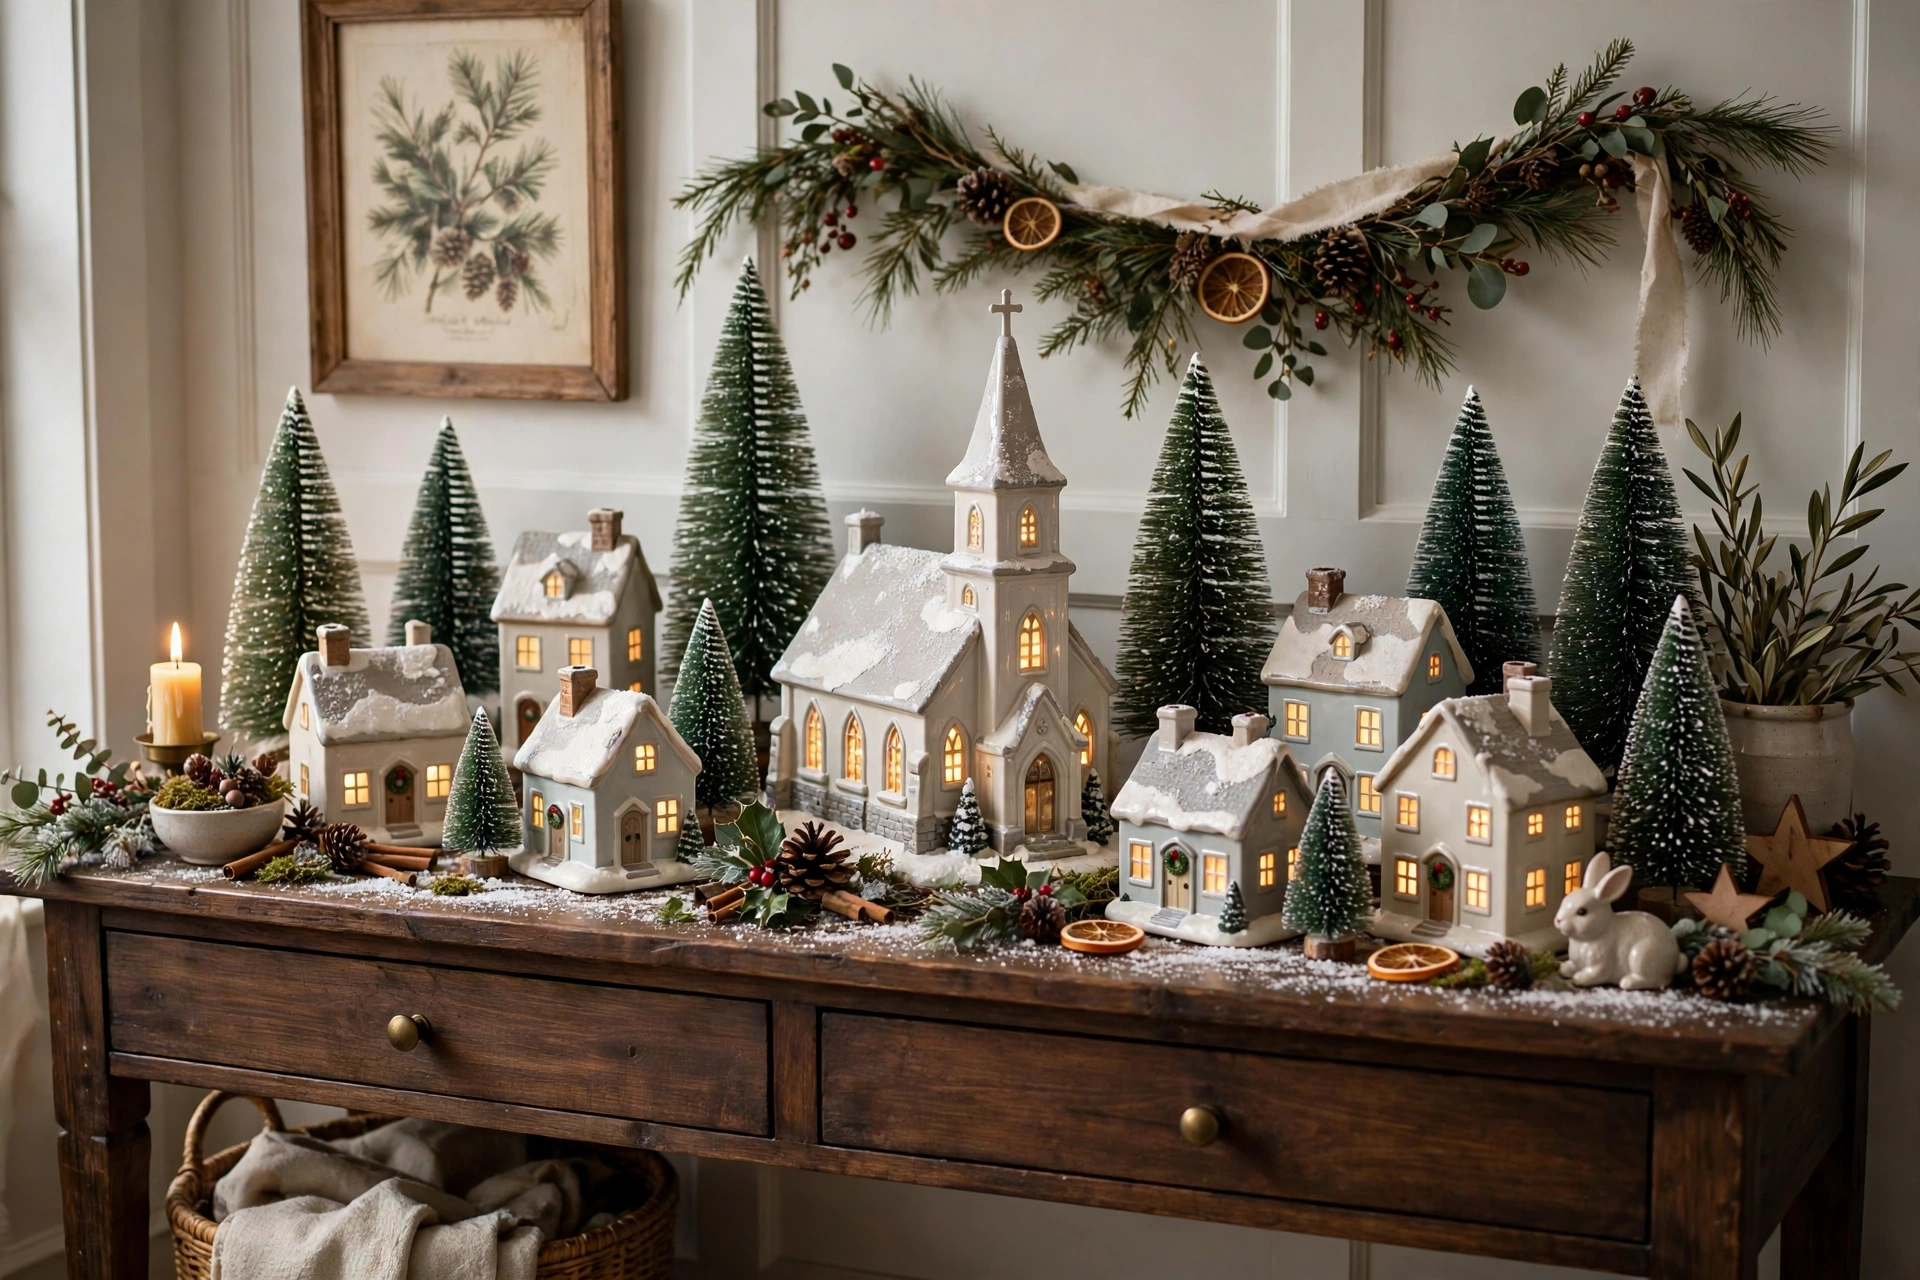
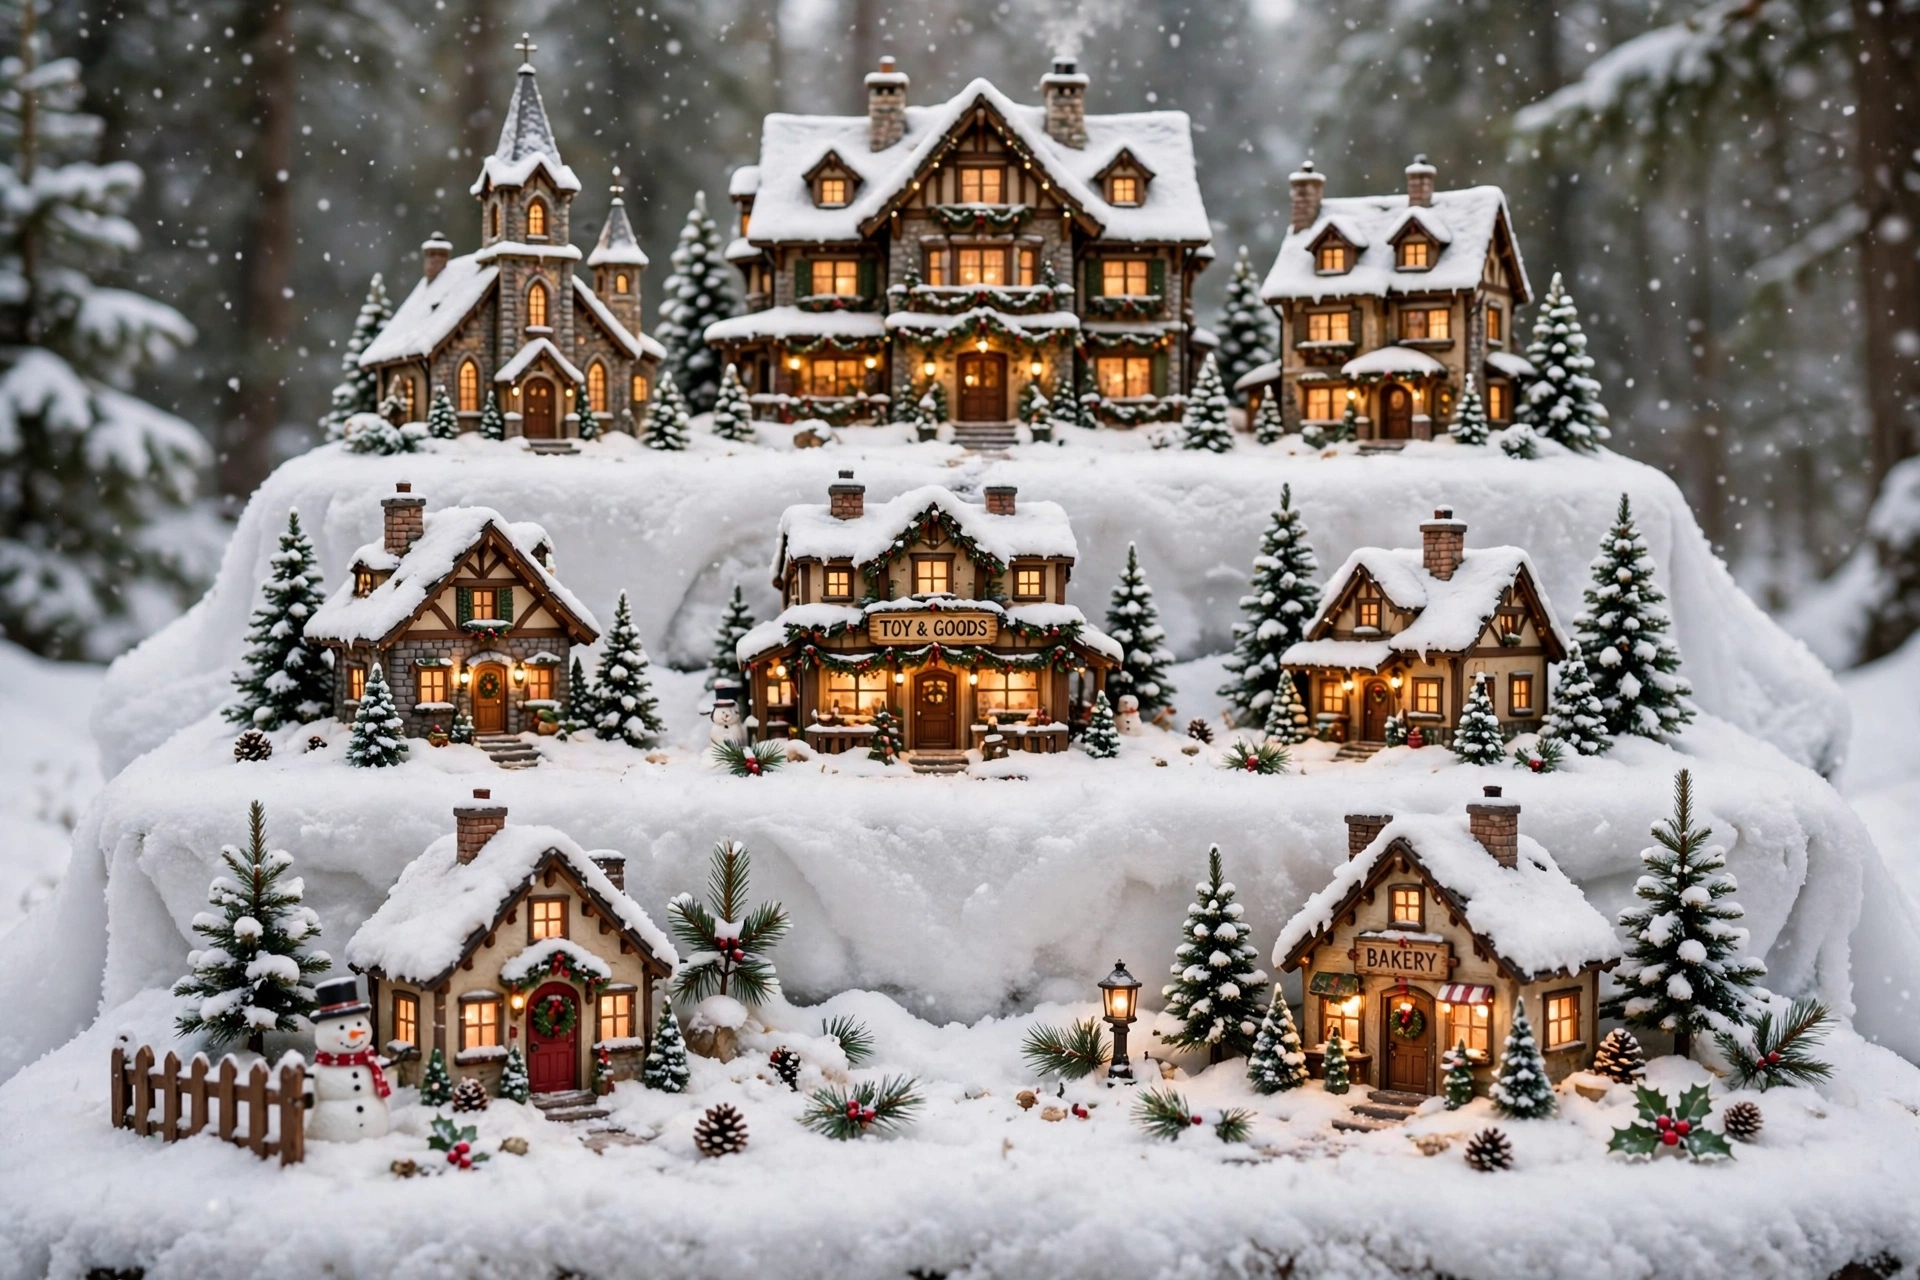
Flat is the enemy of a village. On a flat table, the front row hides everything behind it, and half your collection disappears. Build in tiers: stack sturdy boxes, books, or foam blocks under a snow blanket so the back row sits two to four inches higher than the row in front.
Cover the risers with a white snow blanket or white batting so no cardboard shows, and let the blanket drape over the edges like a hillside. Cake stands, spice racks, and upside-down bins all work as risers. Three tiers are enough: back row tall, middle row medium, front row low.
3. Put the Tallest Buildings at the Back — Christmas Village Display Ideas for Depth
Depth is what makes a village look like a real place instead of a shelf of houses. Place the tallest buildings — the church, the inn, the town hall — at the back or on the highest tier, and bring the shorter cottages and shops forward. Every roofline should be visible from the front.
Leave gaps between the buildings, too. A town has space between its houses: a yard, a garden, a side street. Leave a finger-width gap and a bottle-brush tree, and it looks like a street.
4. A Village Under the Tree
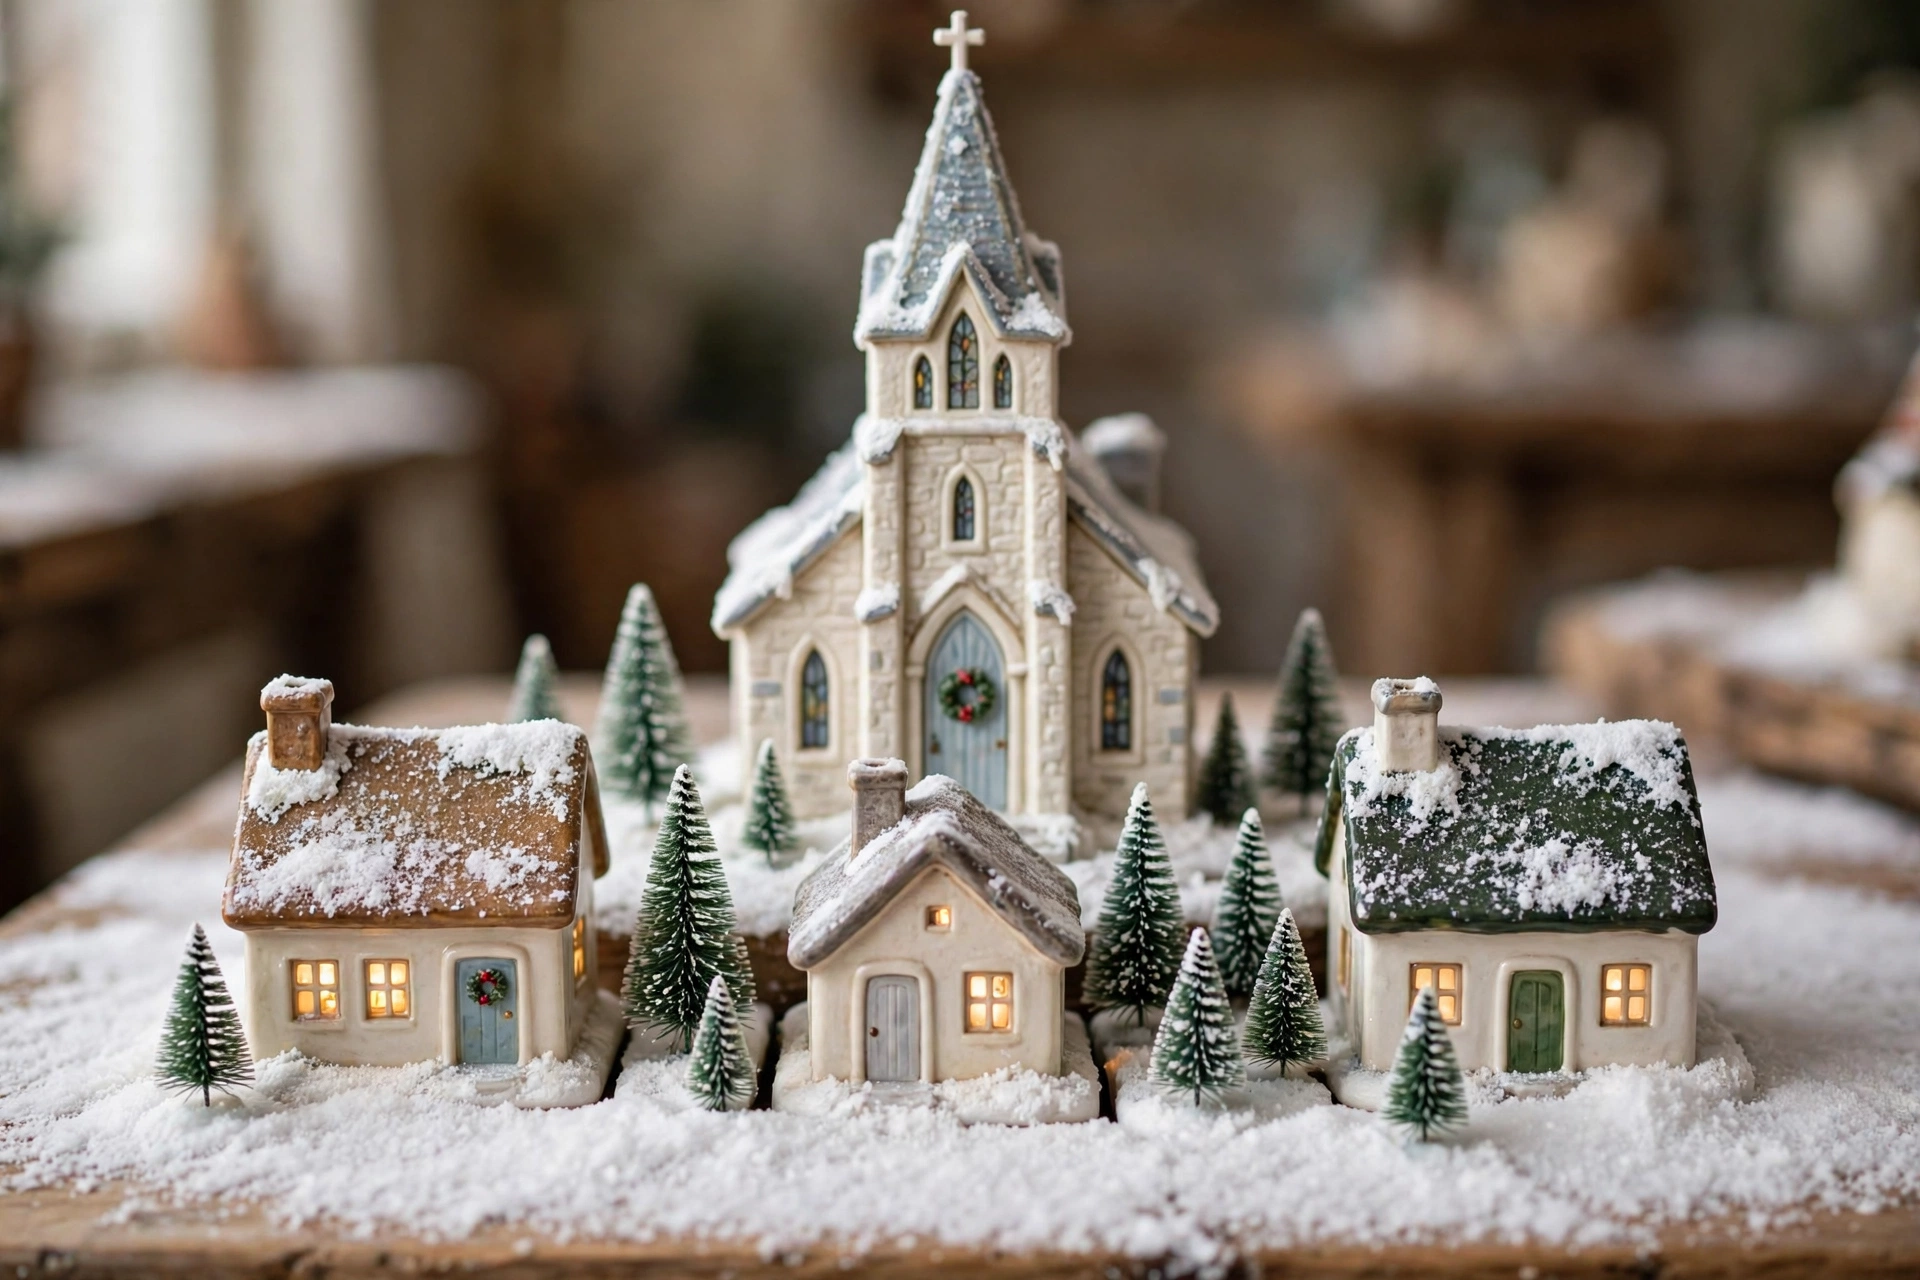
The space under the Christmas tree is the classic village spot — it is already the center of the room, and the tree’s lights spill down onto the little town. Lay a white tree skirt as the ground, set the houses in a ring around the trunk, and leave a gap at the front.
Keep the village low here: the tree takes the height, so the houses should stay small and the tallest piece no higher than your knee. Our Christmas tree themes 2026 guide shows how the village and the tree’s theme can match, so the town under the tree looks like it belongs there.
5. The Mantel Village — Christmas Village Display Ideas for Small Spaces
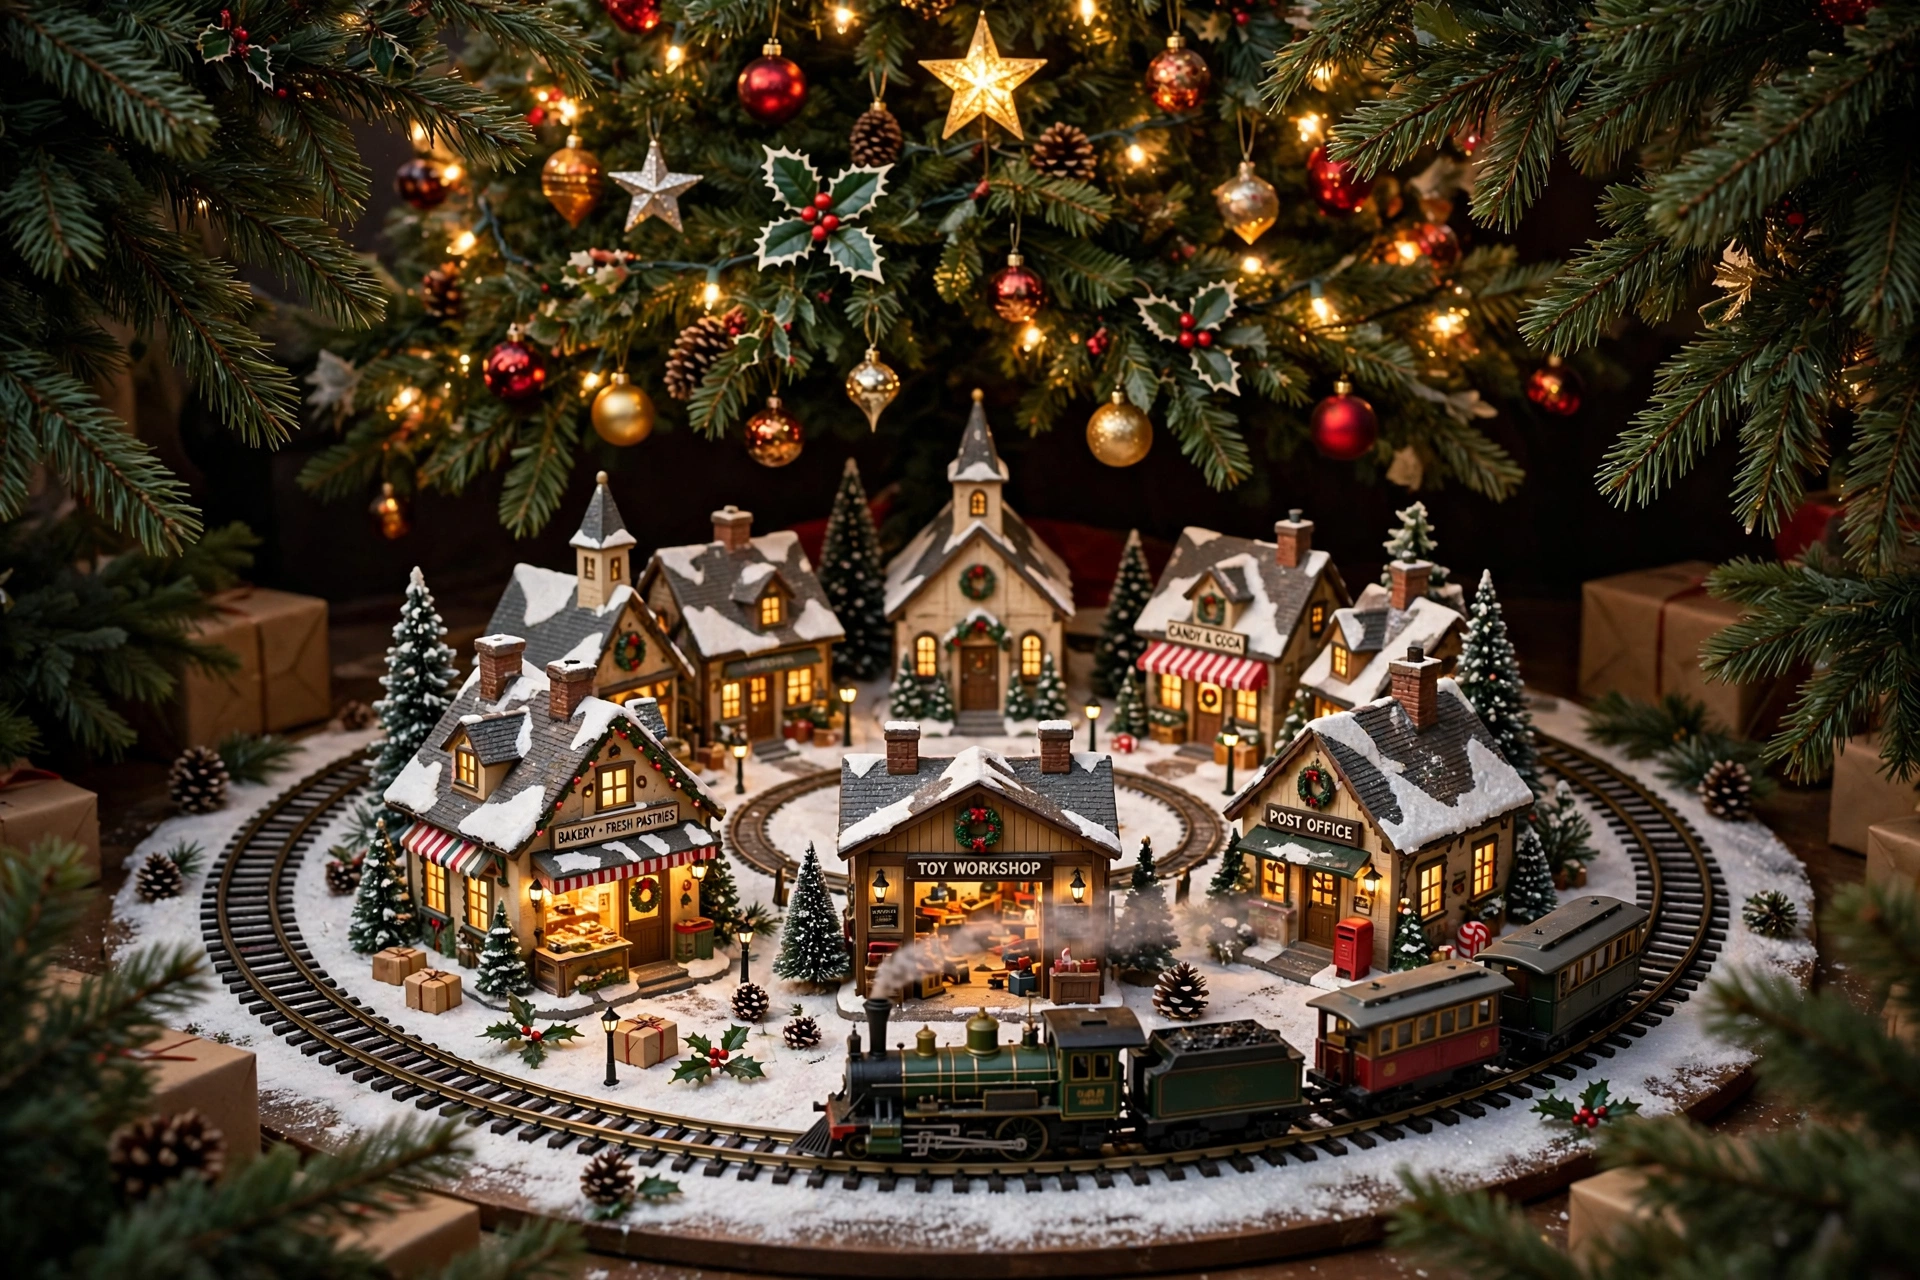
A mantel is the best small-space village spot: it is already at eye level, it is narrow enough to force a simple layout, and the fireplace below makes the whole scene glow. Three to five houses are enough — a church at one end, two shops in the middle, a cottage at the other — with bottle-brush trees filling the gaps.
Keep every piece shallow and stable, because a mantel is narrow and a bump can send a ceramic house to the floor. Battery lights beat cords here, and a thin snow blanket keeps pieces from sliding. Our Christmas mantel decor ideas guide shows how a village shares the mantel with garland and stockings without crowding either one.

6. Light Every Window
A village without light is just a row of ceramic houses. Light is what makes it magical after dark: warm white lights inside the houses, tiny street lamps along the roads, and a soft glow from the church windows. Battery-powered lights are the easiest choice — no cords, no outlet, and a timer that switches them on at dusk.
Hide the cords you cannot avoid. Run them along the back of the risers, tape them down with clear adhesive clips, and let the snow blanket cover the rest. One power strip behind the display runs the whole town.
7. A Church or Landmark in the Center — Christmas Village Display Ideas with a Focal Point
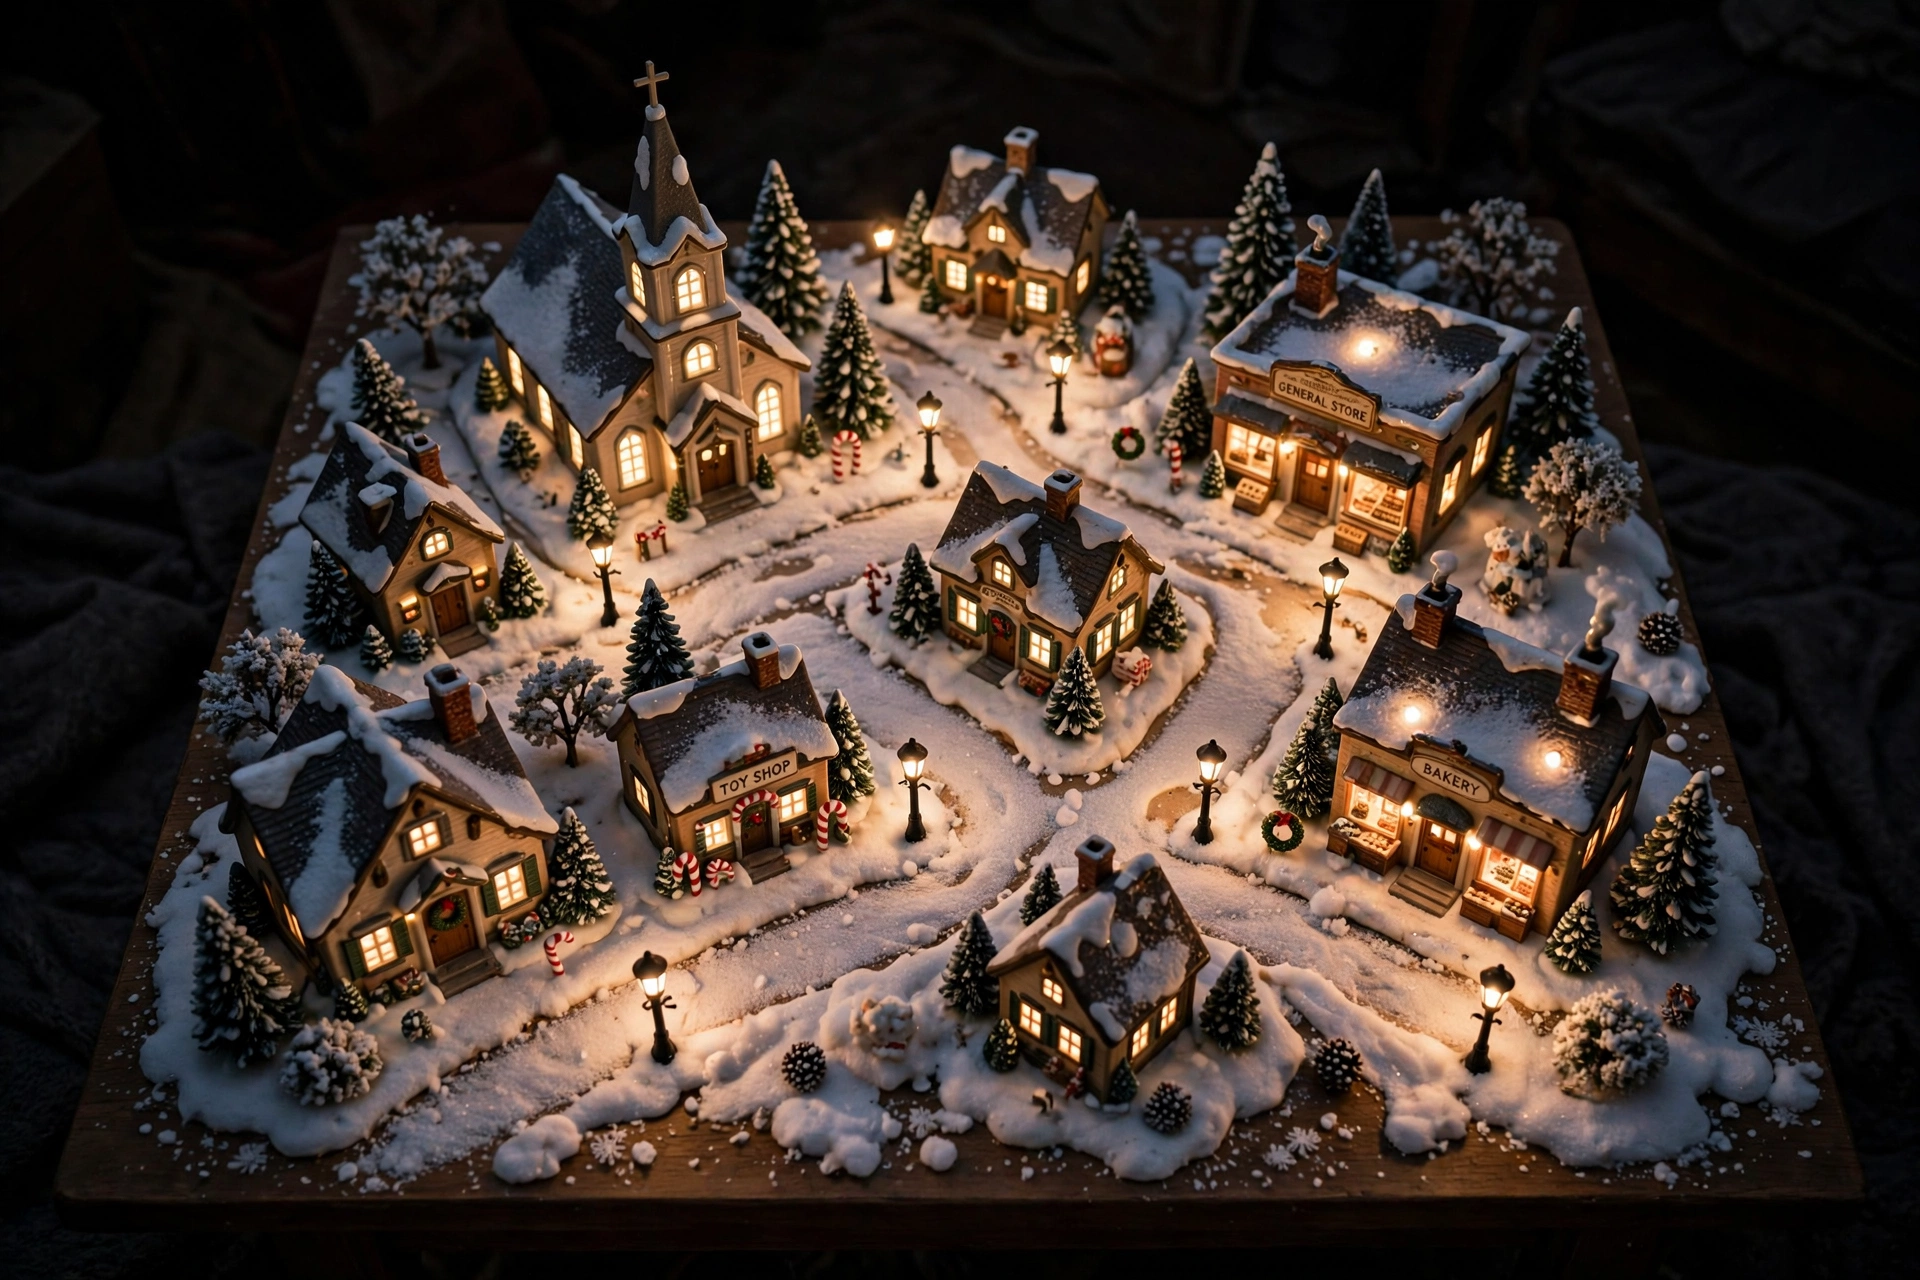
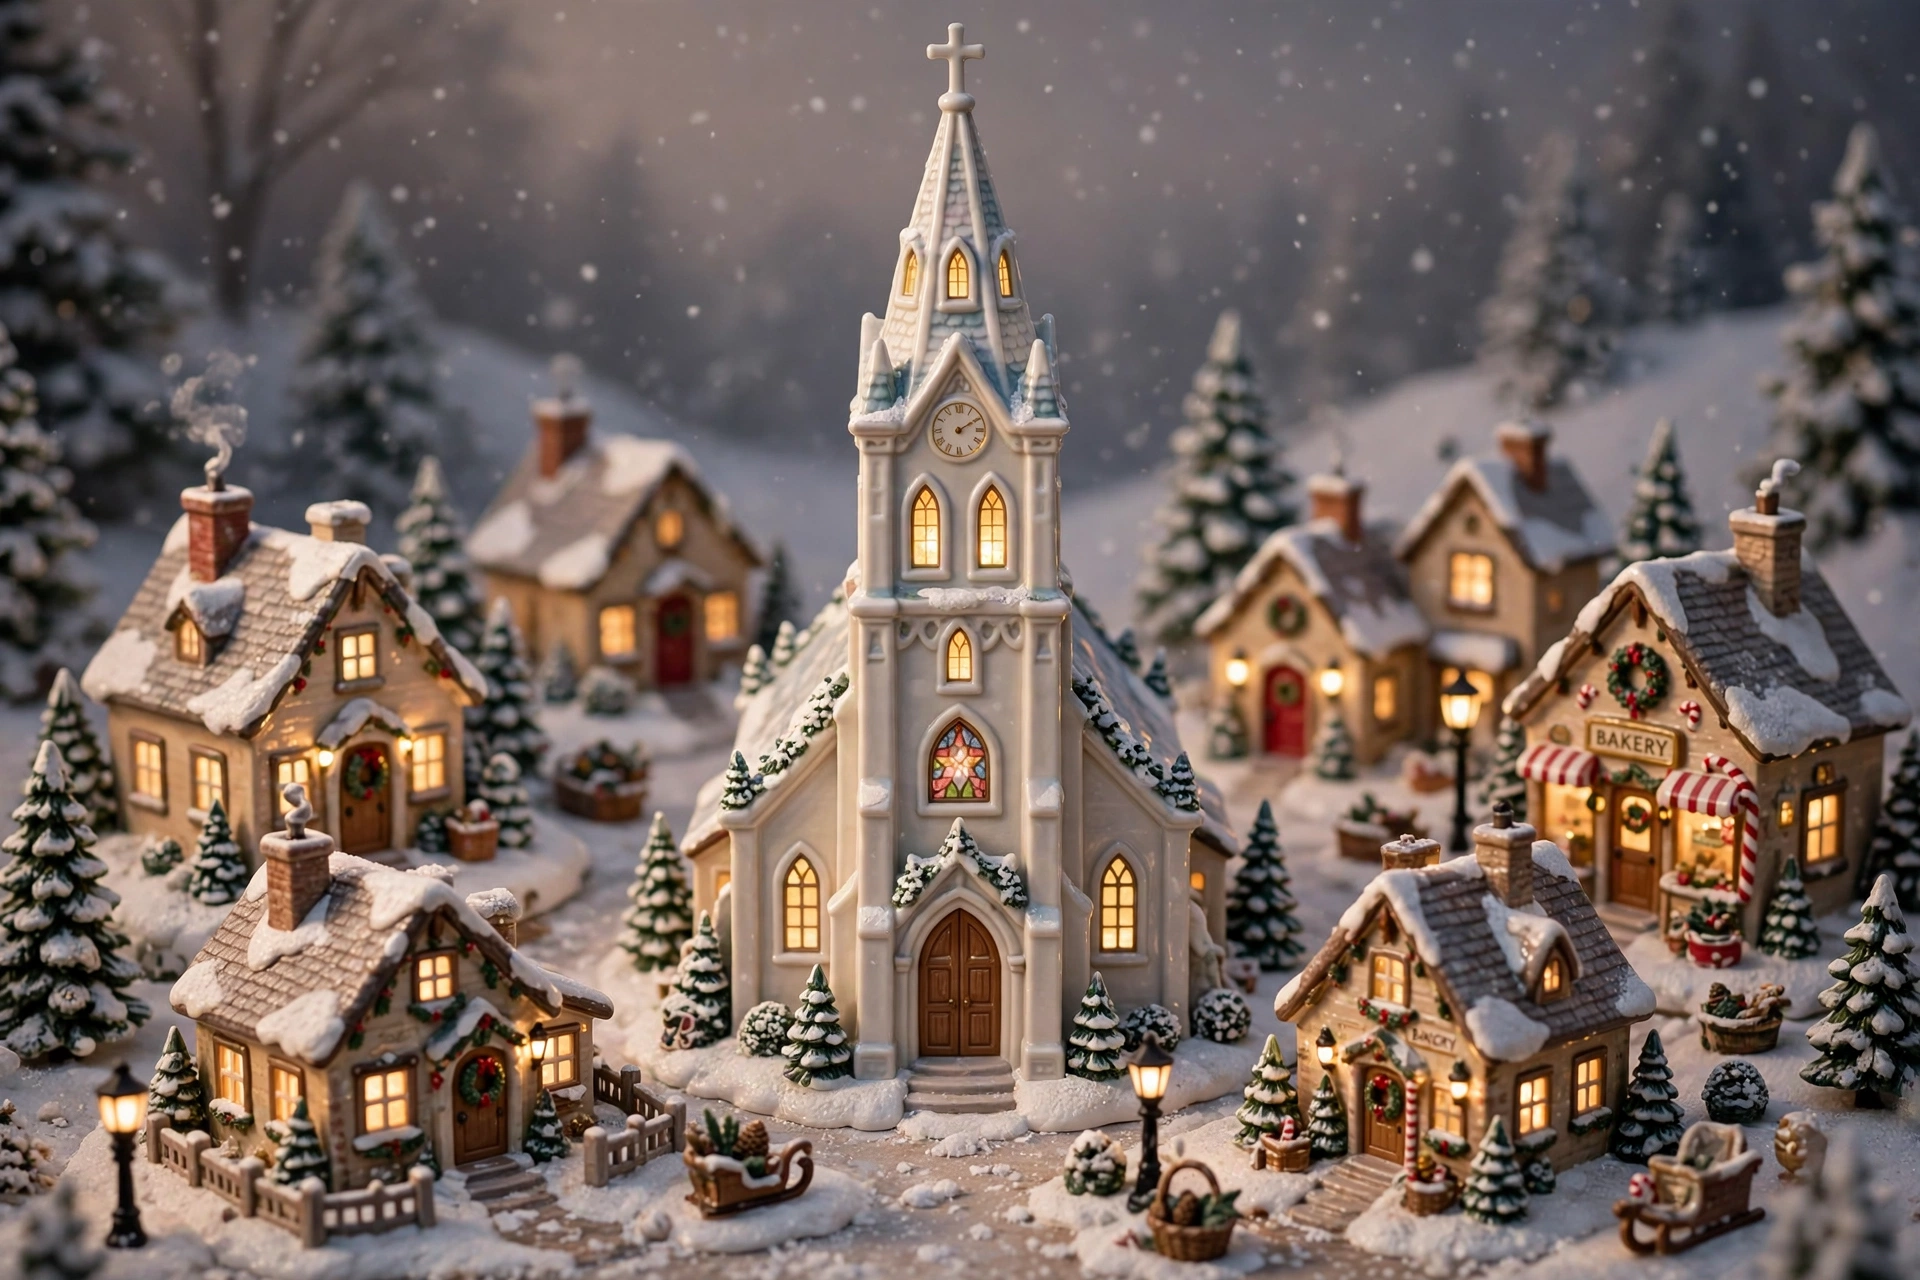
Every real town has a landmark, and every village needs one. A church with a steeple, a town hall with a clock, or a covered bridge gives the eye a place to land and the town a center. Put it on the highest tier and build the rest of the village around it.
The landmark also sets the scale. Once the church is placed, every other building should look right next to it — if a cottage towers over the church, the scale is wrong and the scene looks off.
8. Roads, Paths, and a Skating Pond
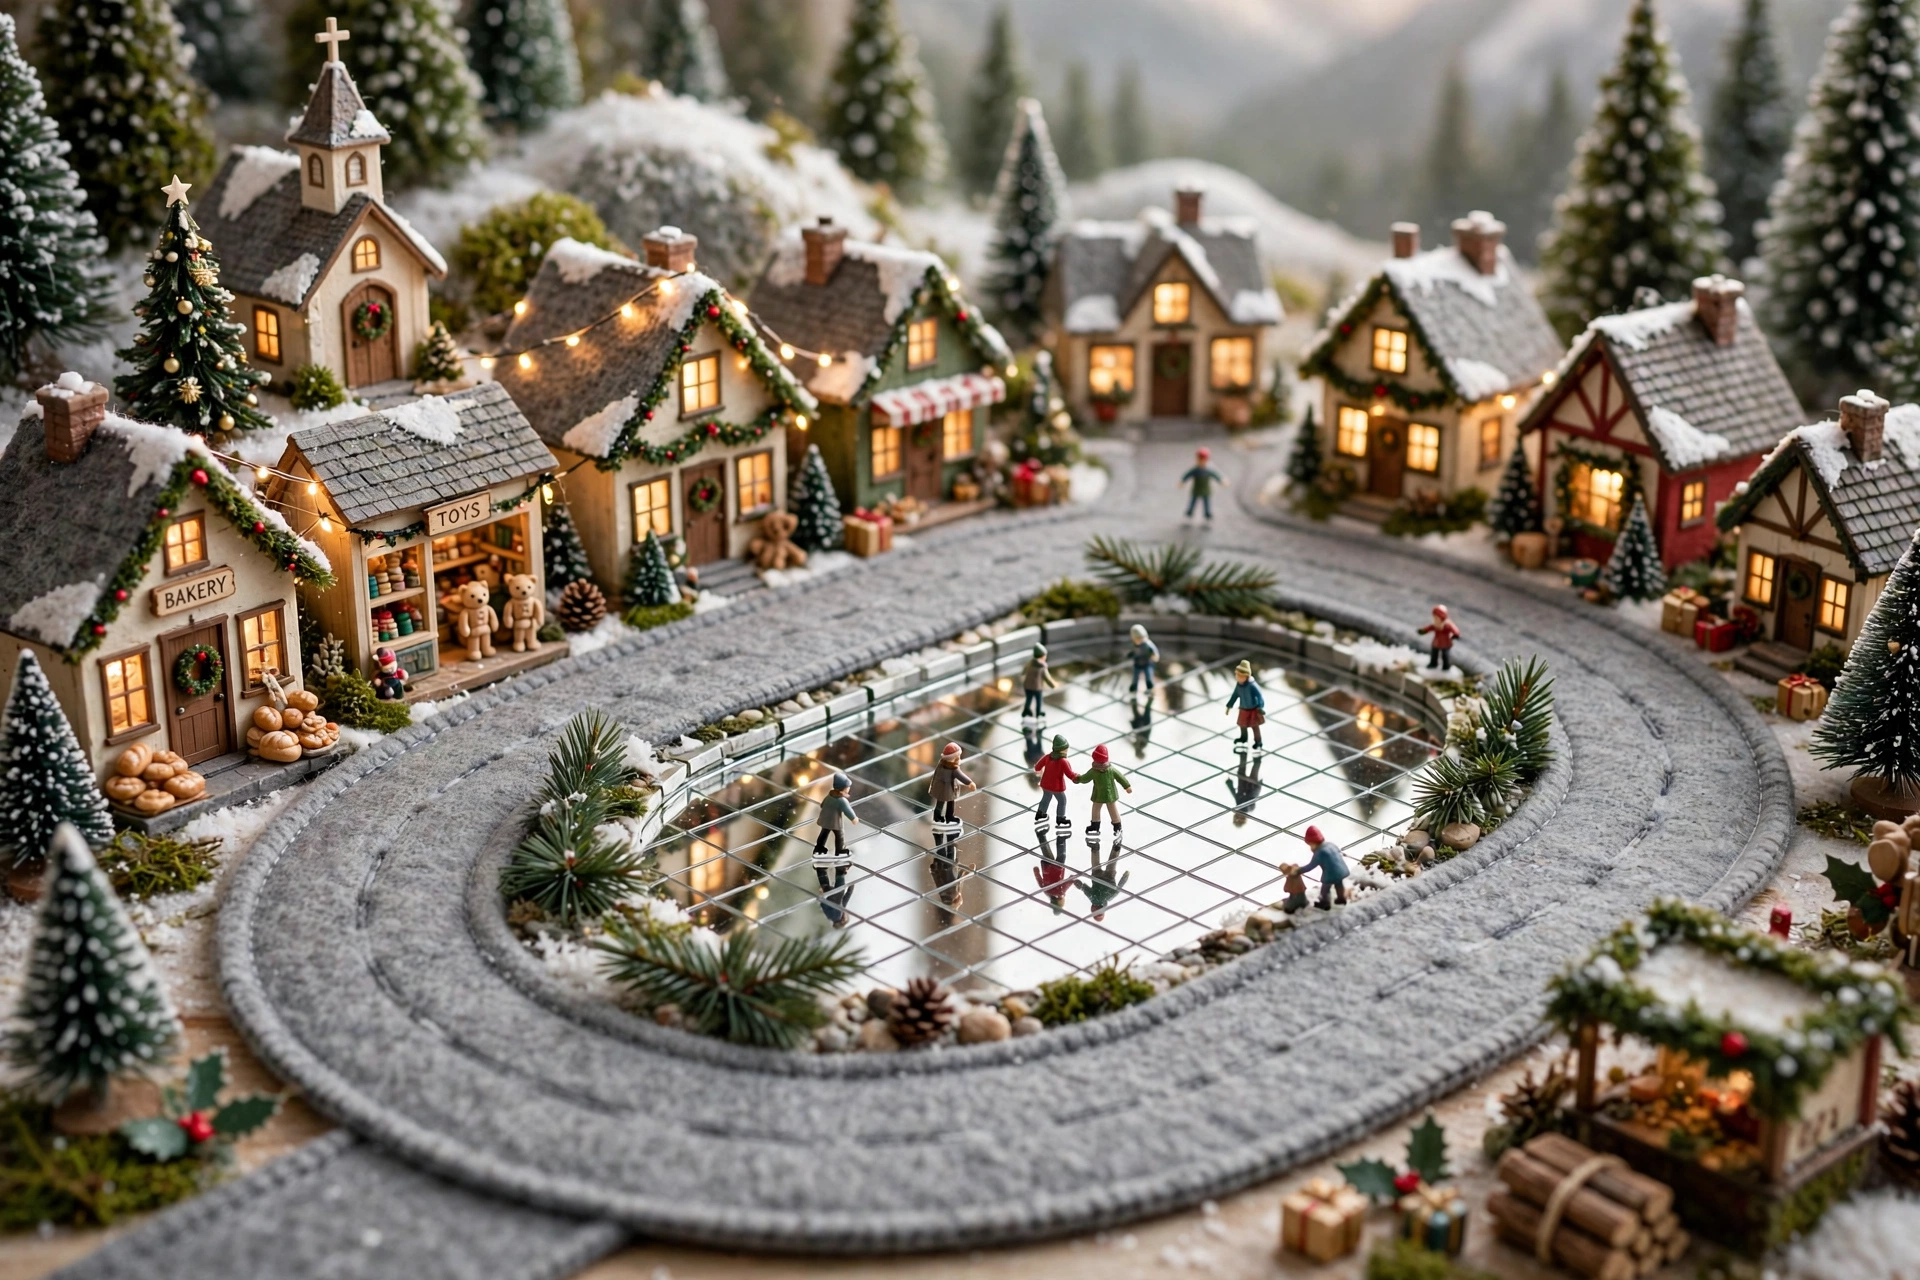
Streets are what turn houses into a town. Lay a road through the middle of the village — a strip of gray felt, a printed village road mat, or a path of flat stones — and set the houses facing it, the way real houses face a street. A road gives the figurines somewhere to walk and the eye somewhere to follow.
Add one special feature along the road: a skating pond made from a mirror tile or a piece of blue cellophane, or a town square with a Christmas tree in the middle. One feature is enough — two ponds, a square, and a fountain, and the village looks like a theme park.
9. Bottle-Brush Trees in Odd Numbers — Simple Christmas Village Display Ideas
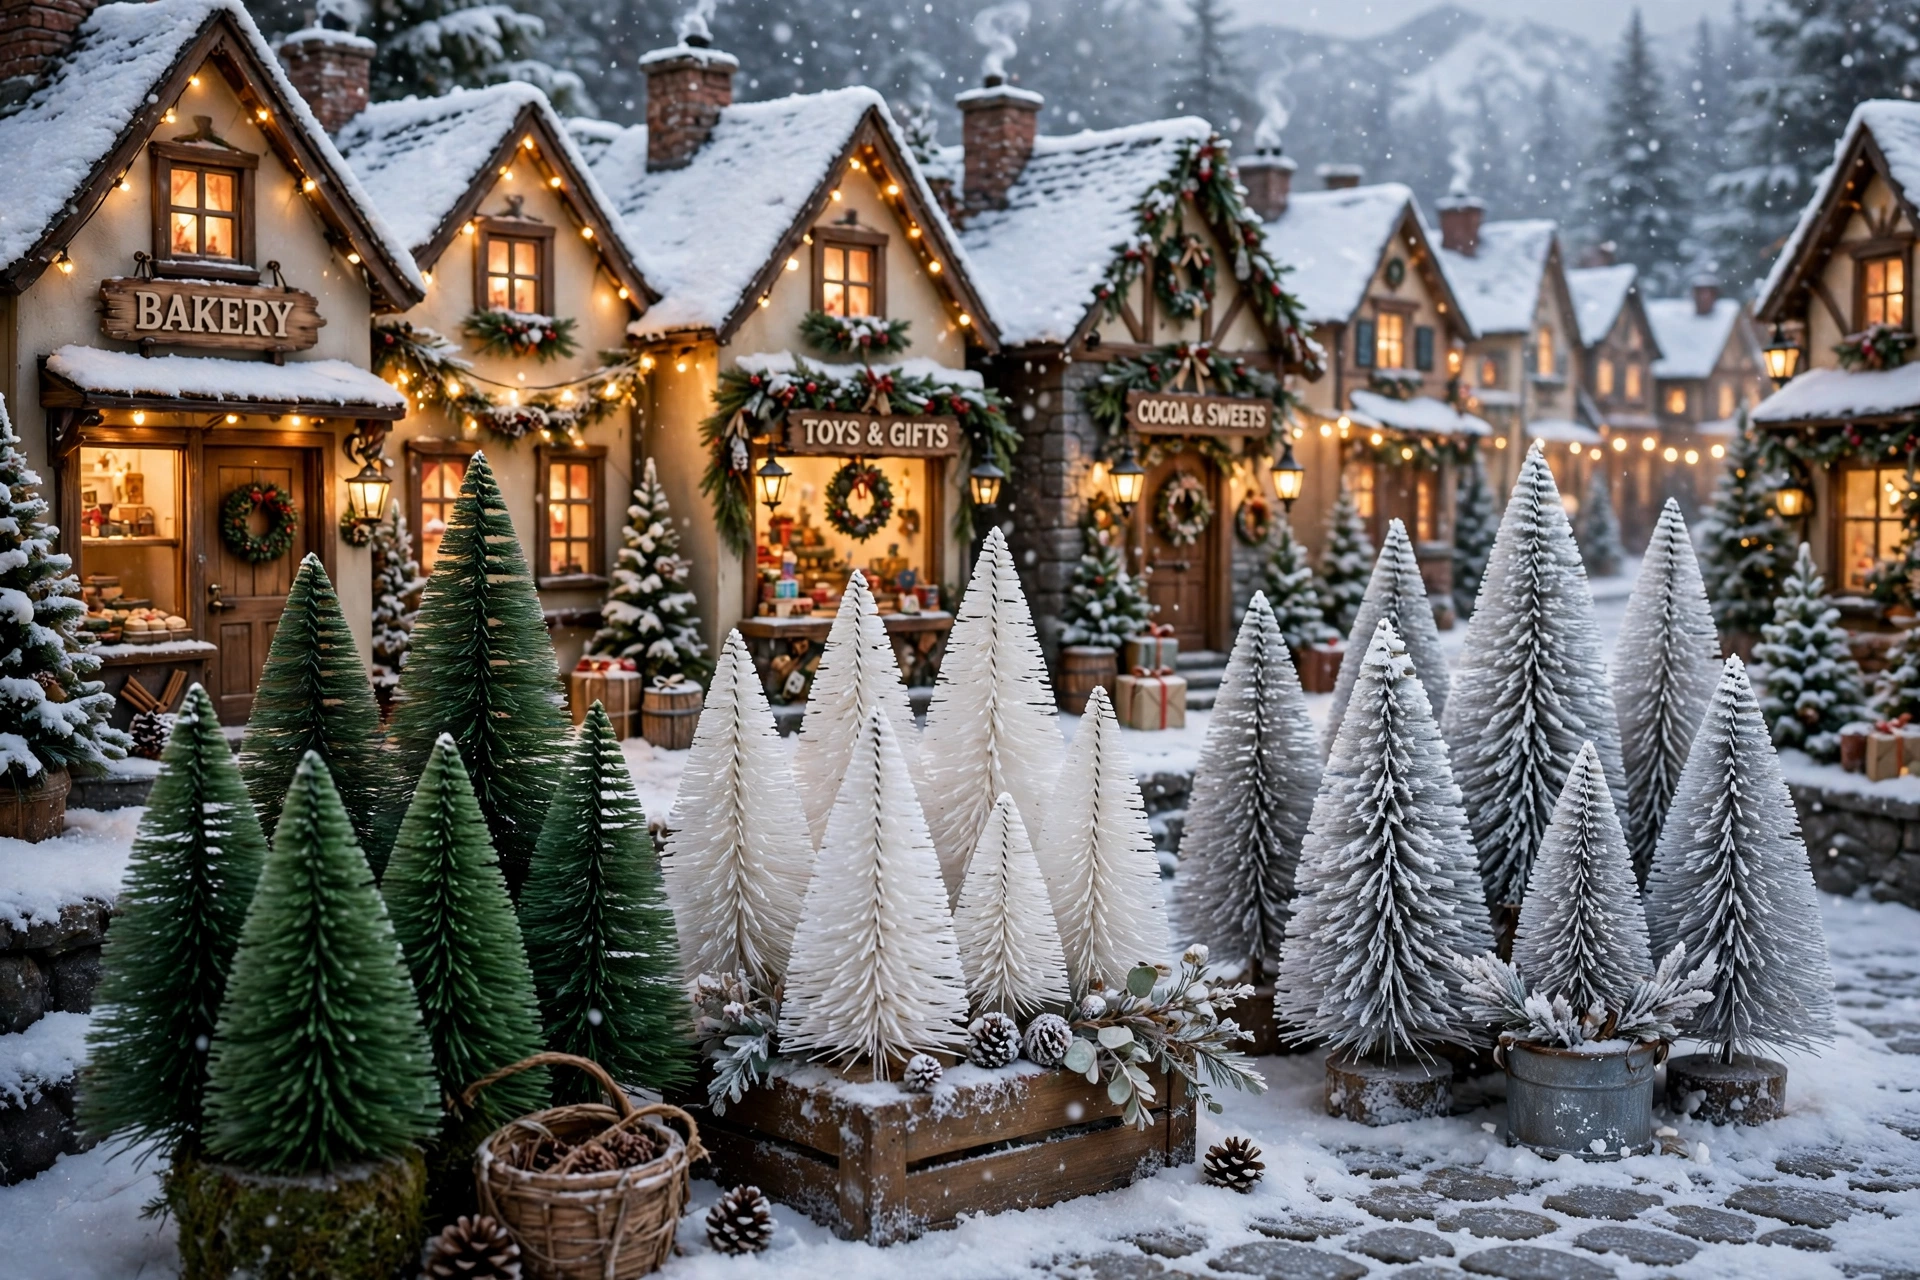
Bottle-brush trees are the cheapest scenery a village owns, and the rule for placing them is simple: odd numbers, in clusters. Three trees together look like a little wood; two trees look like a pair of bookends. Cluster three or five between houses, along the road, and at the corners, and vary their heights.
Mix the greens, too. A plain green tree, a frosted white one, and one dusted with fake snow, all in the same cluster, look like a real hillside. Keep the trees shorter than the houses beside them, or the trees become the display.
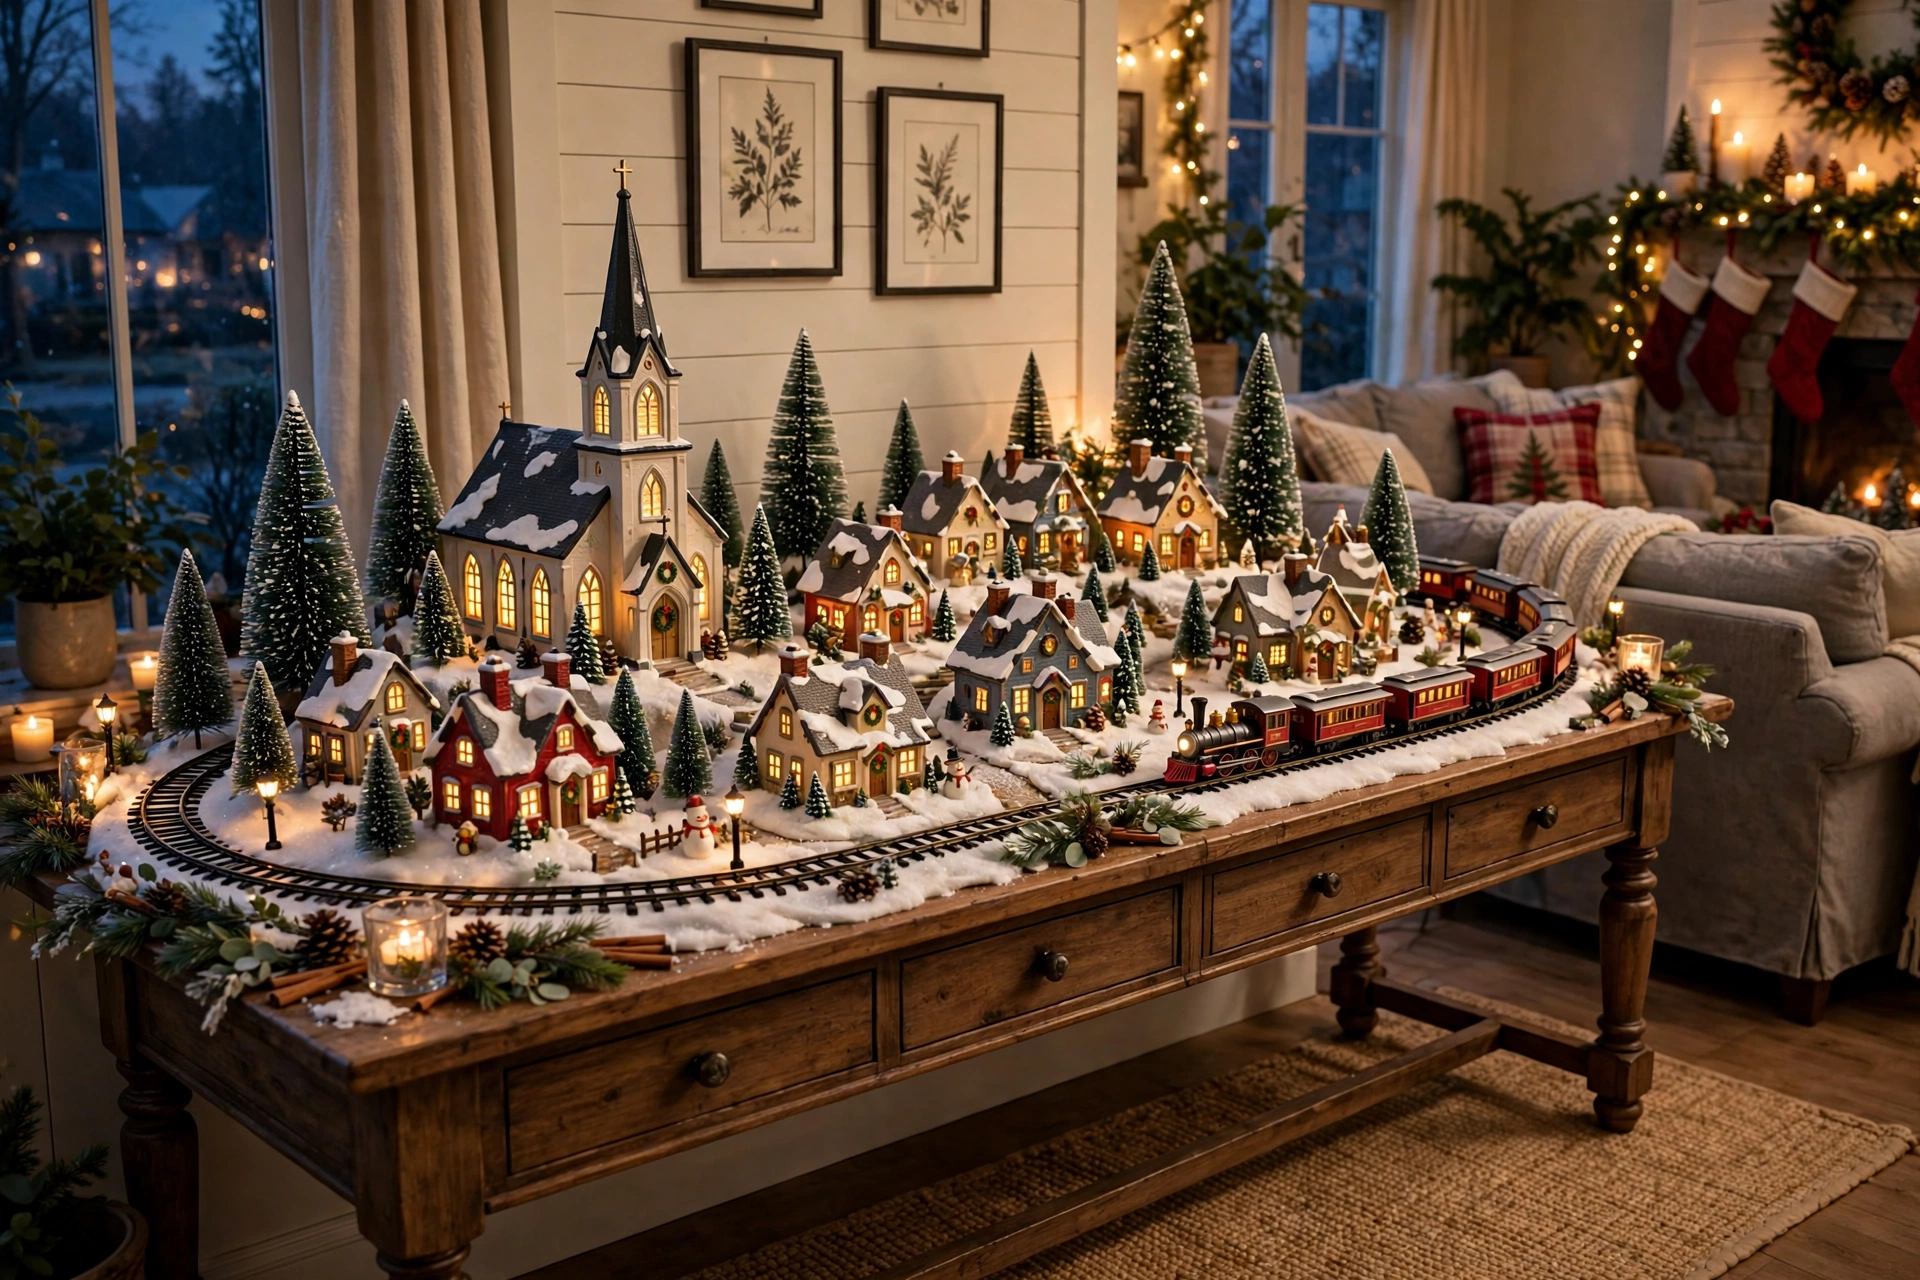
10. A Miniature Train Circling the Town — Christmas Village Display Ideas That Move
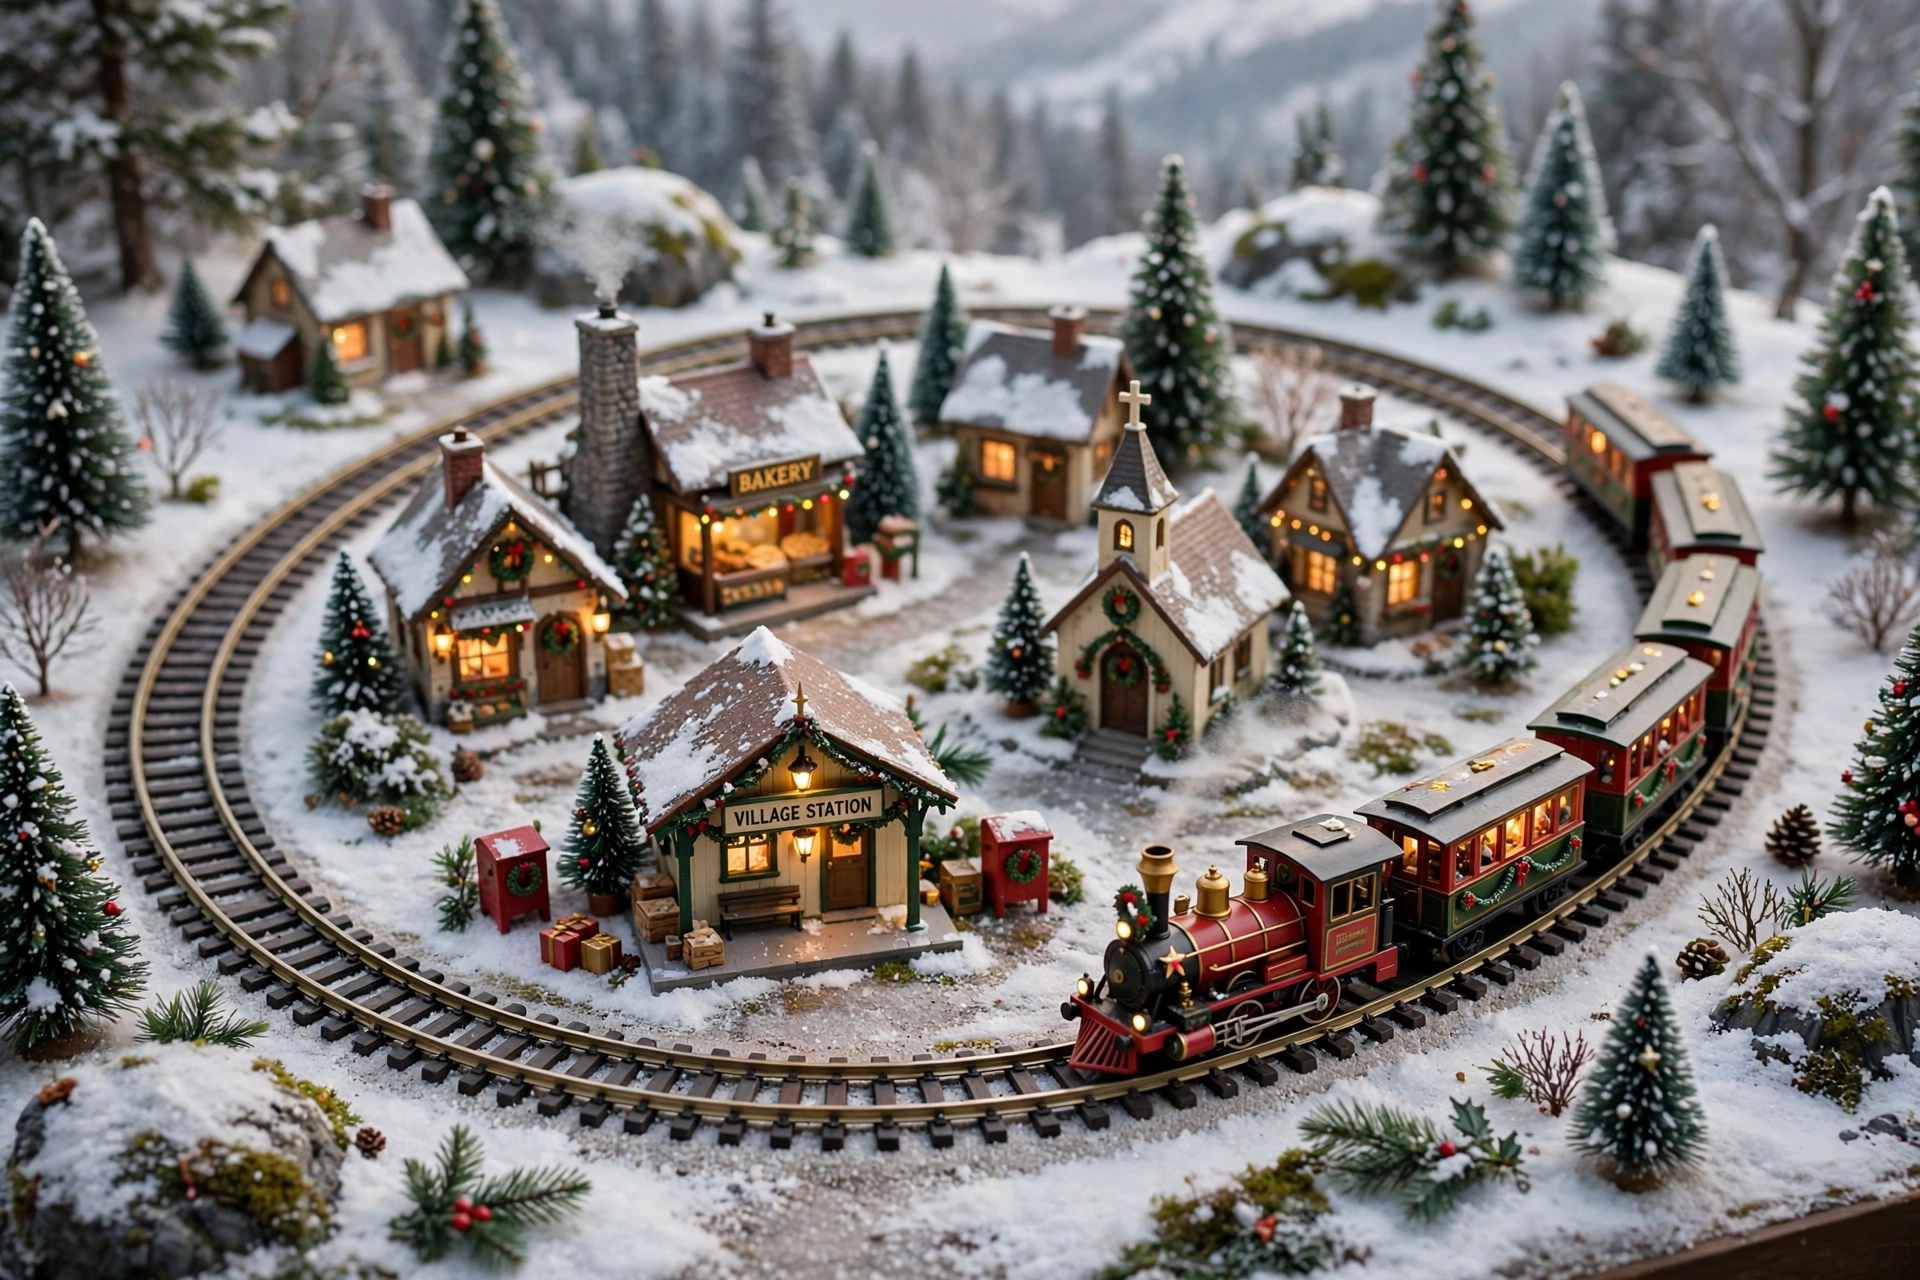
A train is the one moving part a village can have, and it changes the whole display from a scene into a show. A simple oval of track around the base, with a small engine and two or three cars, is enough — the train does not need to be big, it needs to move. Battery-powered sets are the easiest to start with.
Lay the track first, then build the town inside the oval, with a tiny station where the track passes the houses.
11. Figurines That Tell a Story
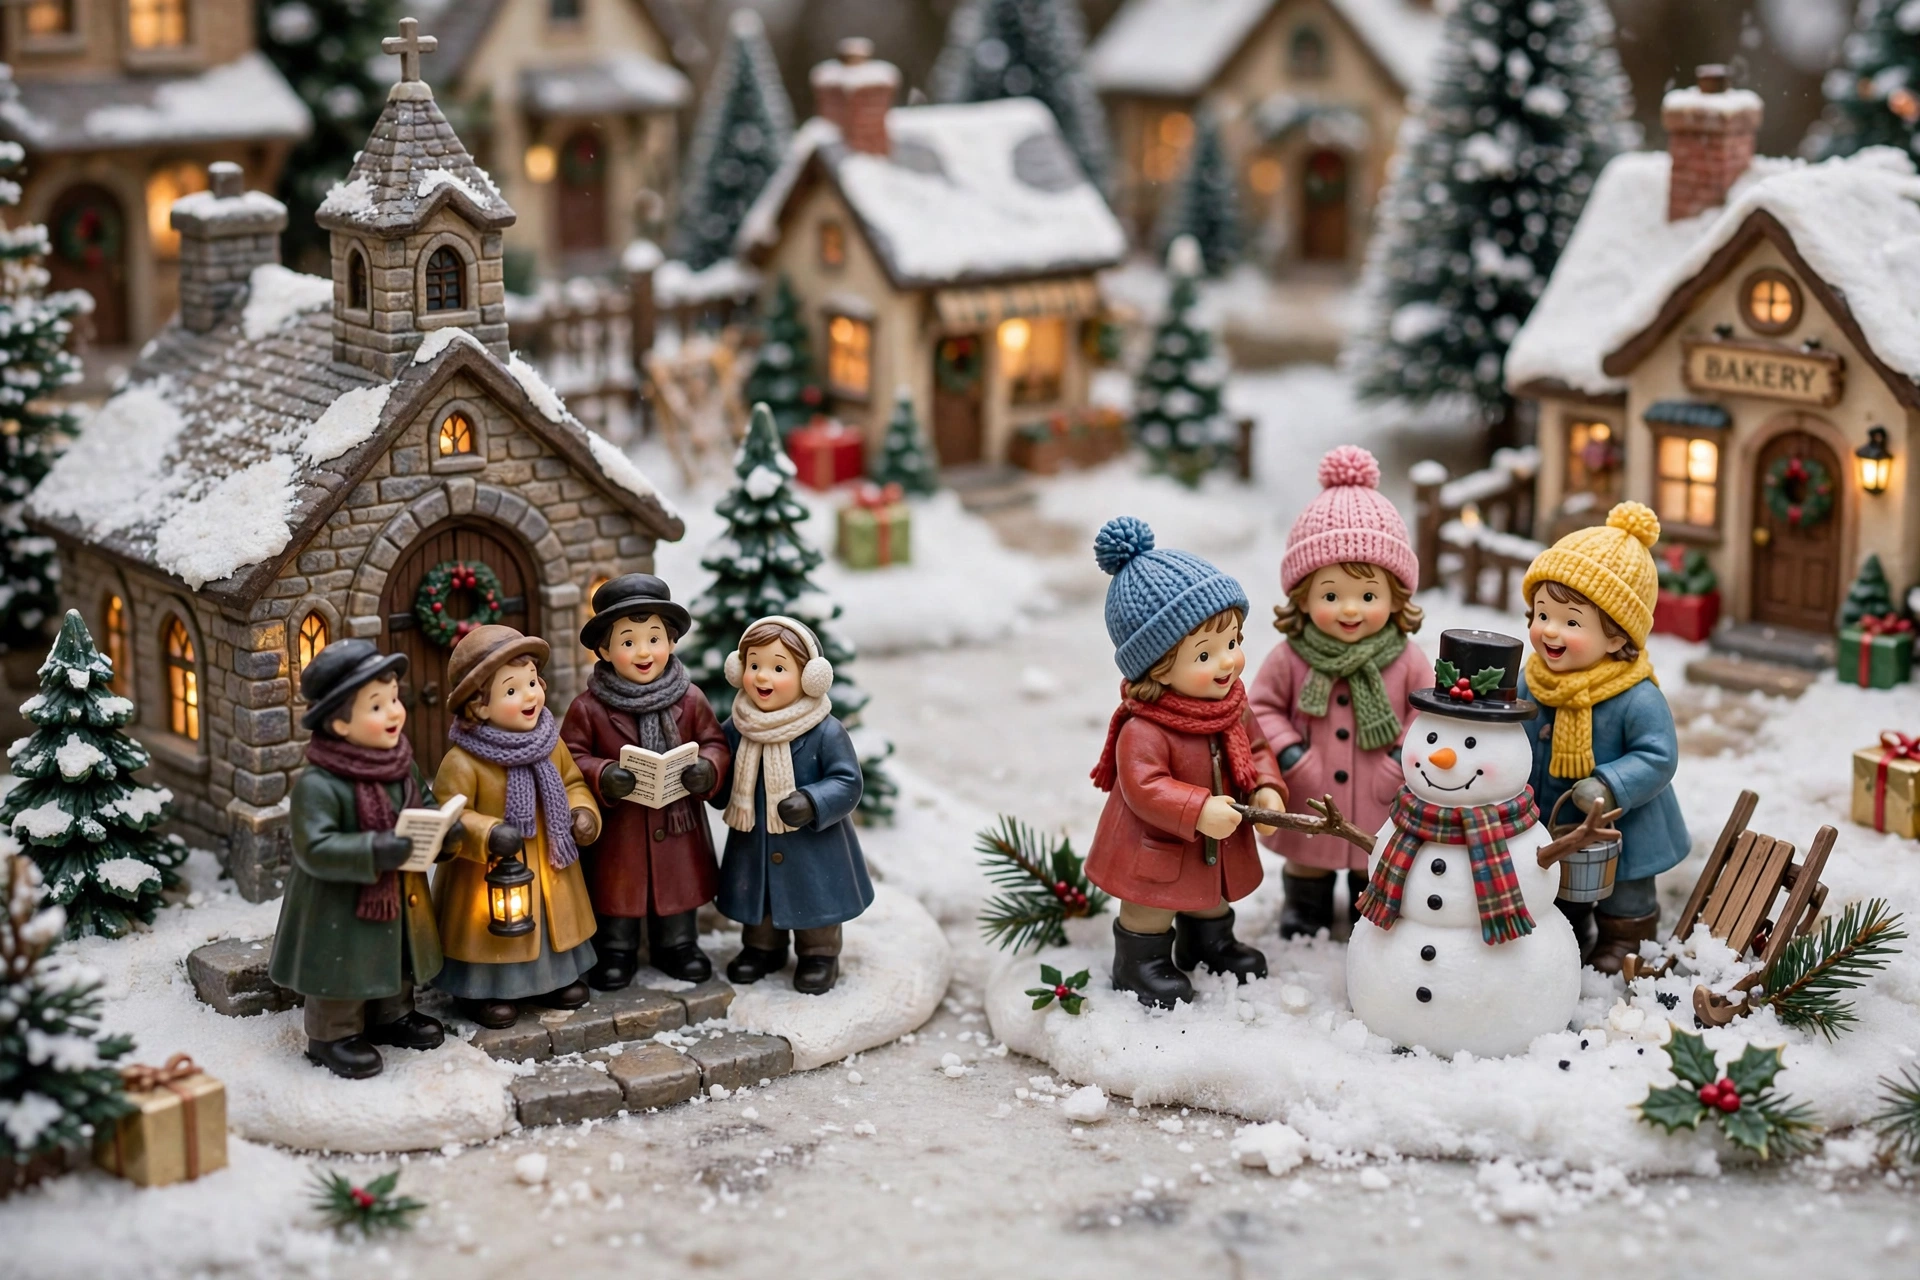
Figurines are the people of the town, and they work best in small groups that tell a story: carolers outside the church, a family carrying a tree home, kids building a snowman, a vendor at a market stall. One group per area, two or three figures each, and the village feels lived in.
Do not scatter figures one by one across the whole display — a lone figure in an empty corner looks lost. And keep the scale honest: figures should be shorter than the doors of the houses they stand beside. A figure taller than a house breaks the illusion in one glance.
12. A Coastal or Ski-Resort Village — Christmas Village Display Ideas Beyond the Small Town
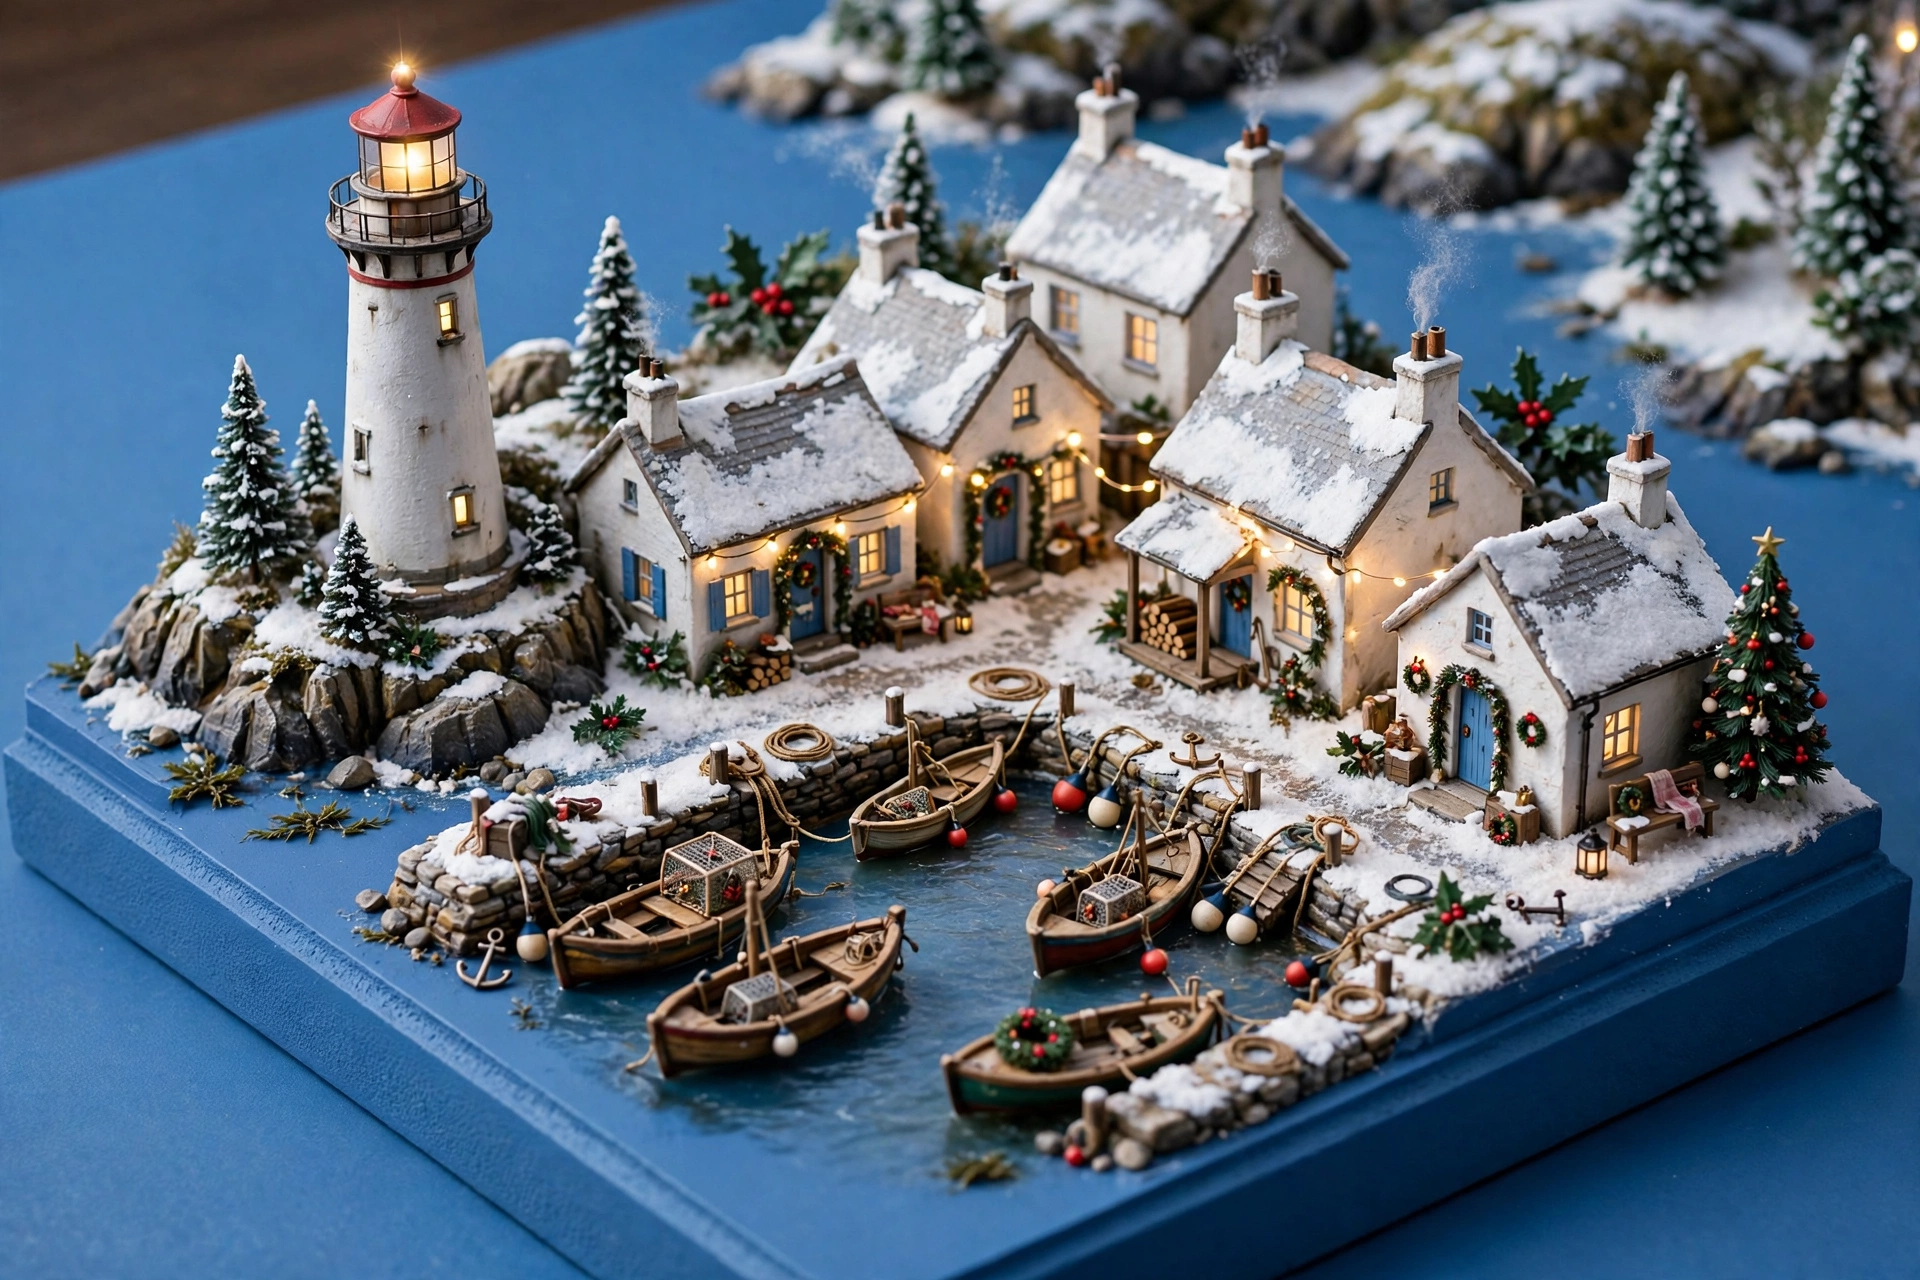
Not every village has to be a snowy Main Street. A coastal harbor village — lighthouse, fishing boats, a dock, whitewashed cottages — feels fresh after years of the same snowy town, and a ski-resort village with a lodge and a sledding hill gives the display a mountain feel. Lemax and Department 56 both sell harbor and Alpine collections.
The trick is committing to the theme. A lighthouse next to a ski lodge looks confused; a lighthouse next to a harbor shop looks like a town. Pick the setting and buy the pieces that fit it — the same risers, the same lighting, a completely different town.
13. A Paper or Wooden Village for Kids — Christmas Village Display Ideas for Little Hands
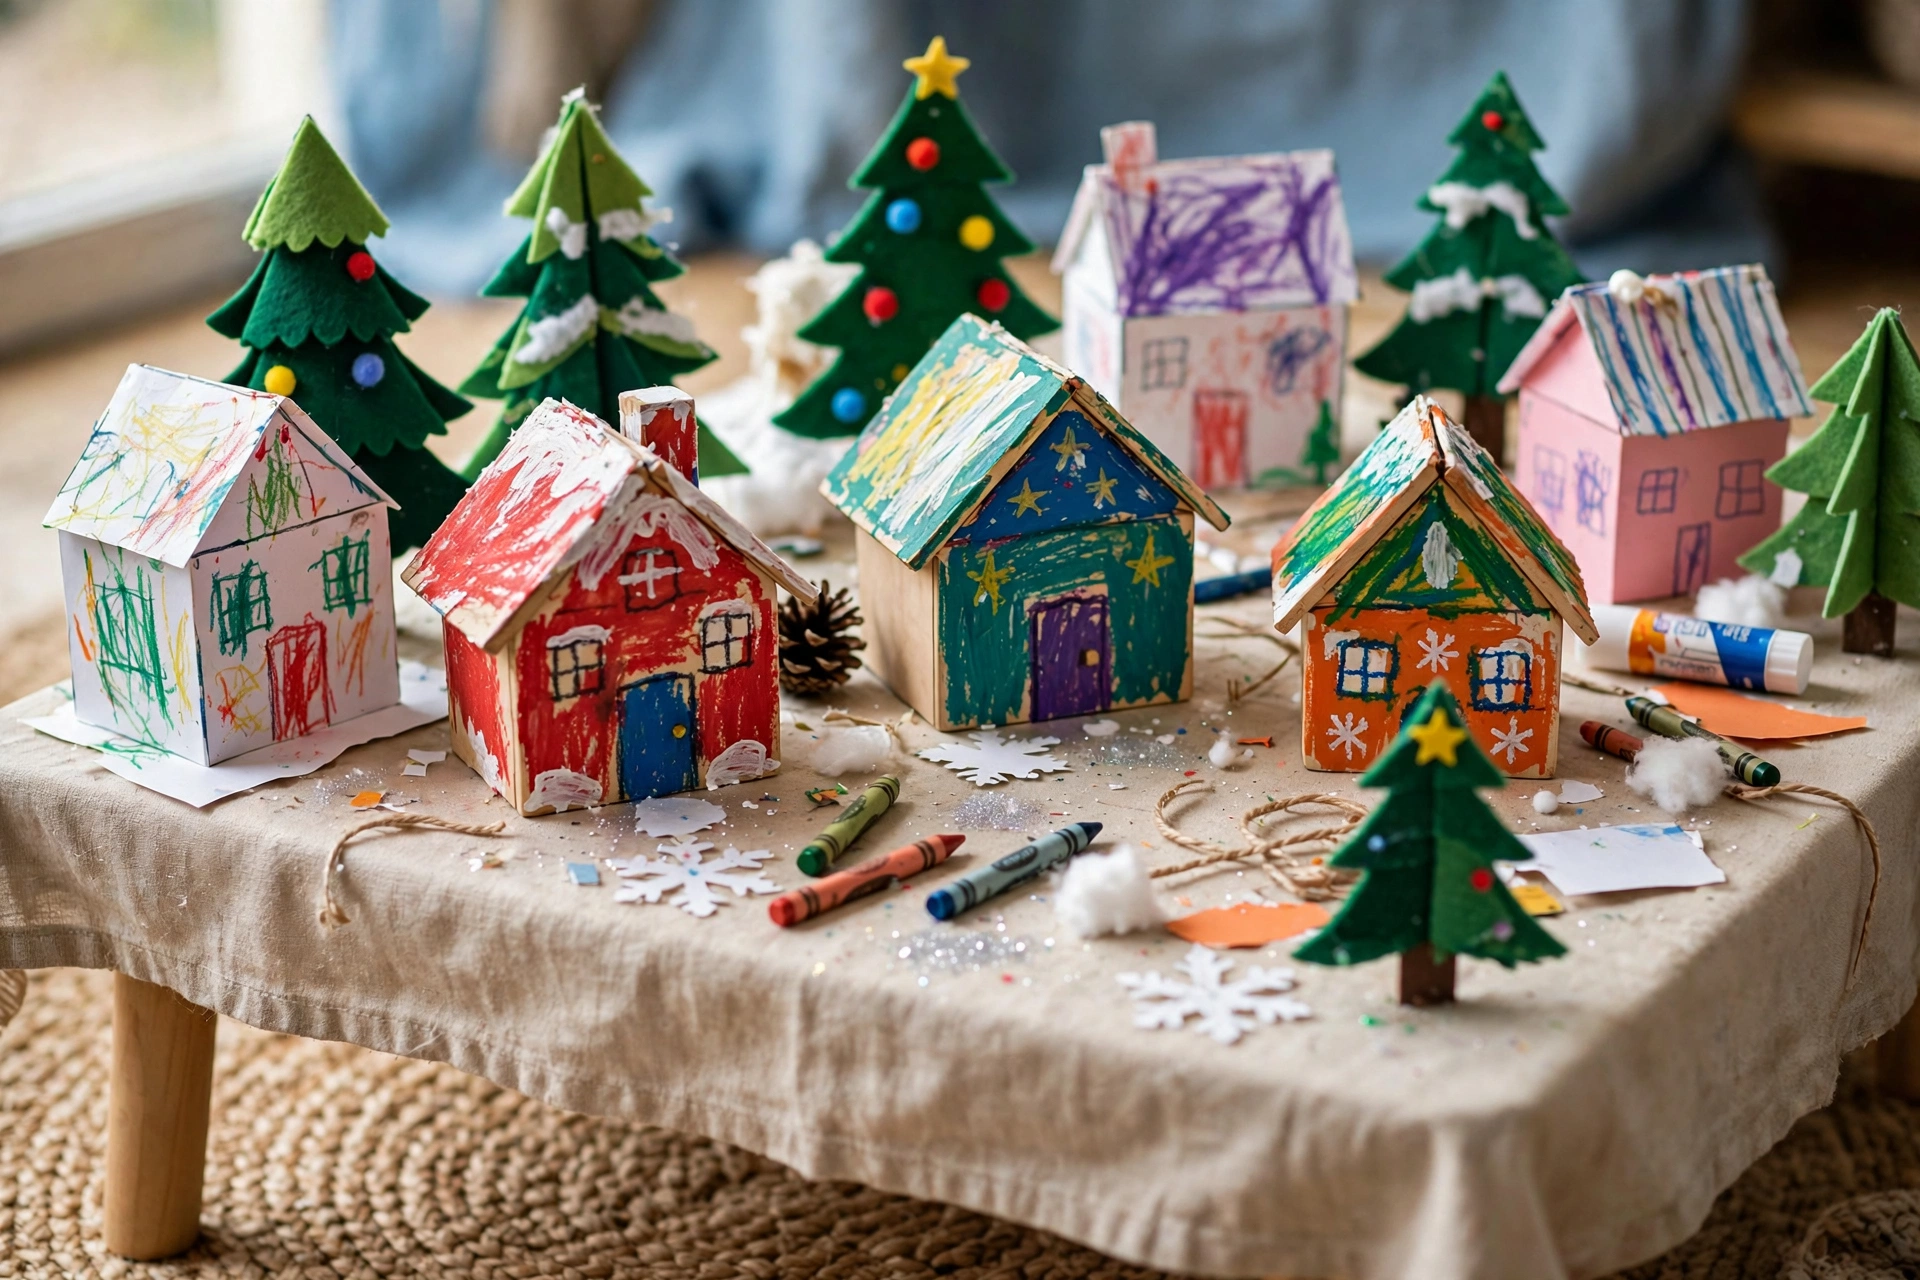
Collectible ceramic villages and small children do not mix — one bump and a fifty-dollar church is in pieces. A paper or wooden village solves it: flat wooden houses to paint, a paper village to cut out and fold, or a felt village with stick-on pieces that kids can rearrange all month. It sits on a low table, where small hands can reach it.
Make it a project, not a purchase. Paint the wooden houses together, cut the paper village out on a snowy afternoon, and let the kids decide where the school and the bakery go.
14. A Cloche or Glass-Dome Village
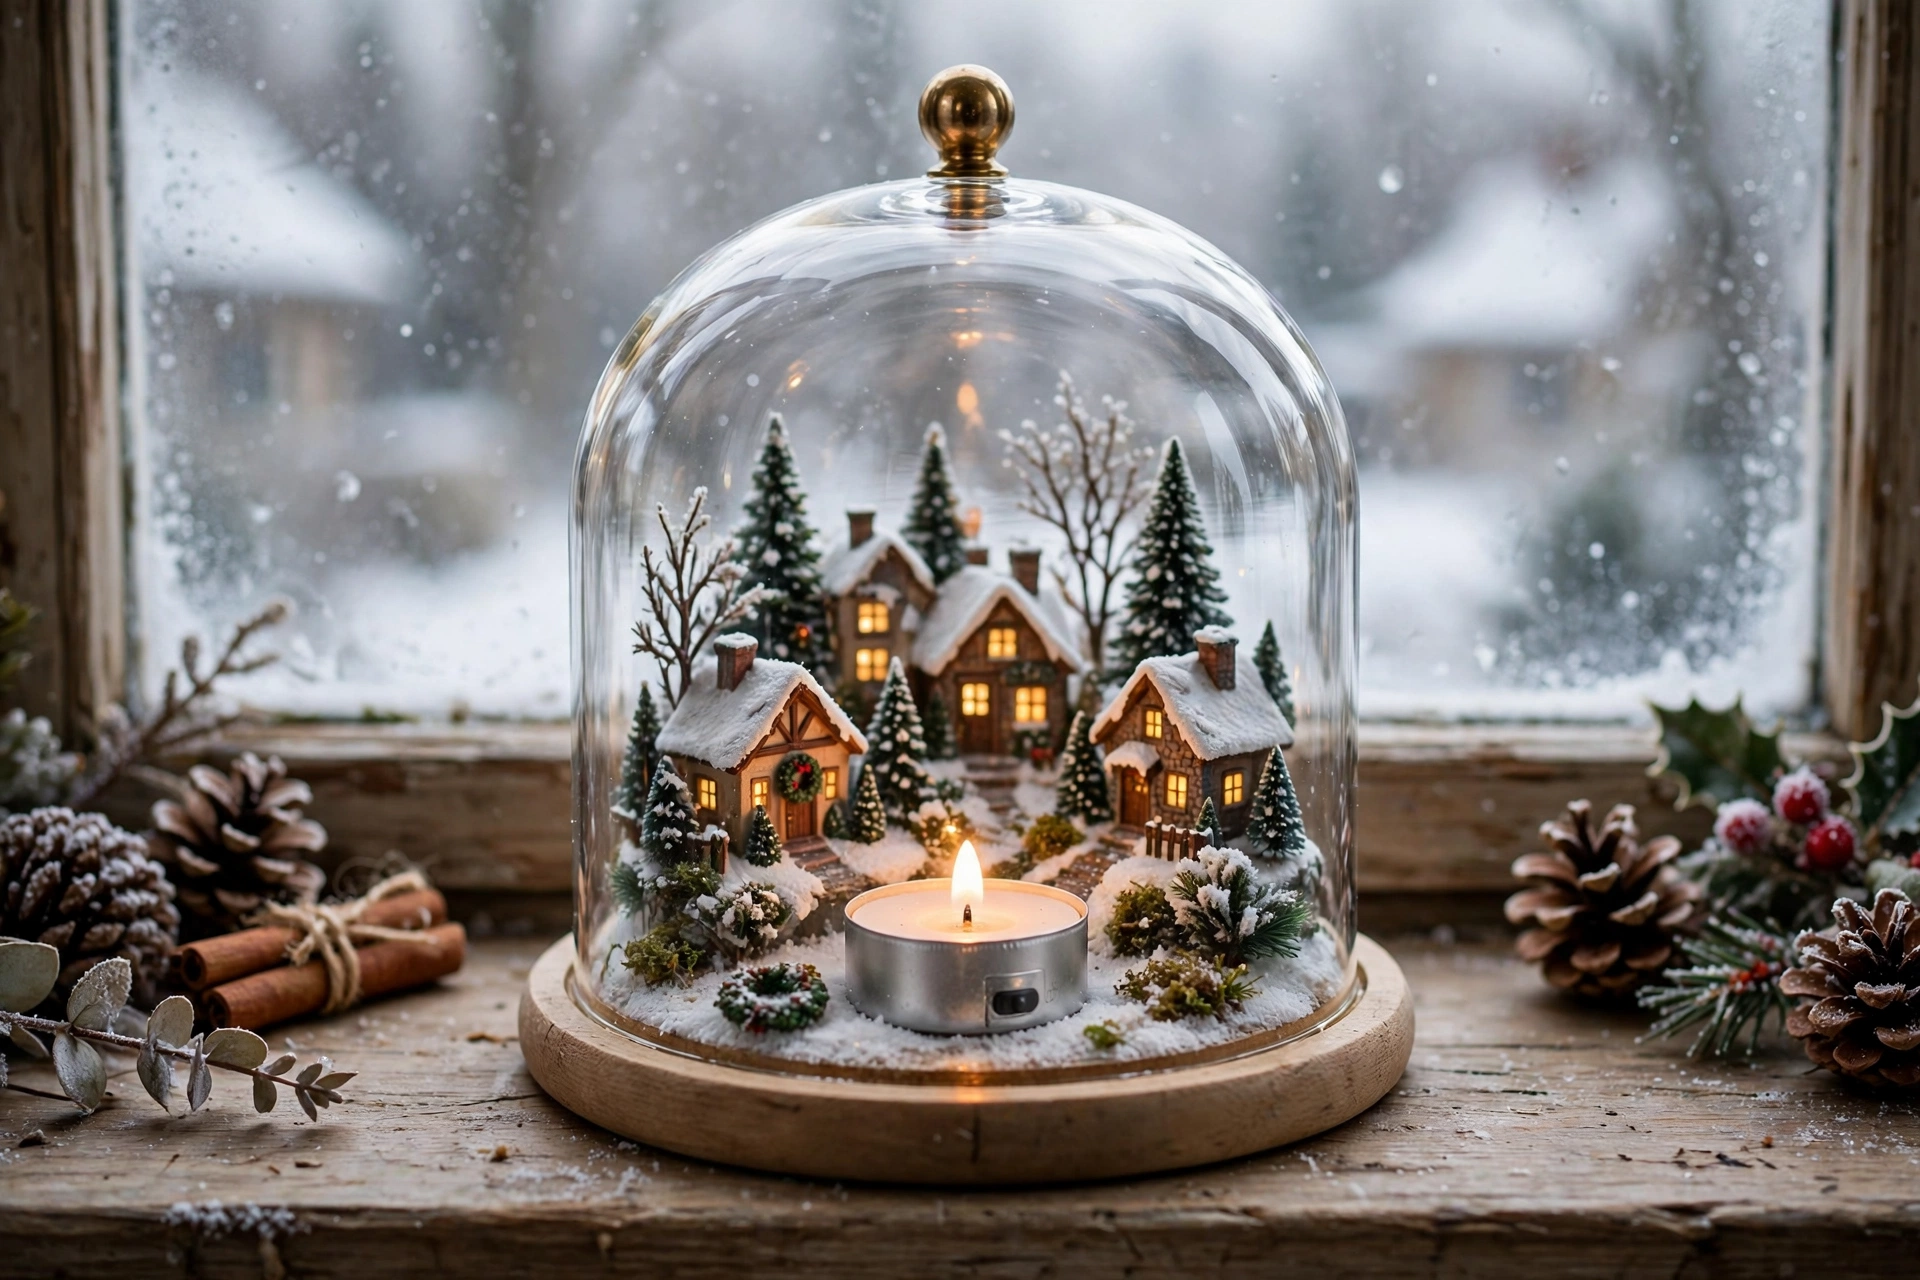
A cloche — a glass dome on a wooden base — turns three or four tiny pieces into a jewel box. One cottage, two trees, a dusting of fake snow, and a battery tea light inside the dome, and the whole scene glows like a snow globe that never needs shaking. It fits on a windowsill or a bookshelf, where a full village never could.
The dome also protects the pieces: no dust, no curious hands, no cat. Our Christmas window decor ideas guide shows how a cloche village on the sill pairs with the rest of the window, so the little dome is part of the room instead of a lonely object.
15. One Look for the Whole Town — Cozy Christmas Village Display Ideas
The last idea holds the other fourteen together: one palette, one scale, one theme, everywhere. Two or three colors repeated through the whole village — white snow, warm window light, and one accent like red or deep green — tie fifty separate pieces into one town. Mix the scale and the town falls apart: a giant Santa next to a tiny cottage, a huge tree beside a small house, and nothing looks real.
The same rule works outside the village. Our Christmas porch decor ideas guide uses the same repeat-one-look thinking, so the town on the table and the porch outside feel like the same house.

Frequently Asked Questions
Where is the best place to display a Christmas village?
The best place for Christmas village display ideas is a stable surface at about eye level, where people can see the whole scene without bending down — a console table, a sideboard, a mantel, or the space under the tree. Pick a spot out of the main walkway and near an outlet if your houses plug in.
How do I create depth in a village display?
Create depth with height: build two or three tiers with risers — sturdy boxes, books, or foam blocks hidden under a snow blanket — each step two to four inches higher than the one in front of it. Put the tallest buildings at the back or on the top tier and the shortest cottages in front, so every roofline shows. Leave gaps between houses and let a road run from front to back so the eye travels into the scene.
What is a Christmas putz?
A Christmas putz is a miniature Nativity or village scene, and the word comes from the German “putzen,” meaning to decorate or adorn. The tradition traces back to the Moravian church displays of the late 1700s, where families built small scenes of Bethlehem and, later, whole winter villages. Today’s ceramic villages — Department 56’s Snow Village and the collections that followed — are the direct descendants of those putz displays.
Related Reading
- Christmas Tree Themes 2026: 15 Ideas for Every Style
- Christmas Living Room Decor Ideas 2026: 12 Cozy Styles
- Christmas Mantel Decor Ideas
- Christmas Table Decor
- 15 DIY Christmas Ornaments That Look Expensive
- Vintage Christmas Decorations: 15 Stunning Ideas
Conclusion
Christmas village display ideas come down to three things: one theme, height, and light. Pick a town and stick to it, build the back row higher than the front, and light every window — and the little town on your table will be the decoration everyone remembers.