How to Test F150 Vacuum Hose – Diagnose & Fix Vacuum Leaks Easily
Testing the vacuum hose on a Ford F150 is essential to vehicle maintenance that ensures the engine performs efficiently, emissions systems function correctly, and critical components like the MAP sensor and brake booster operate without issue. A failing or leaking vacuum hose can lead to significant engine problems, including rough idling, poor acceleration, increased fuel consumption, and stalling. This comprehensive guide will walk you through everything you need to know about the F150’s vacuum system, how to test it, identify symptoms of a vacuum leak, and how to fix or replace hoses safely.
Importance of Vacuum Hoses in F150
In the Ford F150, vacuum hoses serve as the arteries of the vacuum system, carrying negative pressure generated by the engine to various critical components. These include the brake booster, EVAP system, MAP sensor, and HVAC controls. The integrity of these hoses ensures that each system functions as designed. Even a minor crack or leak can drastically affect engine performance.
Common Signs of Vacuum Hose Issues
Understanding the warning signs of vacuum hose problems can help you identify issues before they worsen:
- Check engine light illumination
- Rough engine idle or stalling
- A hissing or whistling noise under the hood
- Loss of engine power or poor acceleration
- Increased fuel consumption
- Engine misfires
Tools Needed for Testing
Having the right tools on hand is crucial for diagnosing and testing vacuum hose issues effectively. These include:
- Flashlight
- Vacuum gauge
- Smoke machine (optional but highly effective)
- Carburettor cleaner or starter fluid spray
- Soapy water in a spray bottle
- Multimeter (for MAP sensor testing)
- Vacuum pump
- Replacement hoses and clamps
Understanding the Vacuum System in Ford F150
What Does the Vacuum Hose Do?
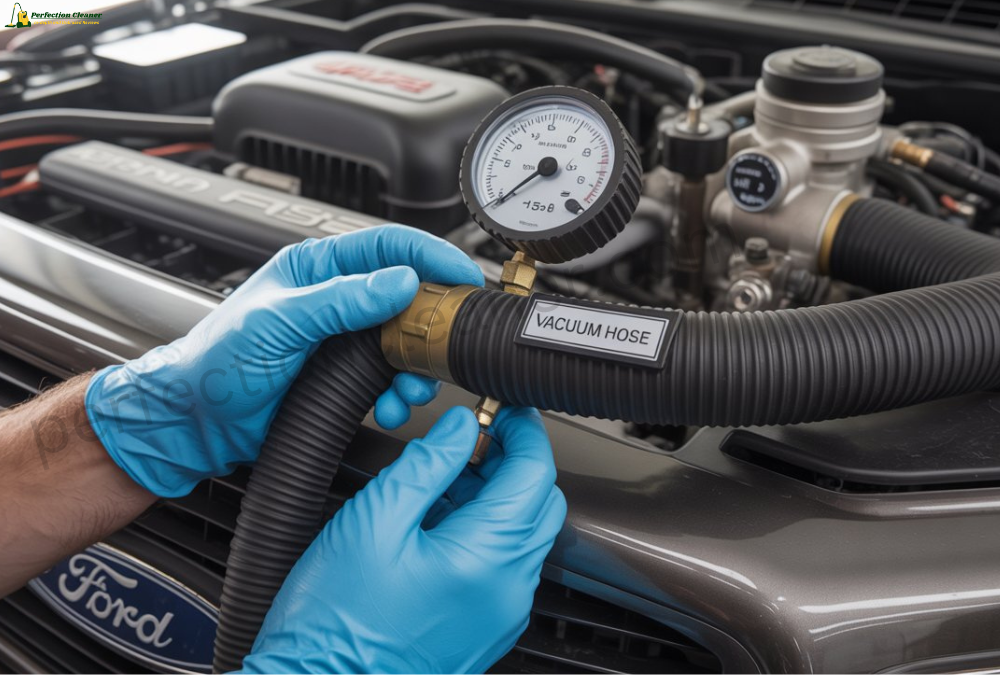
Vacuum hoses channel vacuum pressure created by the intake manifold to control devices and sensors that rely on that pressure. For example, the brake booster needs vacuum pressure to assist in braking force. The MAP (Manifold Absolute Pressure) sensor utilises vacuum pressure data to assist the engine control module (ECM) in regulating fuel delivery.
Key Components Connected to Vacuum Hoses
Intake Manifold
This is the source of engine vacuum. It draws air into the cylinders and creates a vacuum pressure used throughout the system.
Brake Booster
Uses a vacuum to amplify the force applied by the driver to the brake pedal, making braking more effective.
MAP Sensor
The MAP sensor reads changes in manifold pressure and sends that data to the ECM, helping it adjust the air-fuel mixture appropriately.
EVAP System
The evaporative emission control system prevents fuel vapours from escaping into the atmosphere. It relies on vacuum hoses to move vapours into the combustion chamber.
HVAC Controls
On some models, the climate control system uses vacuum actuators to open and close air vents.
Symptoms of a Faulty or Leaking Vacuum Hose
Engine Performance Issues
A leaking vacuum hose disrupts the air-fuel mixture, often causing misfires, hesitation, or difficulty accelerating.
Check Engine Light Activation
If the ECM detects an imbalance caused by a vacuum leak, it can trigger the check engine light. Codes may include P0171 (system too lean) or codes related to MAP sensor faults.
Hissing Noise or Vacuum Sound
A vacuum leak often produces a high-pitched hissing or whistling sound. This noise is a direct result of air being sucked into a leak.
Poor Fuel Economy
When vacuum pressure drops, the engine compensates by injecting more fuel, leading to higher consumption.
Rough Idling and Stalling
Leaking vacuum hoses can create unstable idle conditions and, in severe cases, cause the engine to stall.
How to Visually Inspect the Vacuum Hose
Step-by-Step Visual Inspection Process
Locating Vacuum Hoses
Start by identifying the vacuum hose routing diagram, typically found on a sticker in the engine bay or the vehicle’s service manual. Trace each hose connected to the intake manifold, brake booster, EVAP canister, and other components.
Looking for Cracks, Brittleness, or Discolouration
Check for visible signs of ageing. Hoses should be flexible and free from any cracks or hardness. Discolouration or oil saturation may also indicate deterioration.
Checking Hose Connections and Fittings
Ensure that all hoses are securely attached and that the fittings are not broken or loose. Gently tug on hoses to confirm their integrity.

How to Test F150 Vacuum Hose for Leaks
Smoke Test Method
This is one of the most accurate ways to find vacuum leaks. Connect a smoke machine to the intake manifold and introduce smoke into the system. Watch for smoke escaping from cracks or disconnected hoses.
Carburettor Cleaner Spray Method
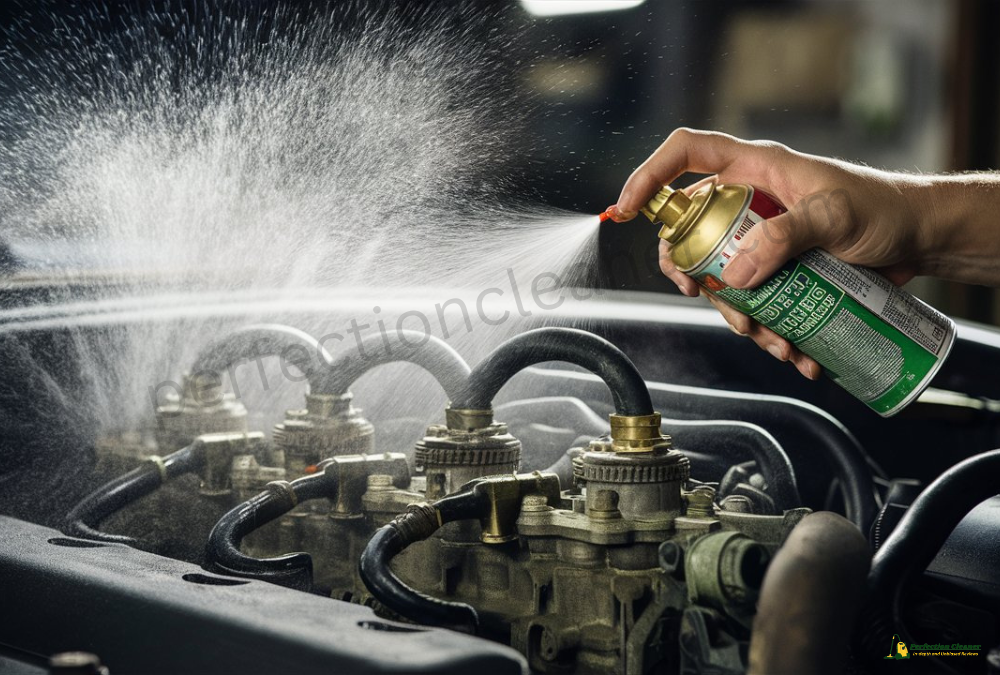
While the engine is running, spray carburettor cleaner or starter fluid around the suspected hose connections. If the engine idle changes (typically increases), you’ve likely found a leak.
Vacuum Gauge Method
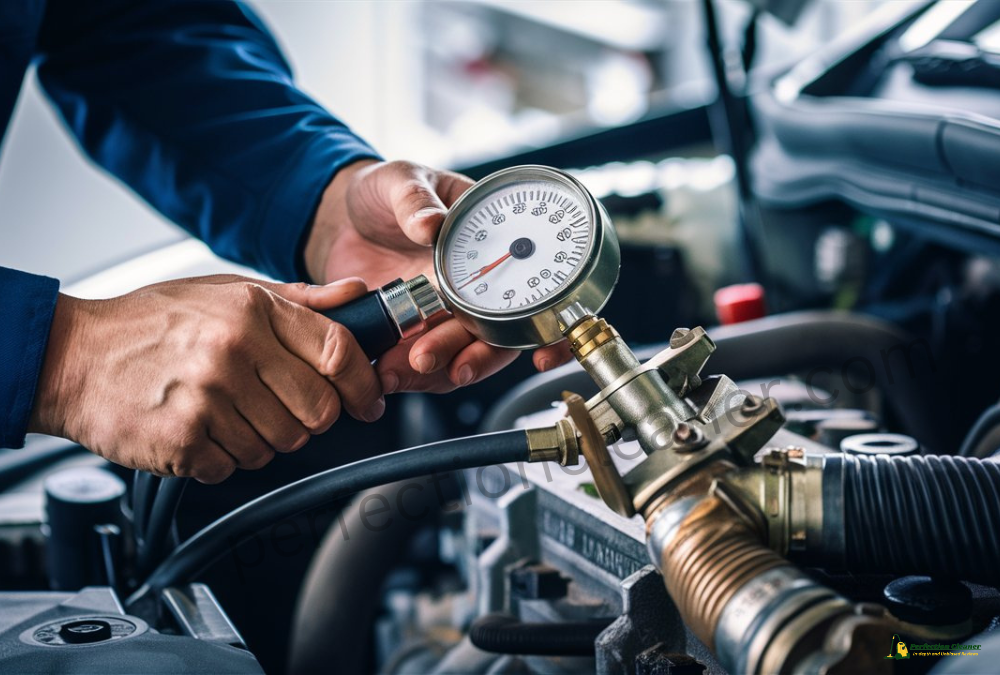
Attach a vacuum gauge to an accessible vacuum port. A healthy vacuum reading for most engines is between 17 and 22 inches of mercury (inHg). Fluctuations or low readings indicate a leak.
Soapy Water Method
Spray a solution of water and dish soap onto hoses and connections while the engine is off. Start the engine and look for bubbles forming where air escapes.
How to Test the MAP Sensor Connected to Vacuum Hoses
Symptoms of a Failing MAP Sensor
- Engine surging or hesitation
- Trouble starting
- Decreased fuel efficiency
- Engine knocking
- Check engine light with codes like P0106, P0107, or P0108
Step-by-Step MAP Sensor Testing
Using a Multimeter
- Disconnect the MAP sensor connector.
- Set the multimeter to measure DC voltage.
- With the key in the ON position, measure voltage between the sensor signal wire and ground.
- The reading should change with the applied vacuum.
Using a Vacuum Pump
- Connect a hand vacuum pump to the MAP sensor vacuum port.
- Apply a vacuum and monitor the voltage response on a multimeter.
- A functional sensor should show a consistent voltage change as the vacuum increases.
How to Replace a Faulty Vacuum Hose on Ford F150
Required Tools and Materials
- Replacement vacuum hose (correct inner diameter)
- Hose clamps or zip ties
- Screwdriver or pliers
- Knife or hose cutter
Step-by-Step Replacement Guide
- Safety First: Disconnect the battery and let the engine cool down.
- Locate and Label: Identify the damaged hose and label both ends.
- Remove Old Hose: Gently remove the hose from both fittings.
- Cut and Fit New Hose: Cut the new hose to the same length and attach it securely.
- Secure Connections: Use clamps or zip ties to secure the ends.
- Test: Start the engine and test for leaks using one of the above methods.
Safety Tips and Best Practices
- Work in a well-ventilated area.
- Avoid contact with hot engine parts.
- Always replace hoses with high-quality components.
- Do not over-tighten clamps, as this may damage the hose.
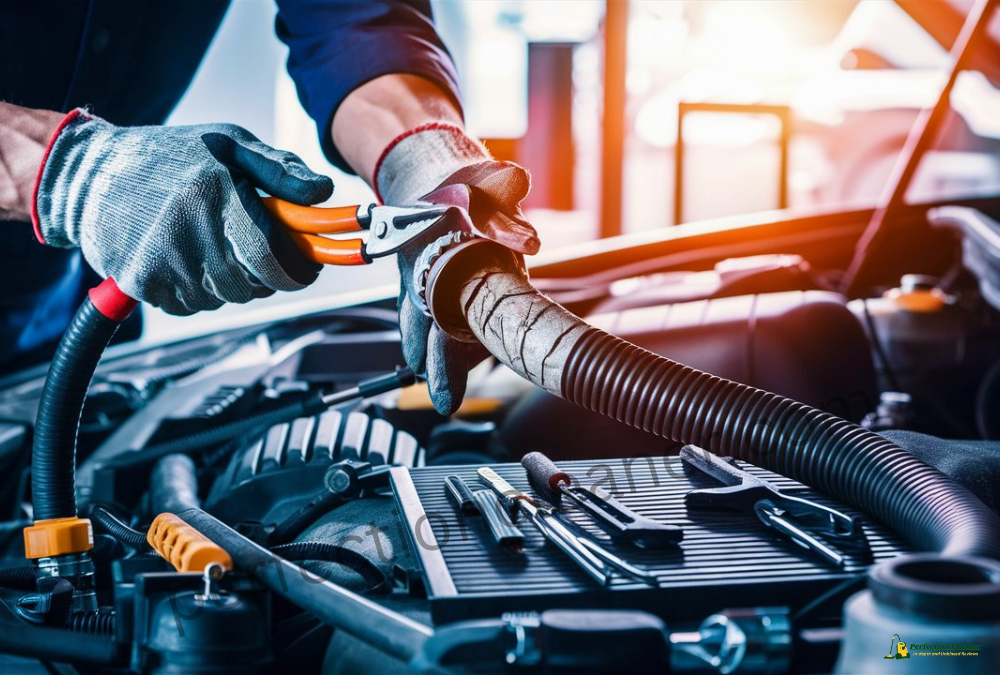
Preventive Maintenance Tips for Vacuum Hoses
Routine Inspection Schedule
Inspect vacuum hoses every oil change or every 10,000 to 15,000 miles. Replace hoses that show any signs of wear.
Keeping the Engine Bay Clean
A clean engine compartment makes it easier to spot issues early and prevents dirt and oil from degrading rubber hoses.
Replacing Hoses Before They Fail
Proactive maintenance saves time and money. Replace hoses after 5–7 years, even if they appear intact, especially if operating in harsh climates.
Common Mistakes to Avoid While Testing Vacuum Hoses
Misidentifying the Source of the Leak
Ensure the noise or issue isn’t coming from adjacent components like the intake gasket or EGR valve.
Using Inappropriate Tools
Avoid poking hoses with sharp objects or applying too much force when removing them.
Ignoring Connected Components
Often, a vacuum hose problem can affect connected systems like the MAP sensor, EVAP system, or brake booster. Test these systems in conjunction.
Conclusion
Summary of Key Points
Testing and maintaining vacuum hoses in your Ford F150 is essential for peak engine performance, safety, and fuel economy. Early diagnosis can prevent costly repairs and ensure all connected systems function properly.
When to Seek Professional Help
If you lack the tools, expertise, or cannot locate the source of the issue, it’s wise to consult a certified mechanic. Especially if the issue involves complex systems like the MAP sensor, EVAP system, or brake booster.
By following the procedures in this guide, you’ll be well-equipped to test, inspect, and maintain the vacuum hoses on your Ford F150, ensuring long-term reliability and performance.
FAQs on Testing F150 Vacuum Hoses
How Often Should Vacuum Hoses Be Checked?
Every 6 months or during each oil change is ideal. A quick visual inspection can catch early signs of failure.
Can a Bad Vacuum Hose Trigger Engine Codes?
Yes. Common codes include P0171 (lean condition), P0300 (random misfire), and various MAP/EVAP codes.
Is It Safe to Drive with a Leaking Vacuum Hose?
While it might not be immediately dangerous, driving with a vacuum leak can cause further damage, reduce fuel efficiency, and impair braking performance in some cases.
Find More about Mattresses and Vacuums:
Miele Vacuum Hose Replacement, How to Remove Baking Soda from Mattress Without Vacuum, Best Bed Vacuums, How to Clean a Mattress Without a Vacuum Cleaner, How to Dispose of a Vacuum Cleaner, Cleaning Your Vacuum Hose, How Long Should I Vacuum My Car AC System?,


