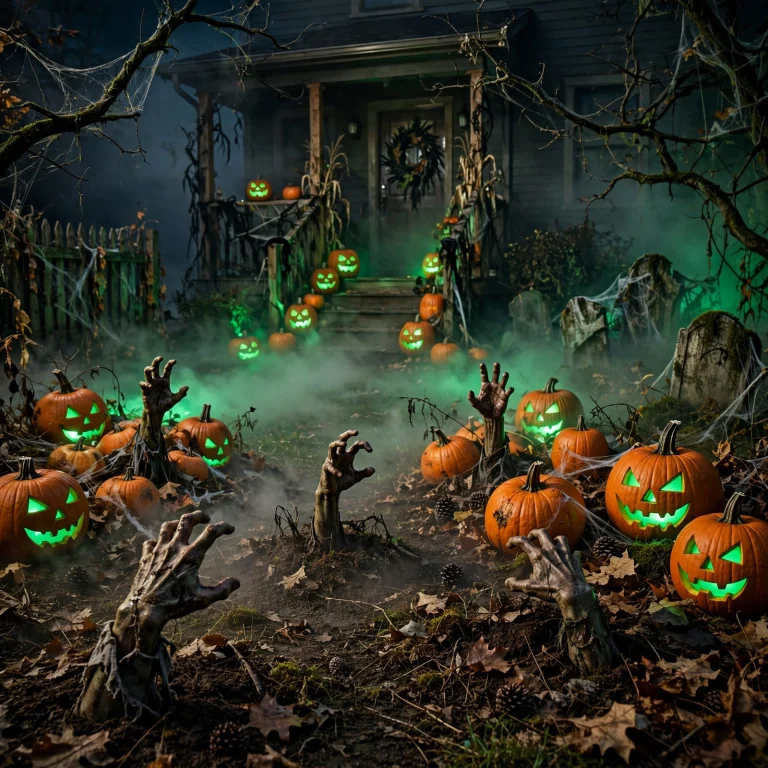
15 Halloween DIY Decorations Under $15 Each (Easy Projects)
Halloween decorating does not need a big budget, just a free afternoon and a willingness to get glue on your fingers. These Halloween DIY decorations prove it: every project here costs under $15 per piece, most use supplies you already have at home, and several are practically free thanks to the recycling bin. No special skills required, no expensive tools, just clever crafts that look far more expensive than they are. For more inspiration, see our front porch halloween ideas with a premium look.
That is the magic of DIY Halloween decor. A cheesecloth ghost costs pennies but glows like a boutique prop. A paper bag luminary looks like a million bucks in a row. And unlike store-bought decorations, handmade pieces have personality: slightly imperfect, totally yours, and full of the fingerprints (sometimes literally) that make a house feel like a home. These are Halloween DIY decorations that guests will ask about, and you will get to say you made them yourself. For more inspiration, see our ghost halloween decorations.
Grab a hot glue gun, queue up a spooky playlist, and work through the list below. Each project includes styling notes so your finished pieces look intentional rather than crafty, plus a practical tip to help you get it right the first time. Pick two or three, make an afternoon of it, and enjoy decor that costs less than a pizza. For more inspiration, see our elegant gothic halloween decorations for a refined look.
1. Cheesecloth Ghosts
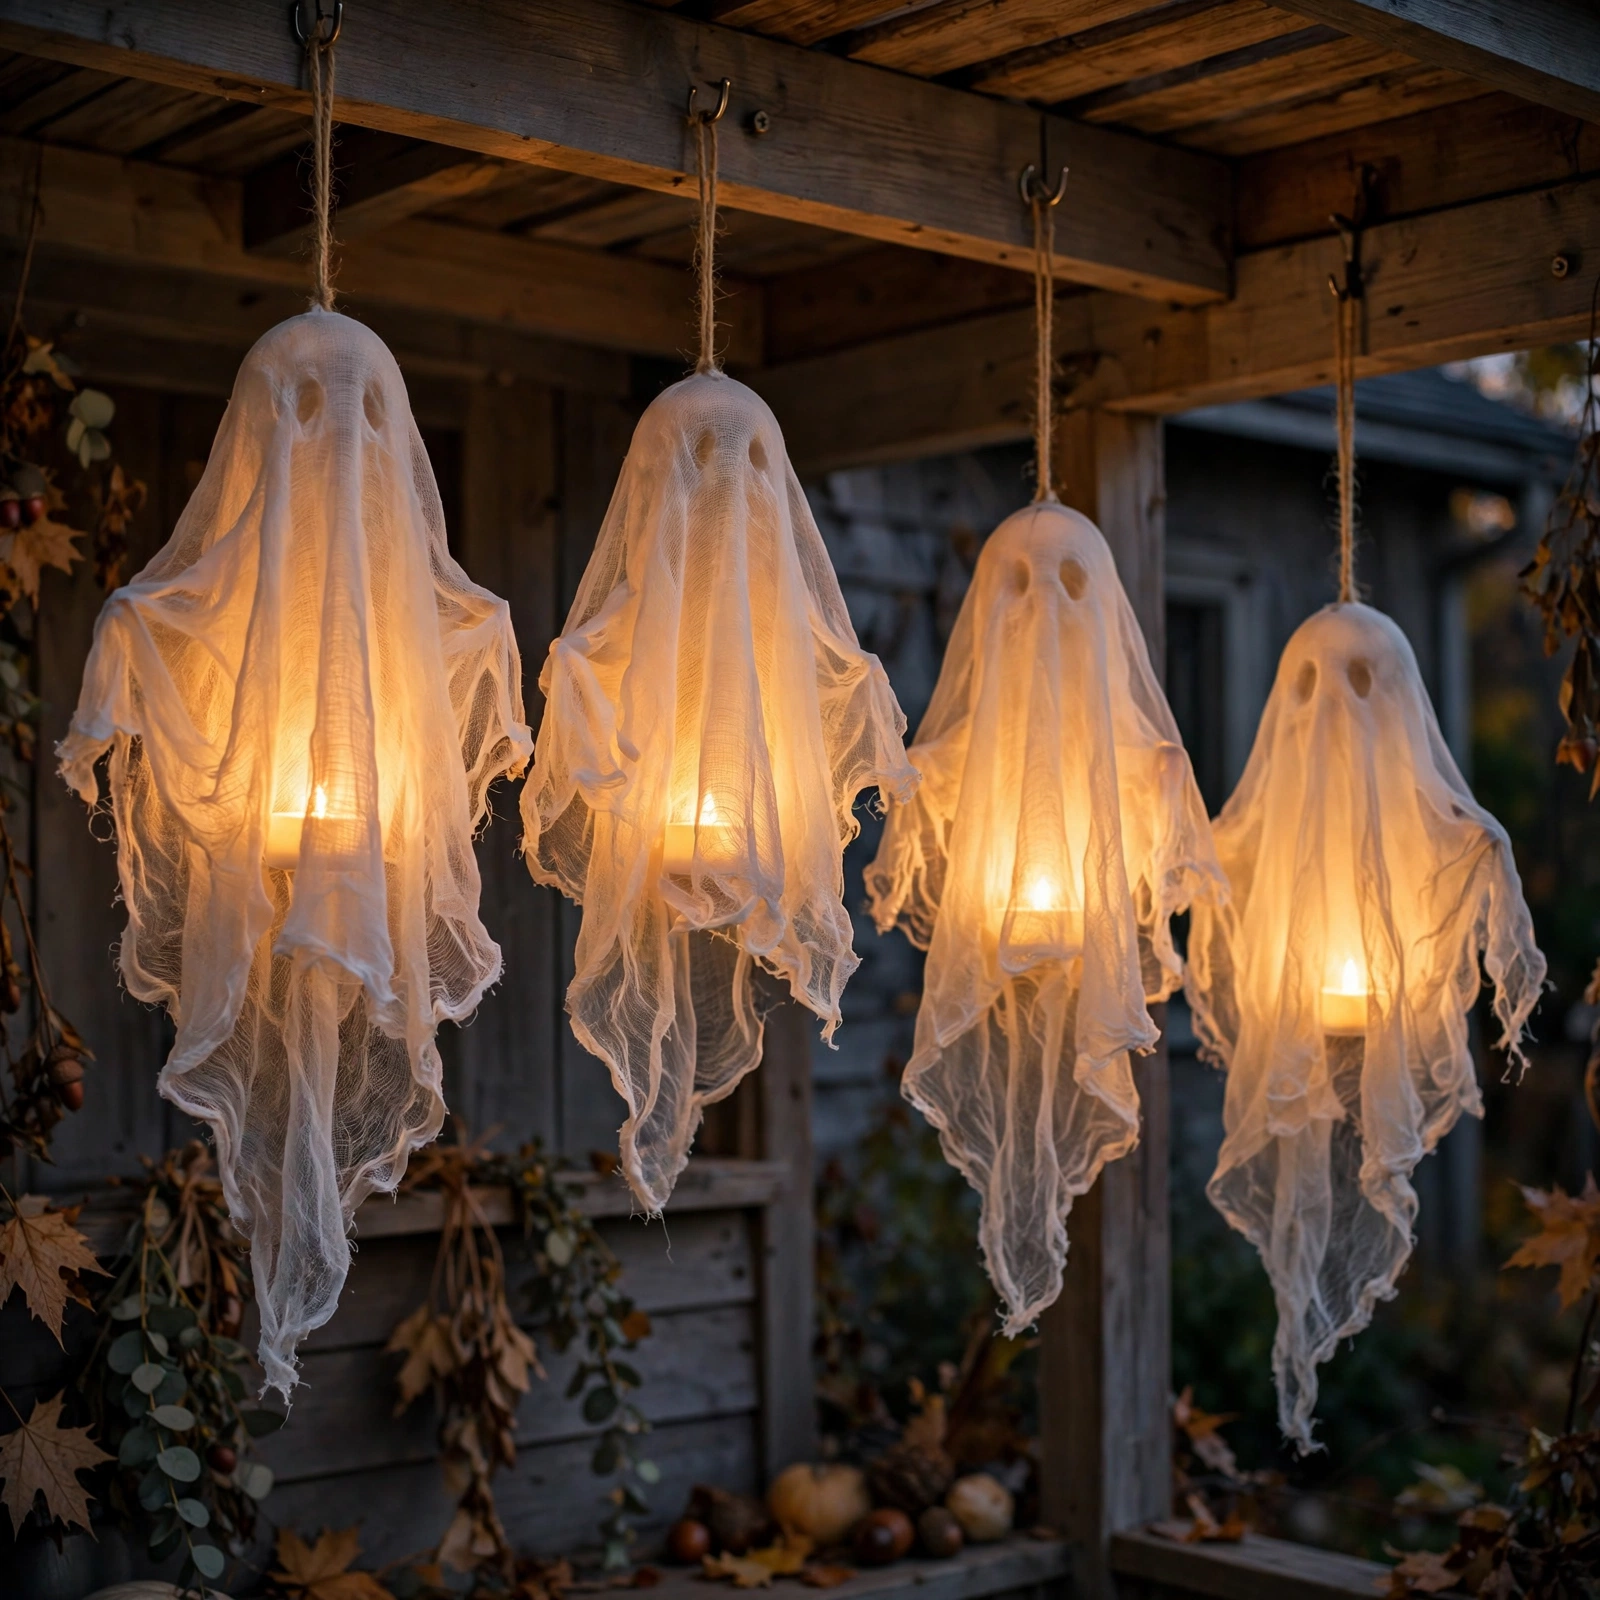
Drape glue-stiffened cheesecloth over a balloon-and-bottle form, let it dry, and remove the form: a free-standing ghost in hauntingly translucent fabric. Among all Halloween DIY decorations, cheesecloth ghosts are the classic for a reason. They catch the breeze, they glow beautifully with a light inside, and they look like they drifted in from another century. For more inspiration, see our halloween candle ideas.
Hang them at varied heights from porch ceilings or tree branches, and drop an LED tea light underneath each one so it glows from within. A cluster of three to five at different heights reads as a little ghost family rather than a lone spook. The fabric is sheer, so they look delicate and ethereal rather than heavy and costumey. For more inspiration, see our halloween cubicle decor ideas for a festive workspace.
Tip: Use two to three layers of cheesecloth; a single layer is too sheer to hold the ghost’s shape once the form comes out. For more inspiration, see our halloween decorations to buy in 2026 (don’t wait).
2. Paper Bag Luminaries
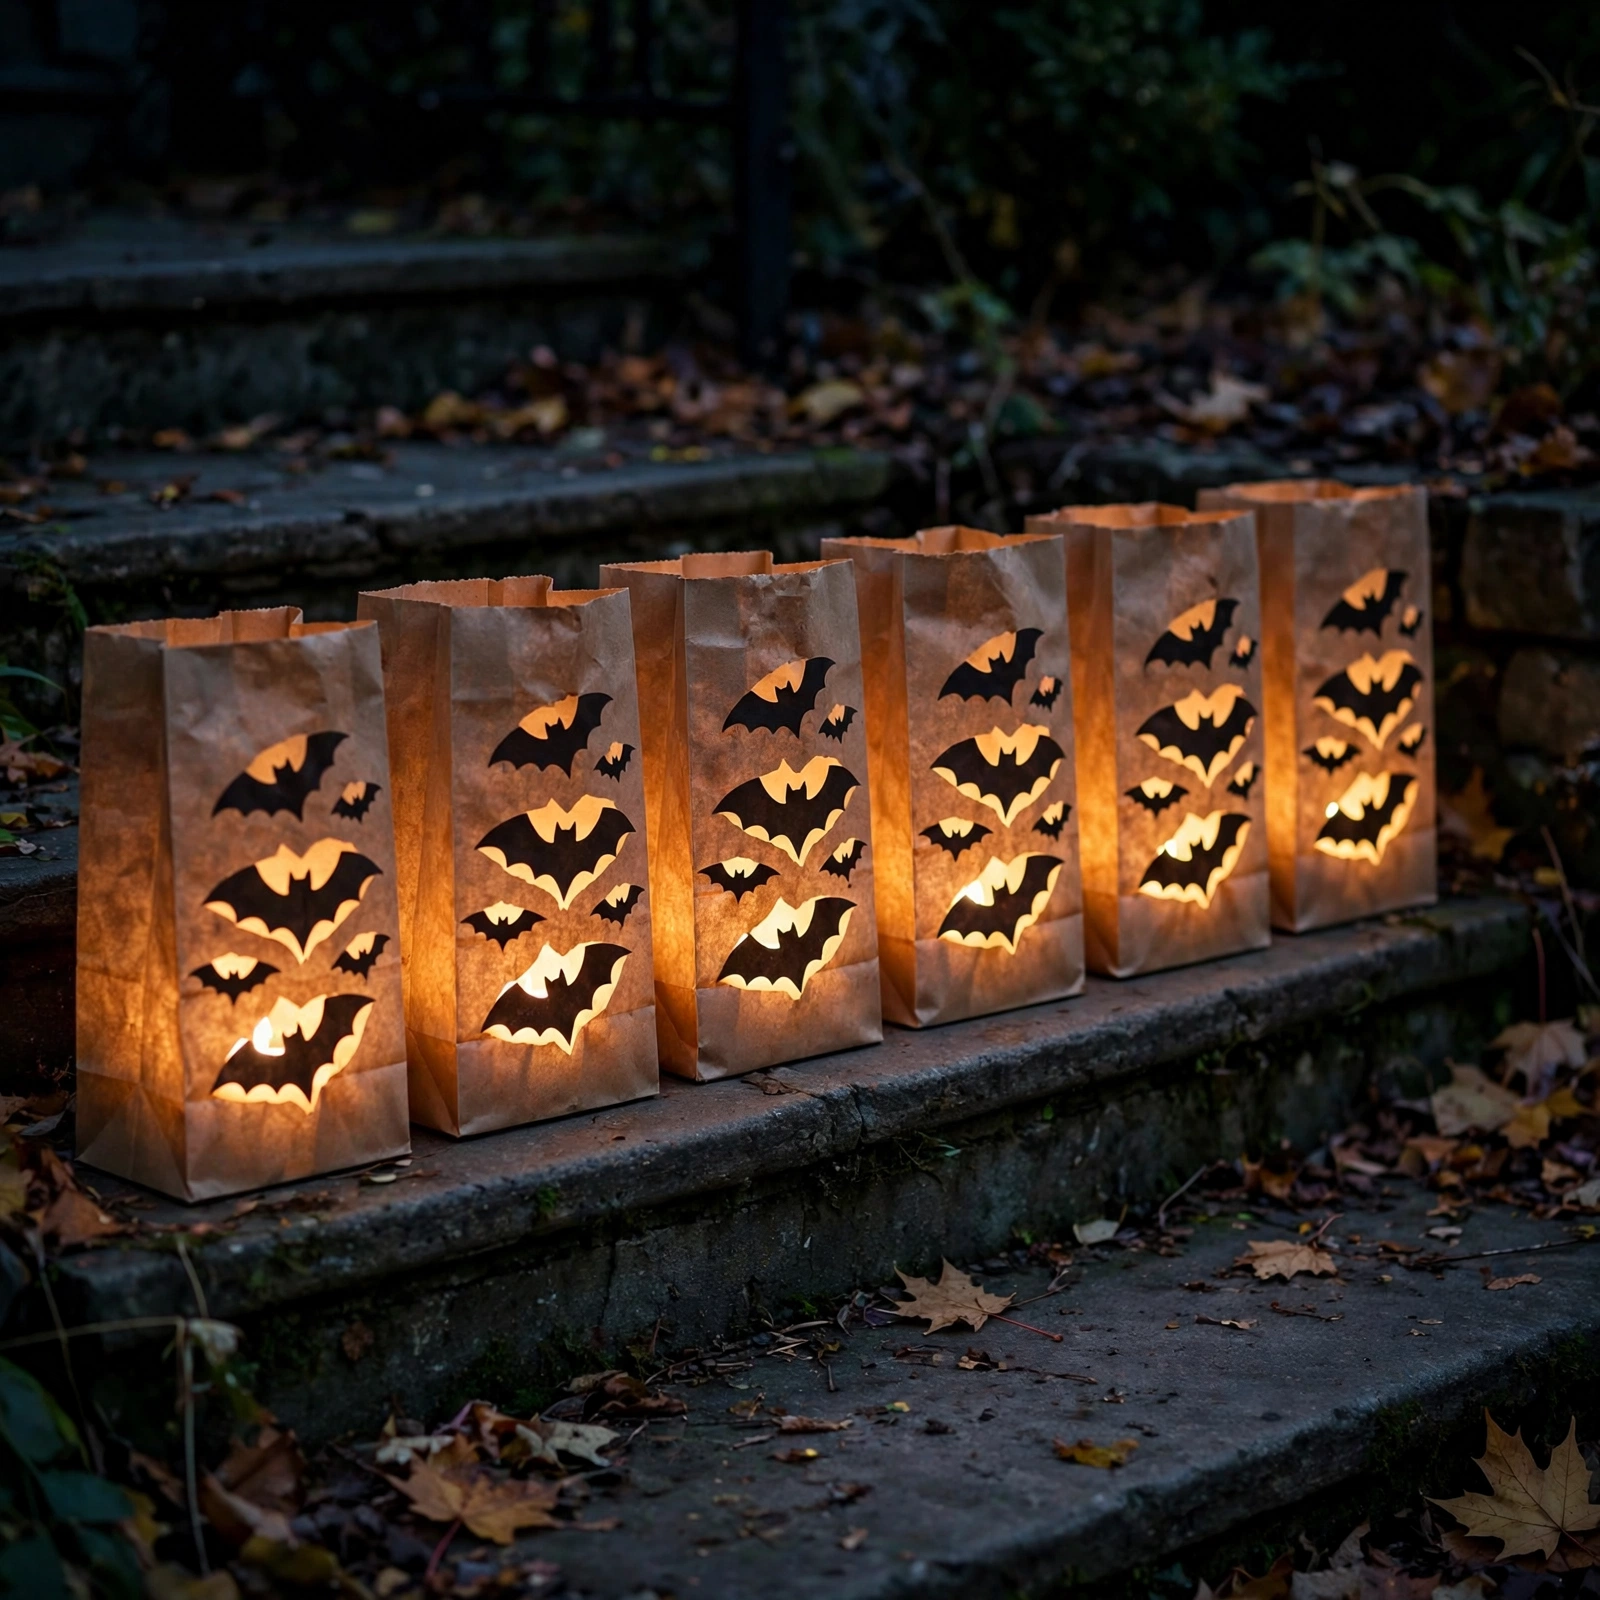
Cut bat or moon shapes from brown paper bags, fold the tops down, add sand, and drop in an LED tea light. The cheapest of all cheap Halloween crafts: pennies apiece, pure magic in a row. Lined along a walkway or steps, they guide trick-or-treaters with warm, flickering light and look like something from a storybook. For more inspiration, see our halloween door decorations for a great first impression.
Keep the cutout designs bold and simple; intricate shapes tear and do not read from a distance. A row of identical bags looks far more polished than mixed patterns, so pick one motif and repeat it. The warm glow through the brown paper is forgiving and cozy, which makes these Halloween DIY decorations perfect for beginners. For more inspiration, see our halloween front porch decor ideas (pro-styled looks).
Tip: Always use LED lights near paper, never real flame. Two inches of sand in each bag stops wind topples. For more inspiration, see our haunted house halloween decorations.
3. No-Carve Painted Pumpkins
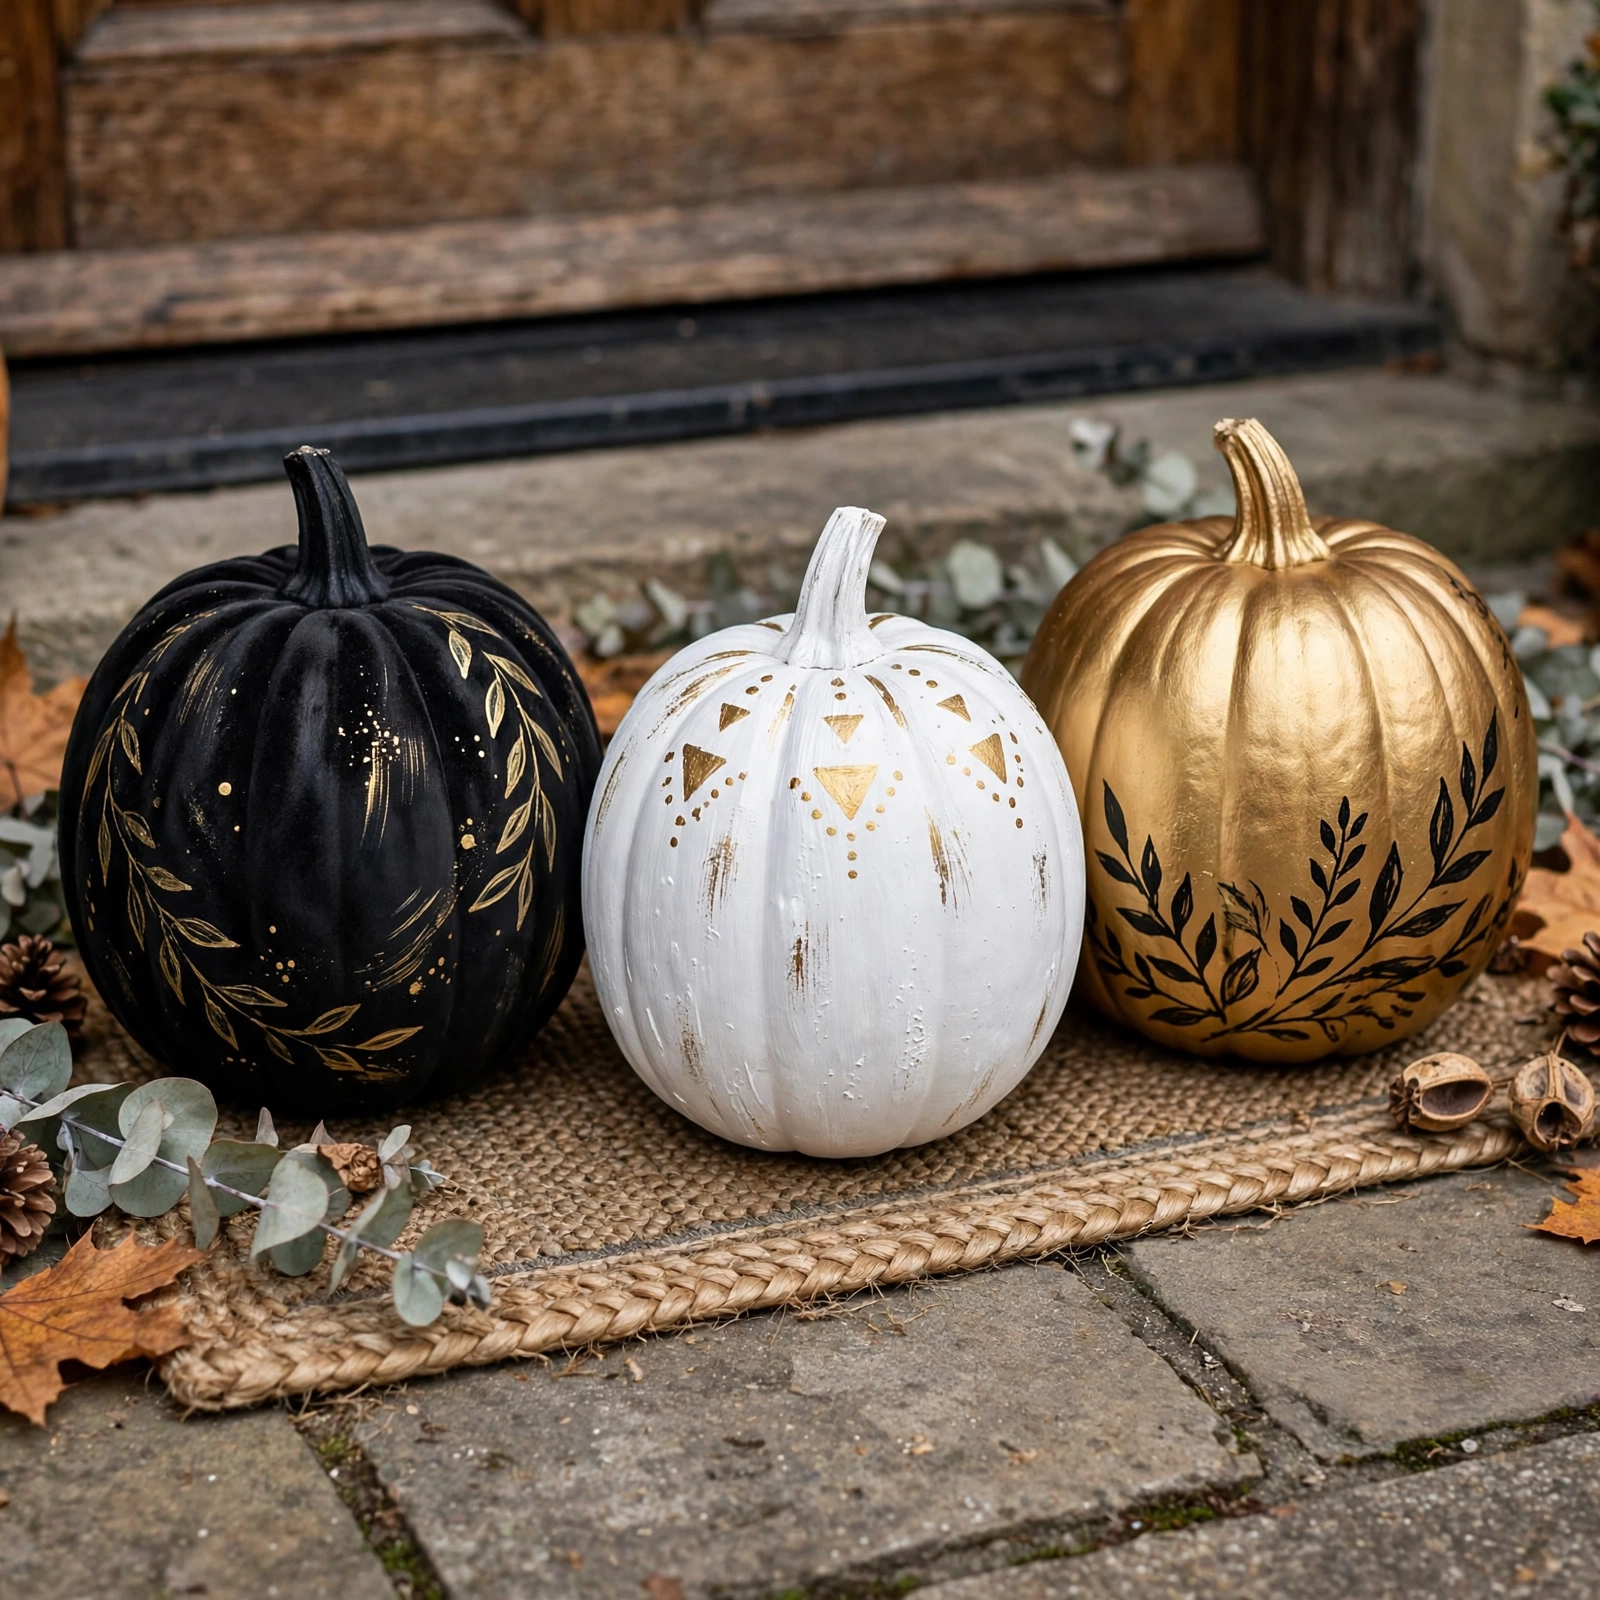
Skip the knives: matte black with gold geometrics, white with spiderwebs, a sunset ombre fade. Among easy Halloween DIY projects, painted pumpkins are the crowd-pleaser, and they outlast carved ones by weeks since there is nothing to rot. Kids can do the whole project safely, and adults can go as artistic as they like. For more inspiration, see our halloween living room decor ideas.
A coordinating trio in black, white, and gold looks like a deliberate collection rather than three random pumpkins. Seal finished pumpkins with clear matte spray so the paint survives October weather. This is one of those Halloween DIY decorations that works indoors too: painted minis make great table and mantel accents. For more inspiration, see our spooky halloween party ideas for your home (2026).
Tip: Wipe each pumpkin with rubbing alcohol first; it removes the waxy coating so paint adheres instead of beading up. For more inspiration, see our halloween porch ideas.
4. Tin Can Lanterns
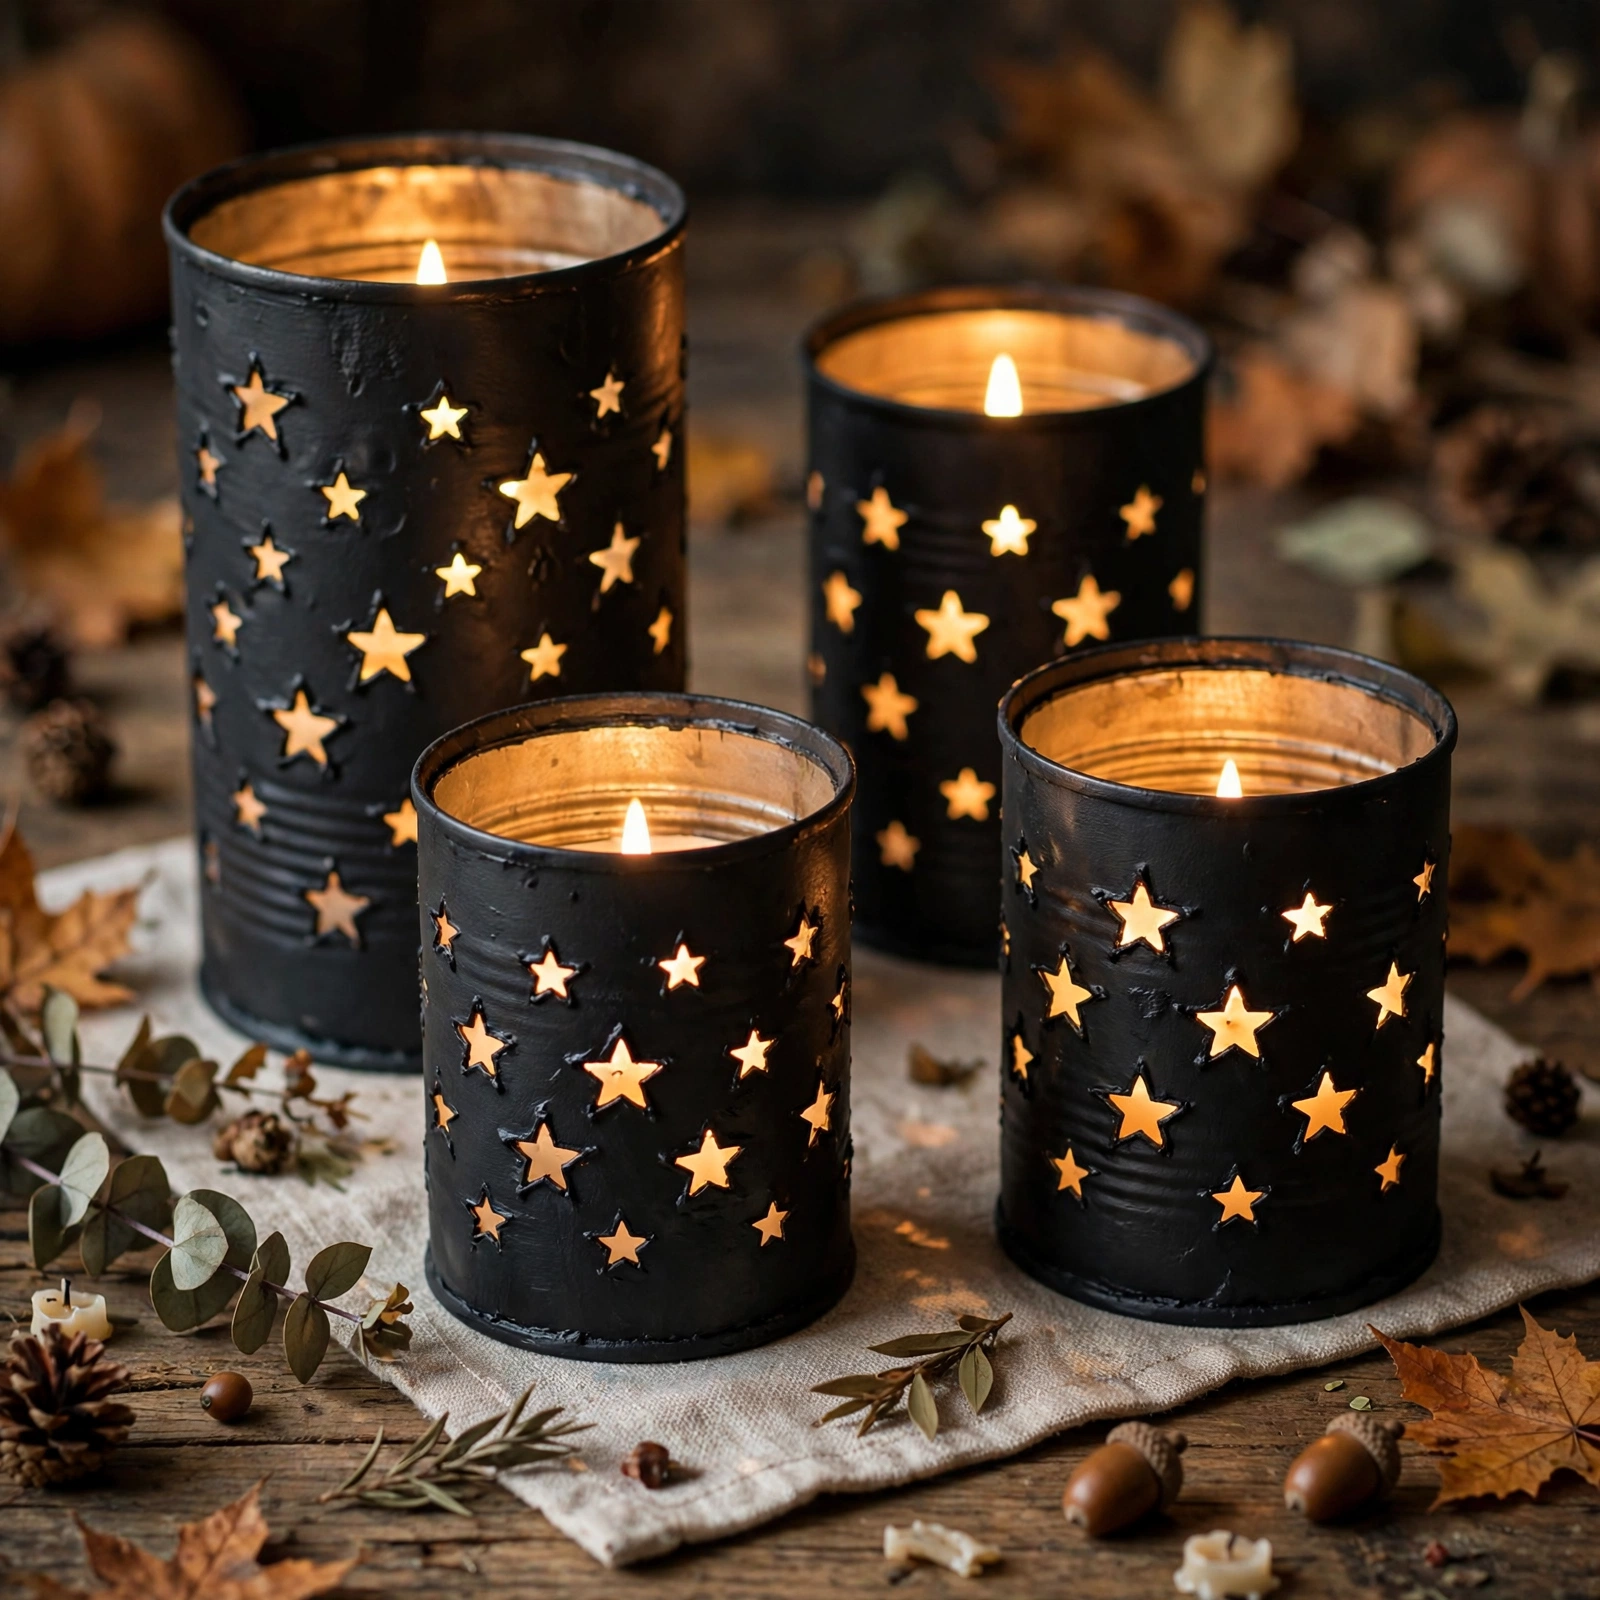
Freeze water-filled cans solid, punch patterns with a hammer and nail (the ice prevents denting), then add a candle: the holes project constellations of light. Tin can lanterns are glowing Halloween DIY decorations with a blacksmith-meets-craft-table charm, and the materials are literally trash until you transform them. For more inspiration in the same style, browse our pool noodle Halloween decor ideas.
Punch jack-o-lantern faces for classic Halloween, or star and moon constellations for something prettier. Spray the cans matte black first for a finished look that hides labels and rust spots. Line them along a table or hang them from shepherd’s hooks; grouped in threes, they punch far above their zero-dollar material cost. For more inspiration, see our halloween wreath ideas that look store-bought.
Tip: Dry cans fully after the ice melts to prevent rust, and use LED tea lights on wood surfaces since real flames heat the metal. For more inspiration, see our neon halloween decor ideas that make everything glow.
5. Cardboard Tombstones
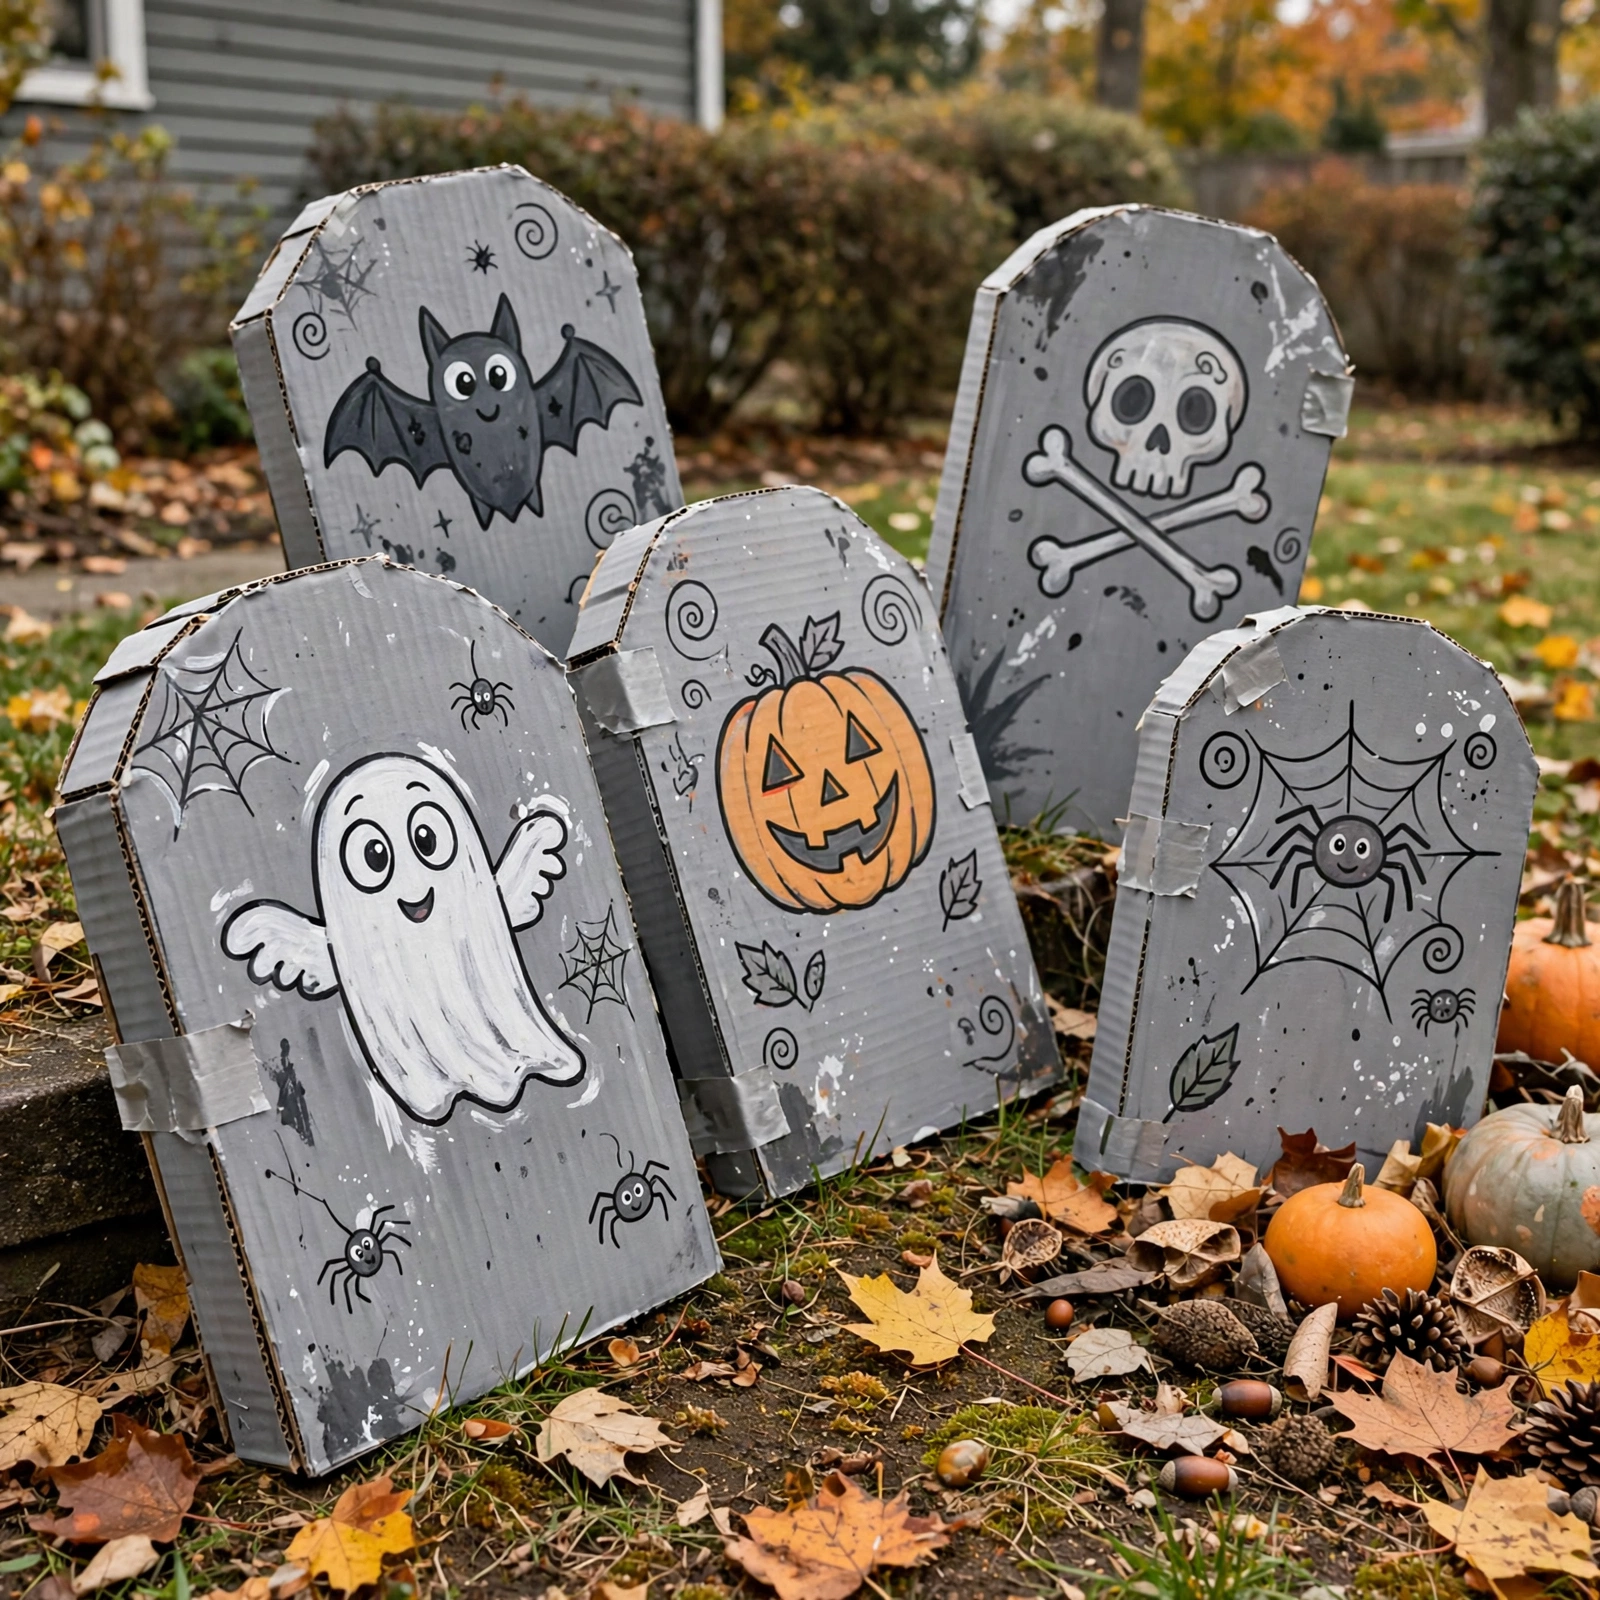
Cut tombstone shapes from sturdy cardboard with a scored standing flap, paint them gray with dark crevice shading, and letter funny epitaphs in paint marker. A little yard cemetery costs almost nothing and delivers one of the most recognizable Halloween scenes. Lean a few at angles for that deliciously neglected-graveyard look. For more inspiration, see our primitive halloween decor ideas with a vintage feel.
Vary the heights and dry-brush darker gray and moss-green at the bases for age. Funny epitaphs photograph better than grim ones, especially with kids around. These Halloween DIY decorations prove that the graveyard effect comes from arrangement, not materials: six leaning stones read “haunted” no matter what they are made of. For more inspiration, see our witch halloween decor ideas that feel truly magical.
Tip: Seal with clear outdoor sealer or bring them in during wet weeks; soggy cardboard is sad and short-lived. For more inspiration, see our zombie halloween decorations.
6. Mummy-Wrapped Jars
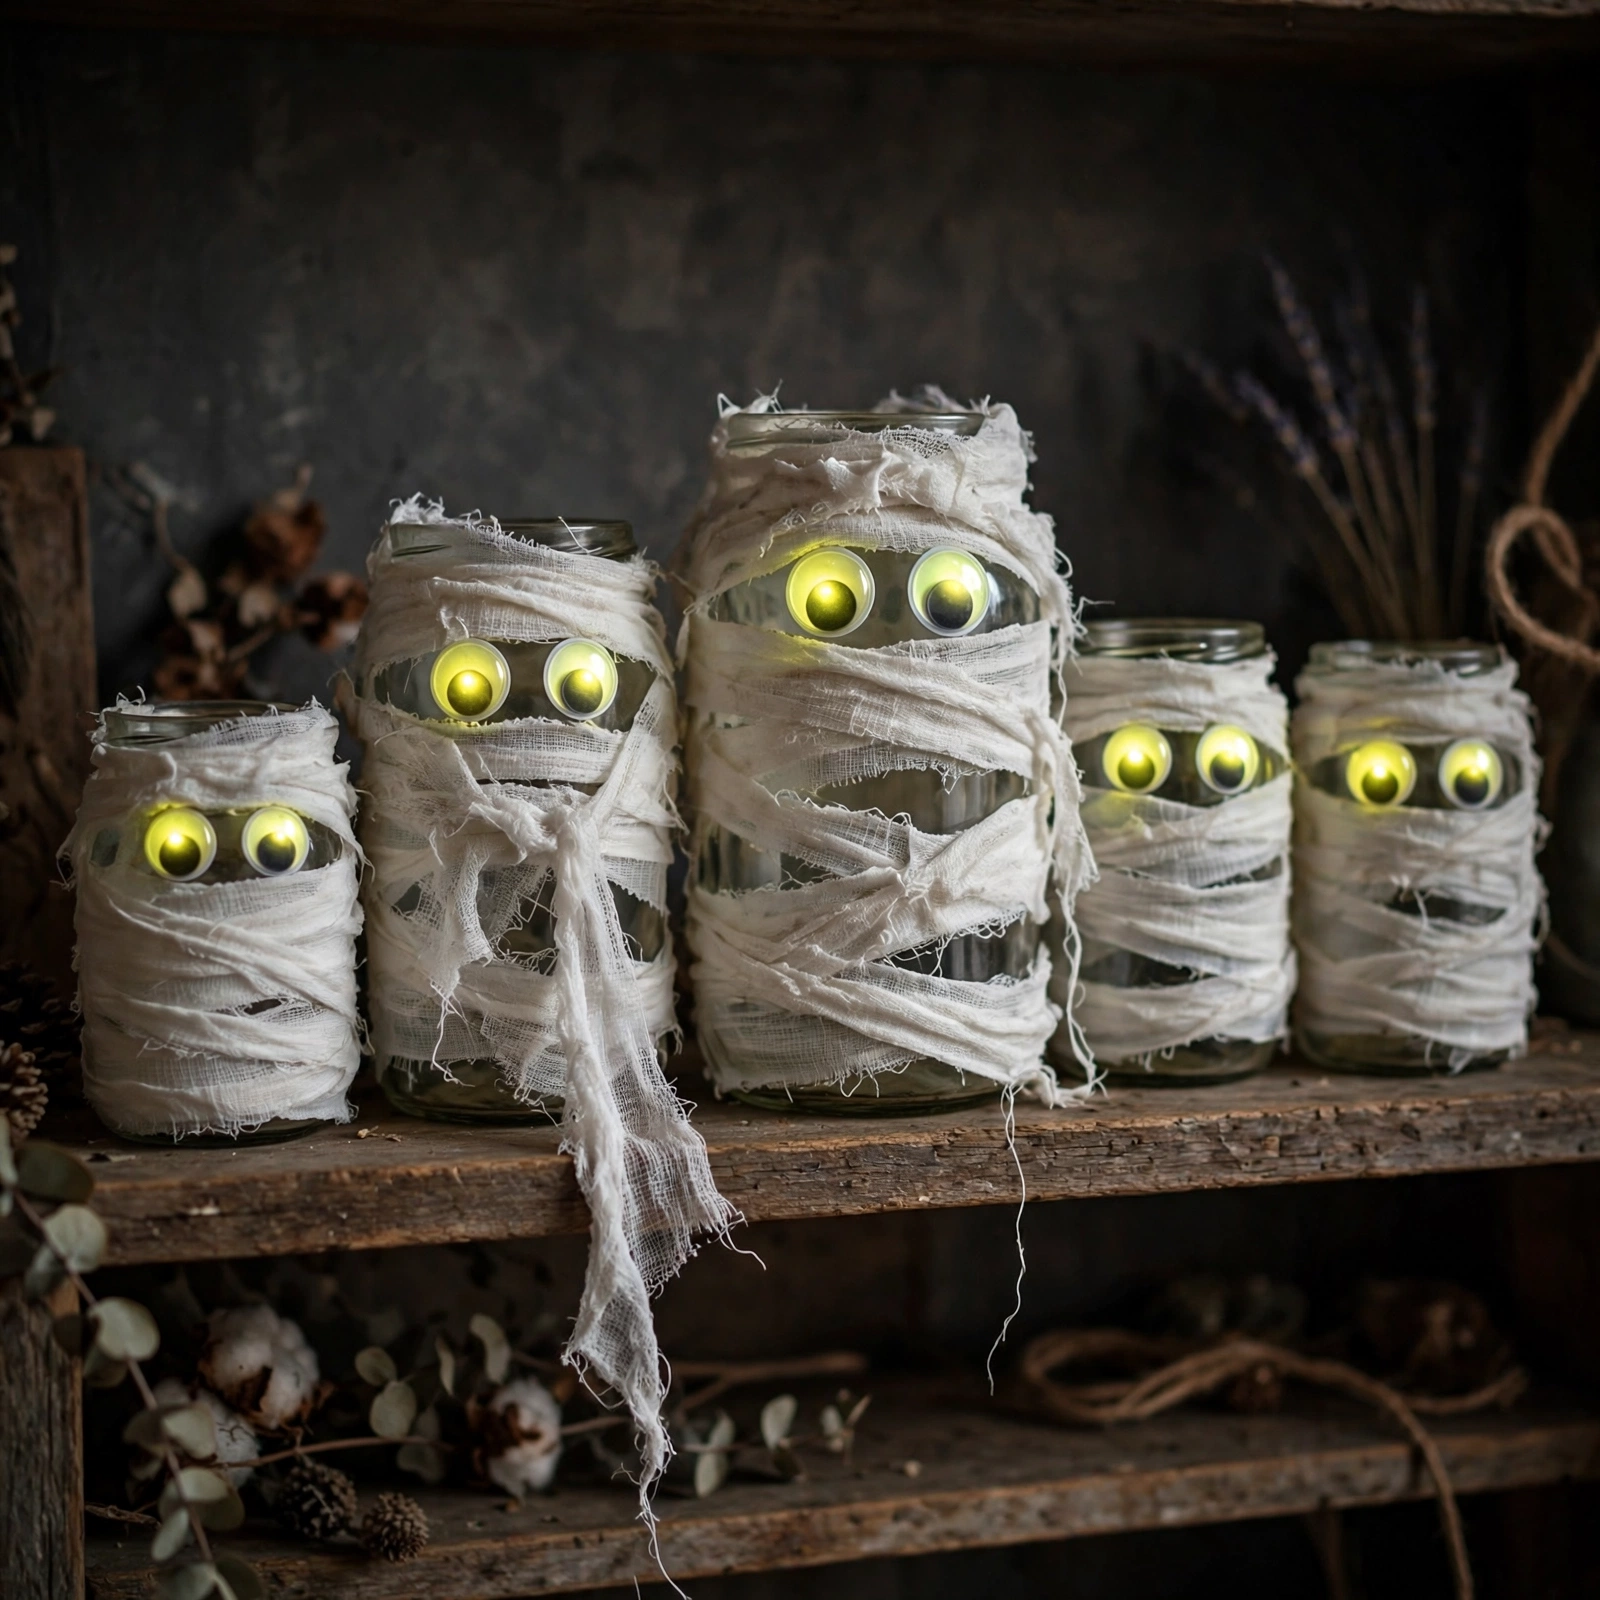
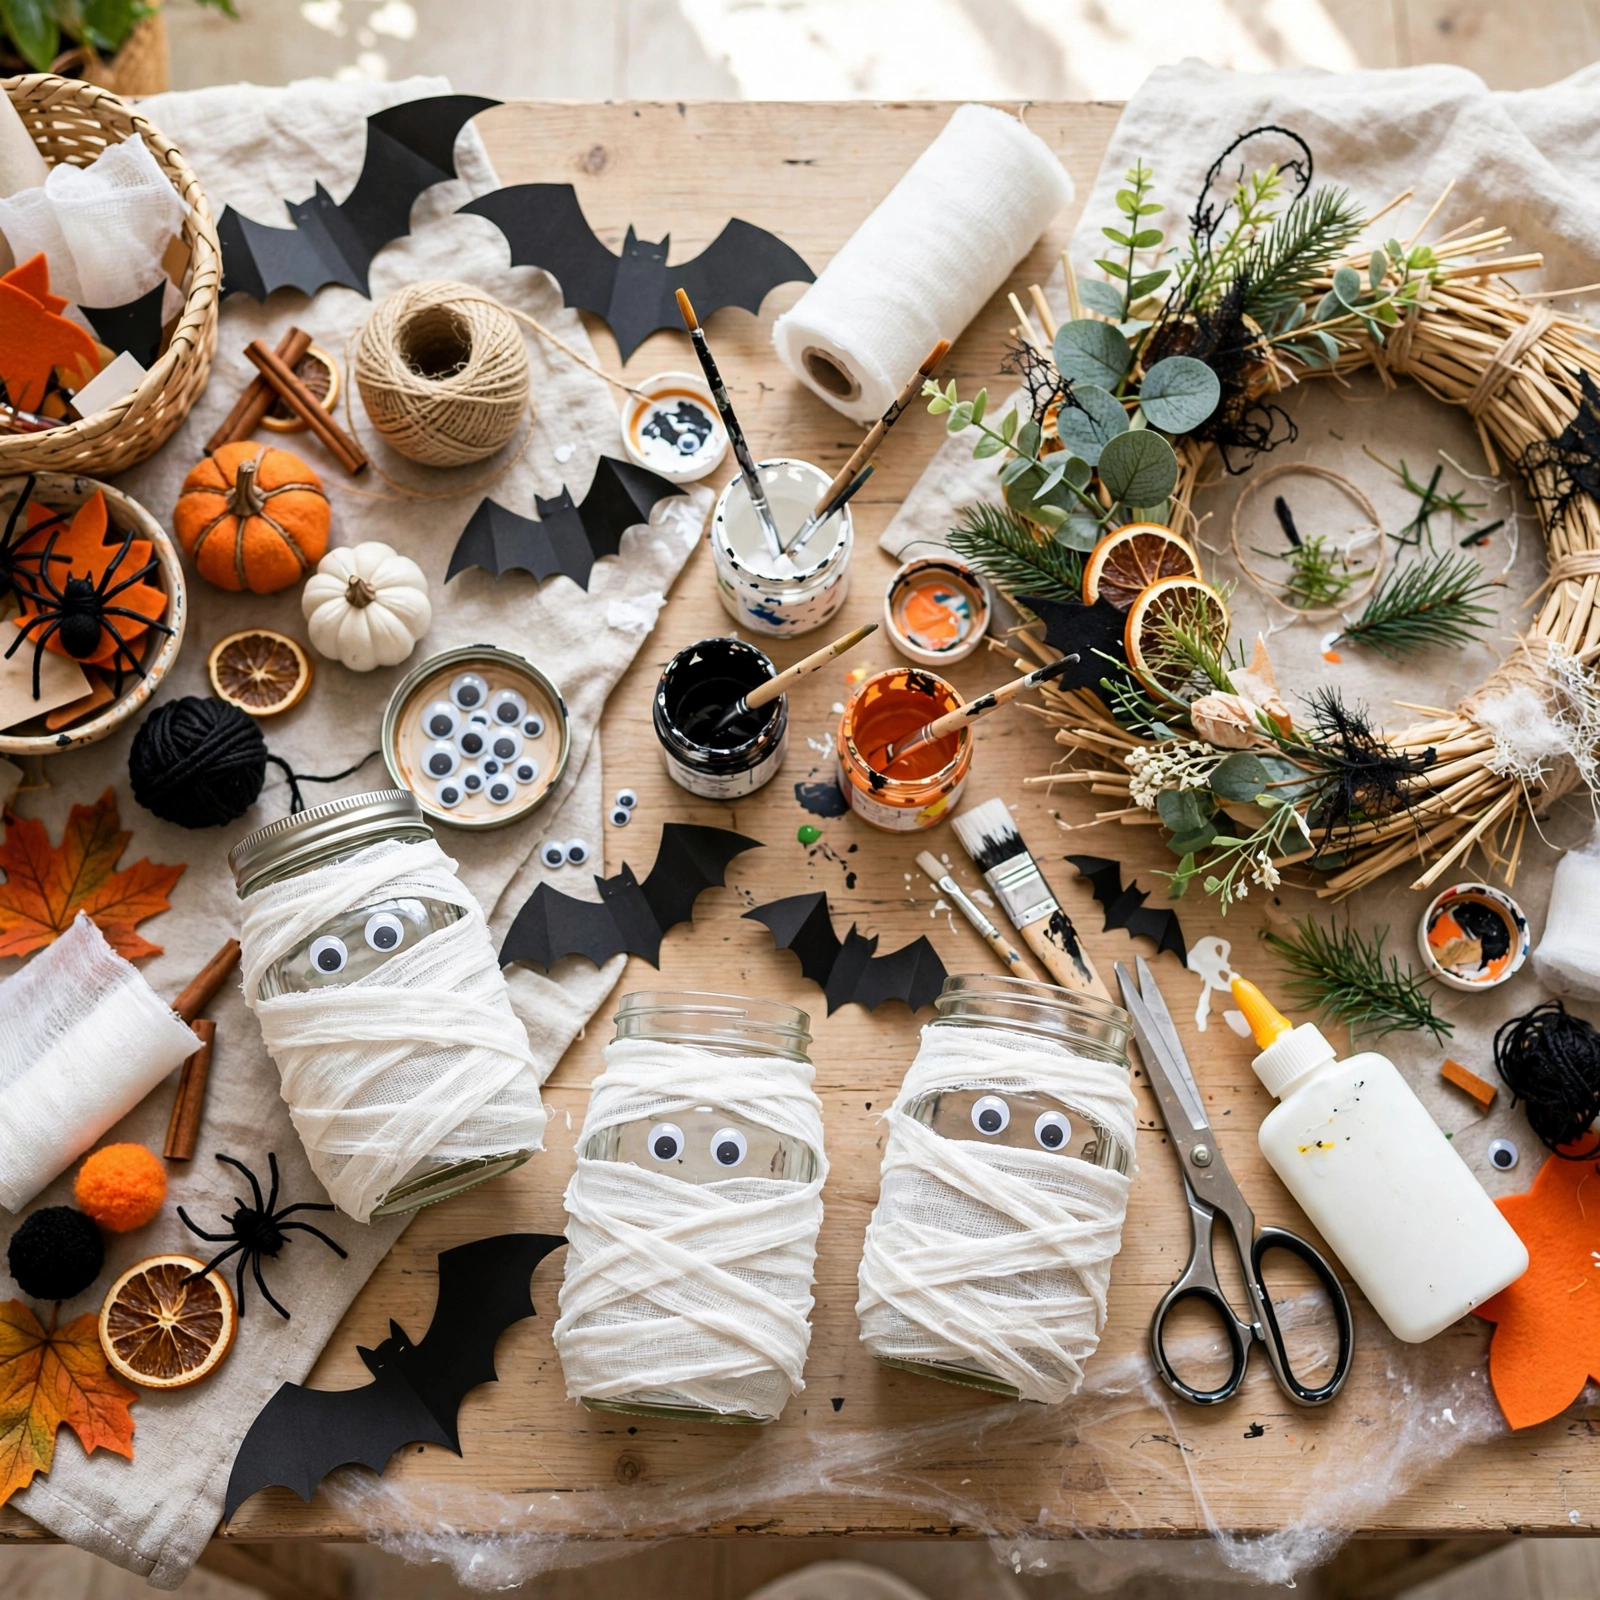
Wrap glass jars in torn white fabric strips, gluing as you go, leaving a gap for googly eyes. Add an LED tea light and you have a shelf of glowing mummies. DIY Halloween decor ideas do not get more charming than a family of mummies lined up on a mantel, and the whole project takes about twenty minutes. For more inspiration, see our cozy halloween decor ideas that feel warm, not scary.
Overlap the strips unevenly for authentic bandaging; too-neat wrapping looks like a bandage commercial. Group three jars in different sizes for the family-of-mummies effect. The warm light shining through the fabric gaps makes them glow from within, which is far spookier and cuter than paint could ever manage.
Tip: Tear the fabric instead of cutting it; torn edges fray like ancient wrappings.
7. Black Cat Silhouette Cutouts
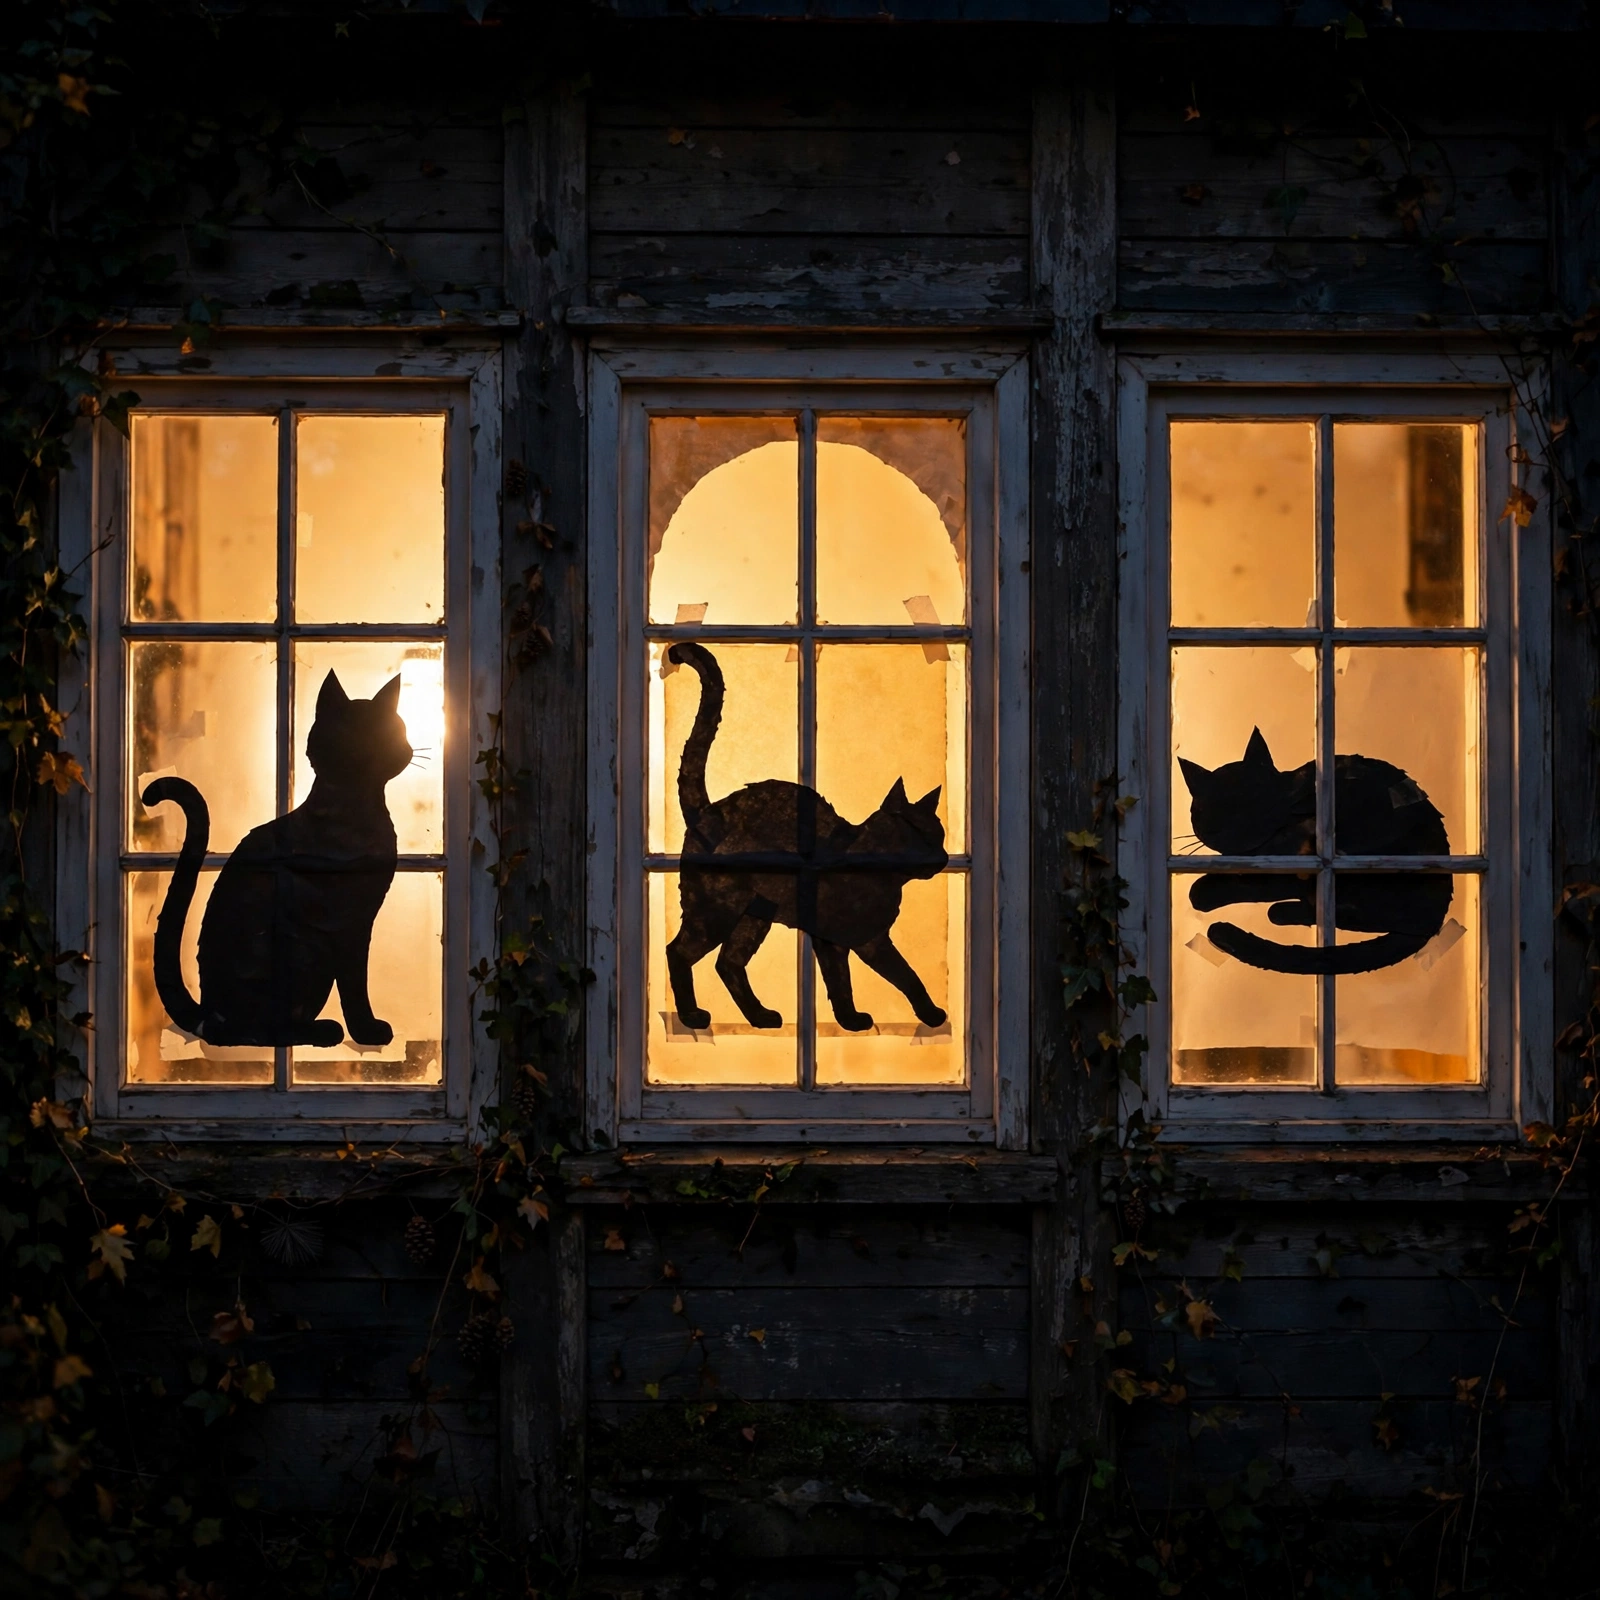
Cut arched-back cat silhouettes from black poster board and tape them inside windows. Backlit by indoor lamps, they look like real cats patrolling the sills. It is one of the most effective Halloween DIY decorations for after dark: from the street, your house looks inhabited by a whole clowder of watchful cats.
Place them in different windows at different heights, and add yellow “moon” circles behind some for glowing eyes. The silhouettes cost almost nothing but the nighttime effect is dramatic. This is also one of the few Halloween DIY decorations that looks completely clean and graphic, great for modern homes.
Tip: Trace a printed template instead of freehanding; freehand cats come out looking like lumpy dogs.
8. Yarn Spiderwebs
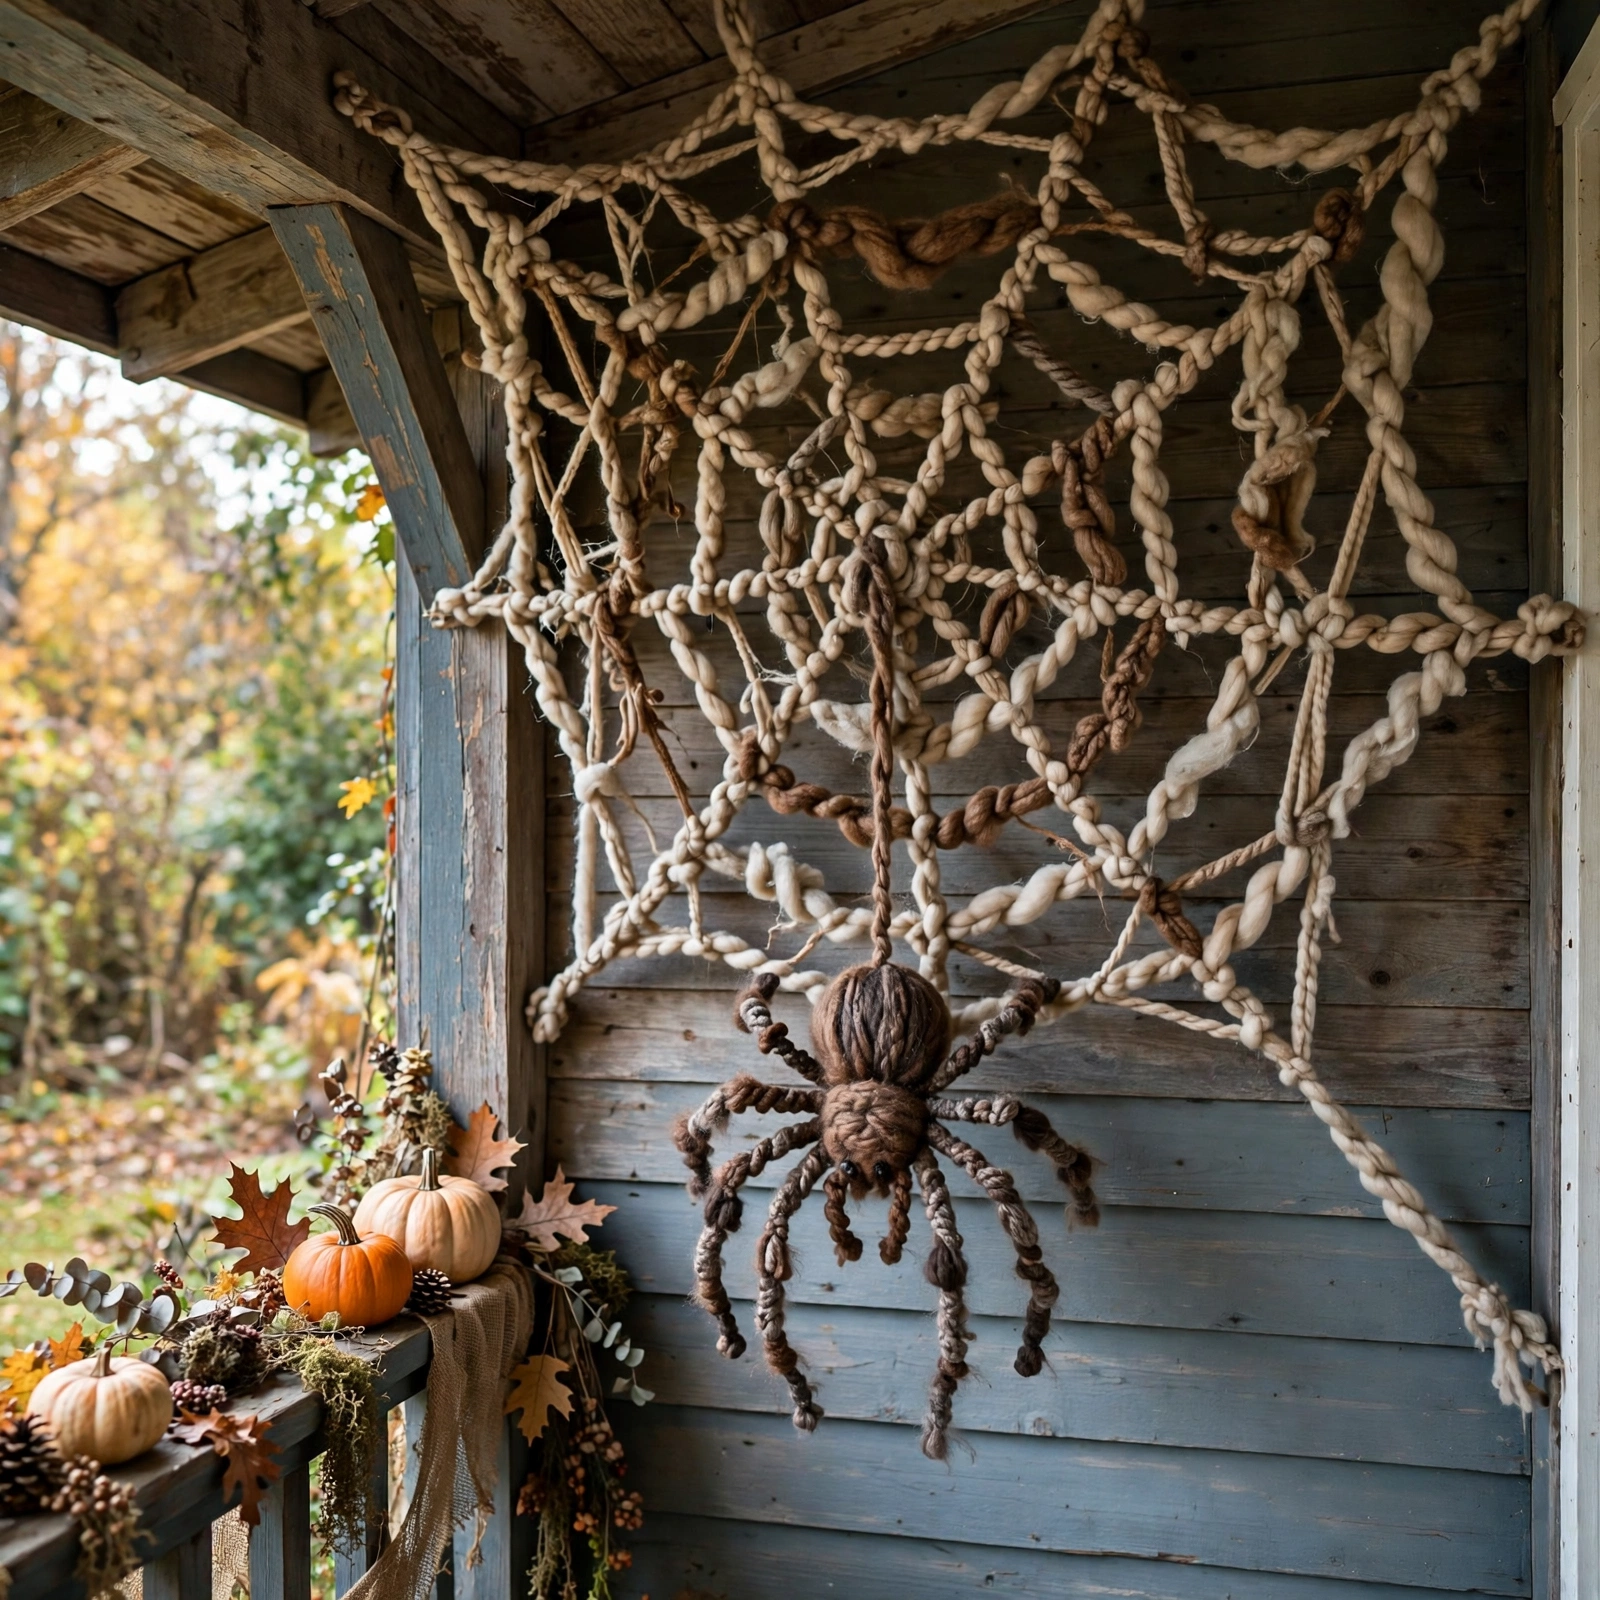
Stretch white or silver yarn between anchor points: radiating spokes first, then a connecting spiral, for a giant handmade web plus a dollar-store spider. A big, slightly imperfect yarn web looks wonderfully handmade in the best way, and it photographs beautifully against a dark porch. Pair this idea with our DIY outdoor Halloween decorations for a complete seasonal look.
Hang them in porch corners, across railings, or in windows, and keep the web slightly asymmetrical like a real one. Add the spider off-center for realism. These Halloween DIY decorations scale up impressively: a six-foot web across a porch corner is a genuine showpiece.
Tip: Use removable adhesive at each anchor point for damage-free takedown in seconds when November arrives.
9. Floating Witch Hats
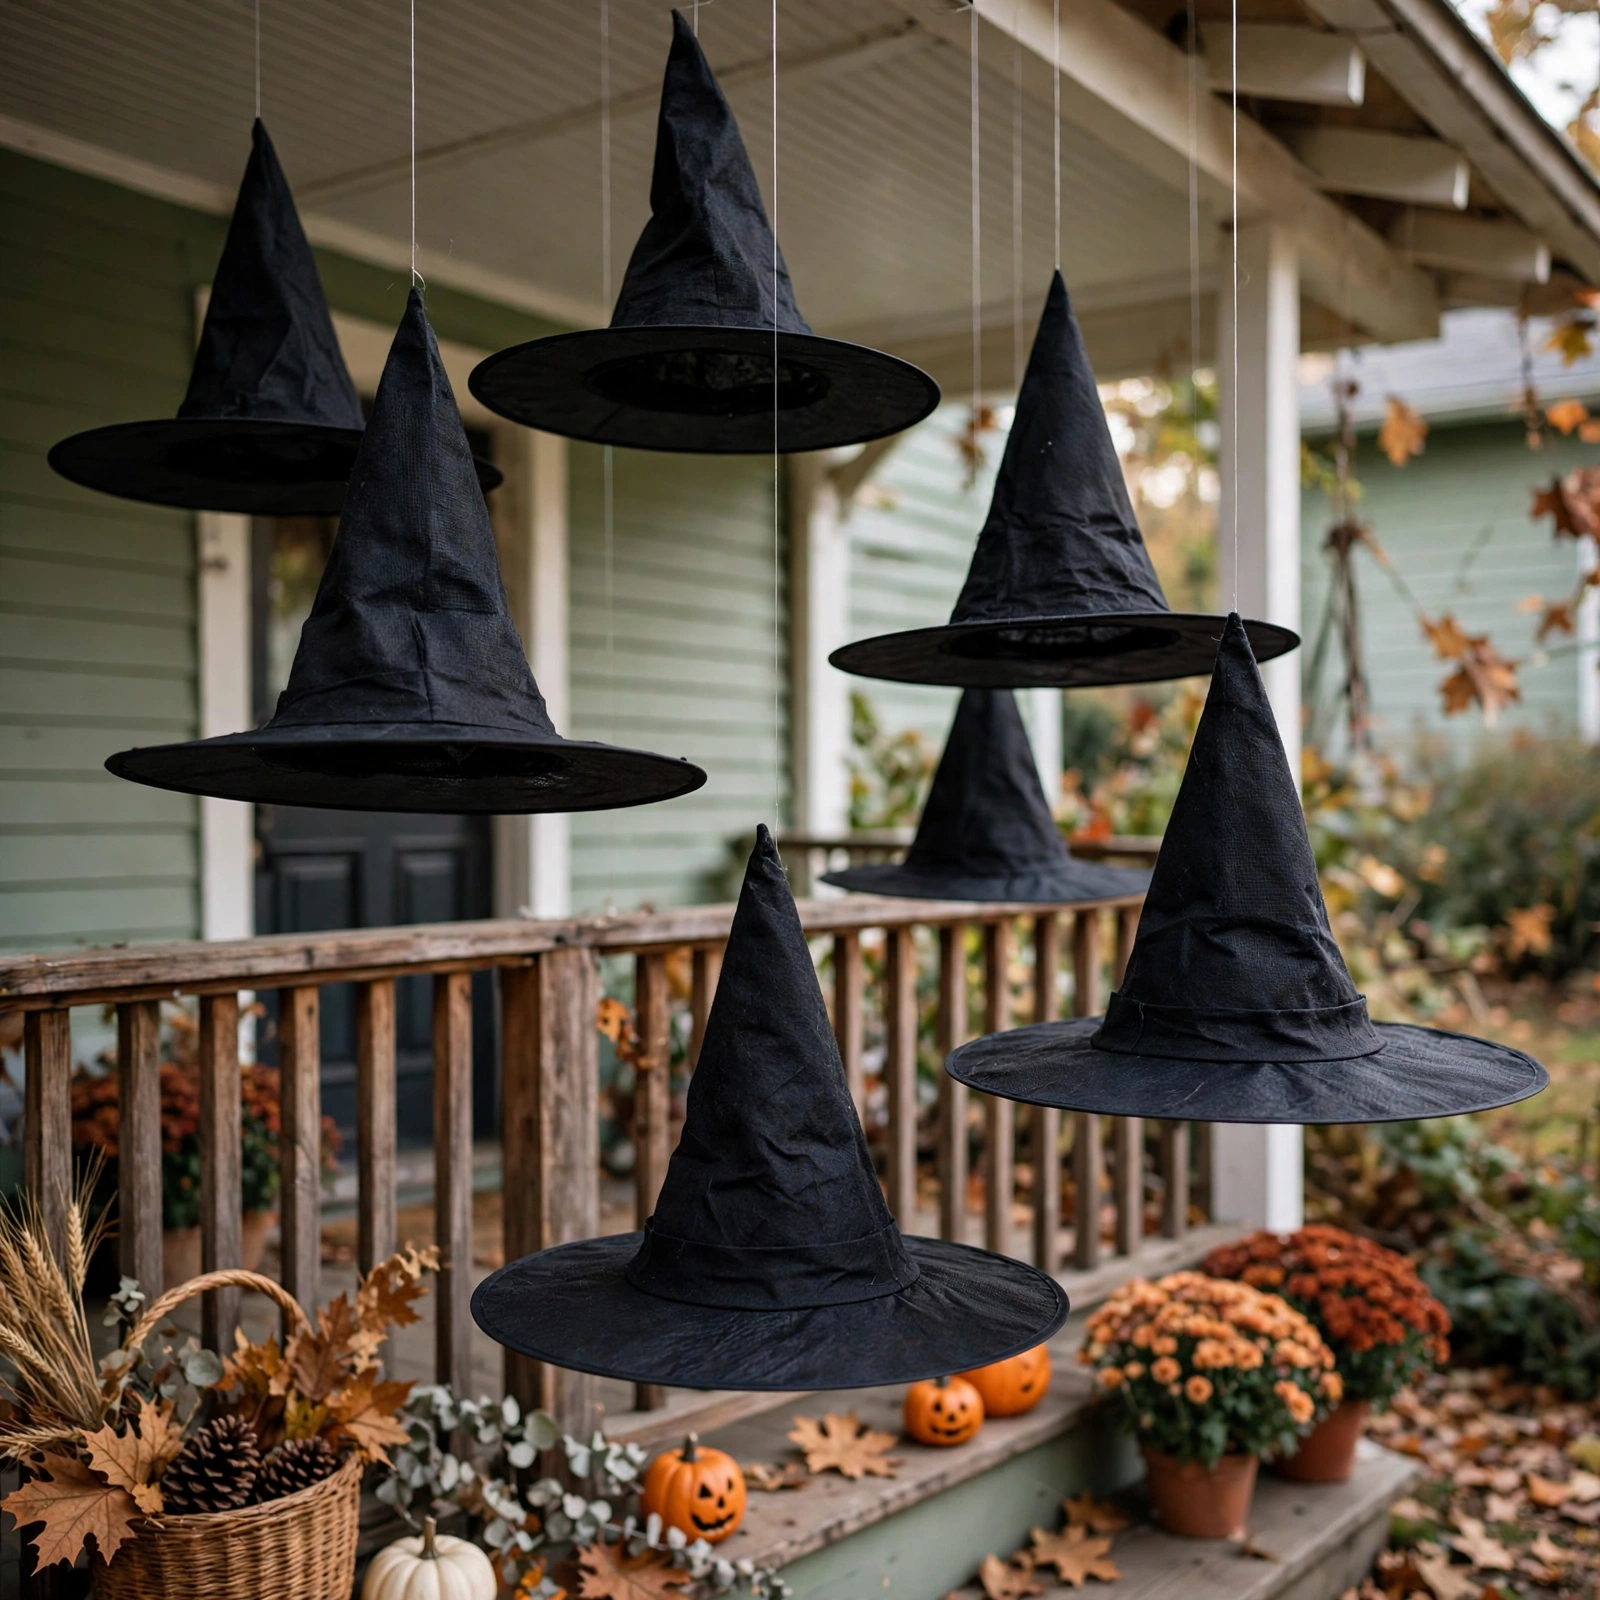
Hang dollar-store witch hats on clear fishing line at staggered heights so they bob in the breeze like invisible witches wear them. The ultimate dollar store Halloween crafts win: a few dollars, ten minutes, and a porch that looks enchanted. At night with a spotlight from below, the hats cast dramatic silhouettes.
Cluster them loosely with about a foot of height variation; a tight grid looks staged, a loose cluster looks magical. Stuff each hat with newspaper so it holds its cone shape, because collapsed hats ruin the illusion. These Halloween DIY decorations are especially fun over a walkway, where visitors pass under the hovering hats.
Tip: Use outdoor-rated fishing line; cheap line yellows in the sun and the hats stop looking like they float.
10. Bleeding Candles
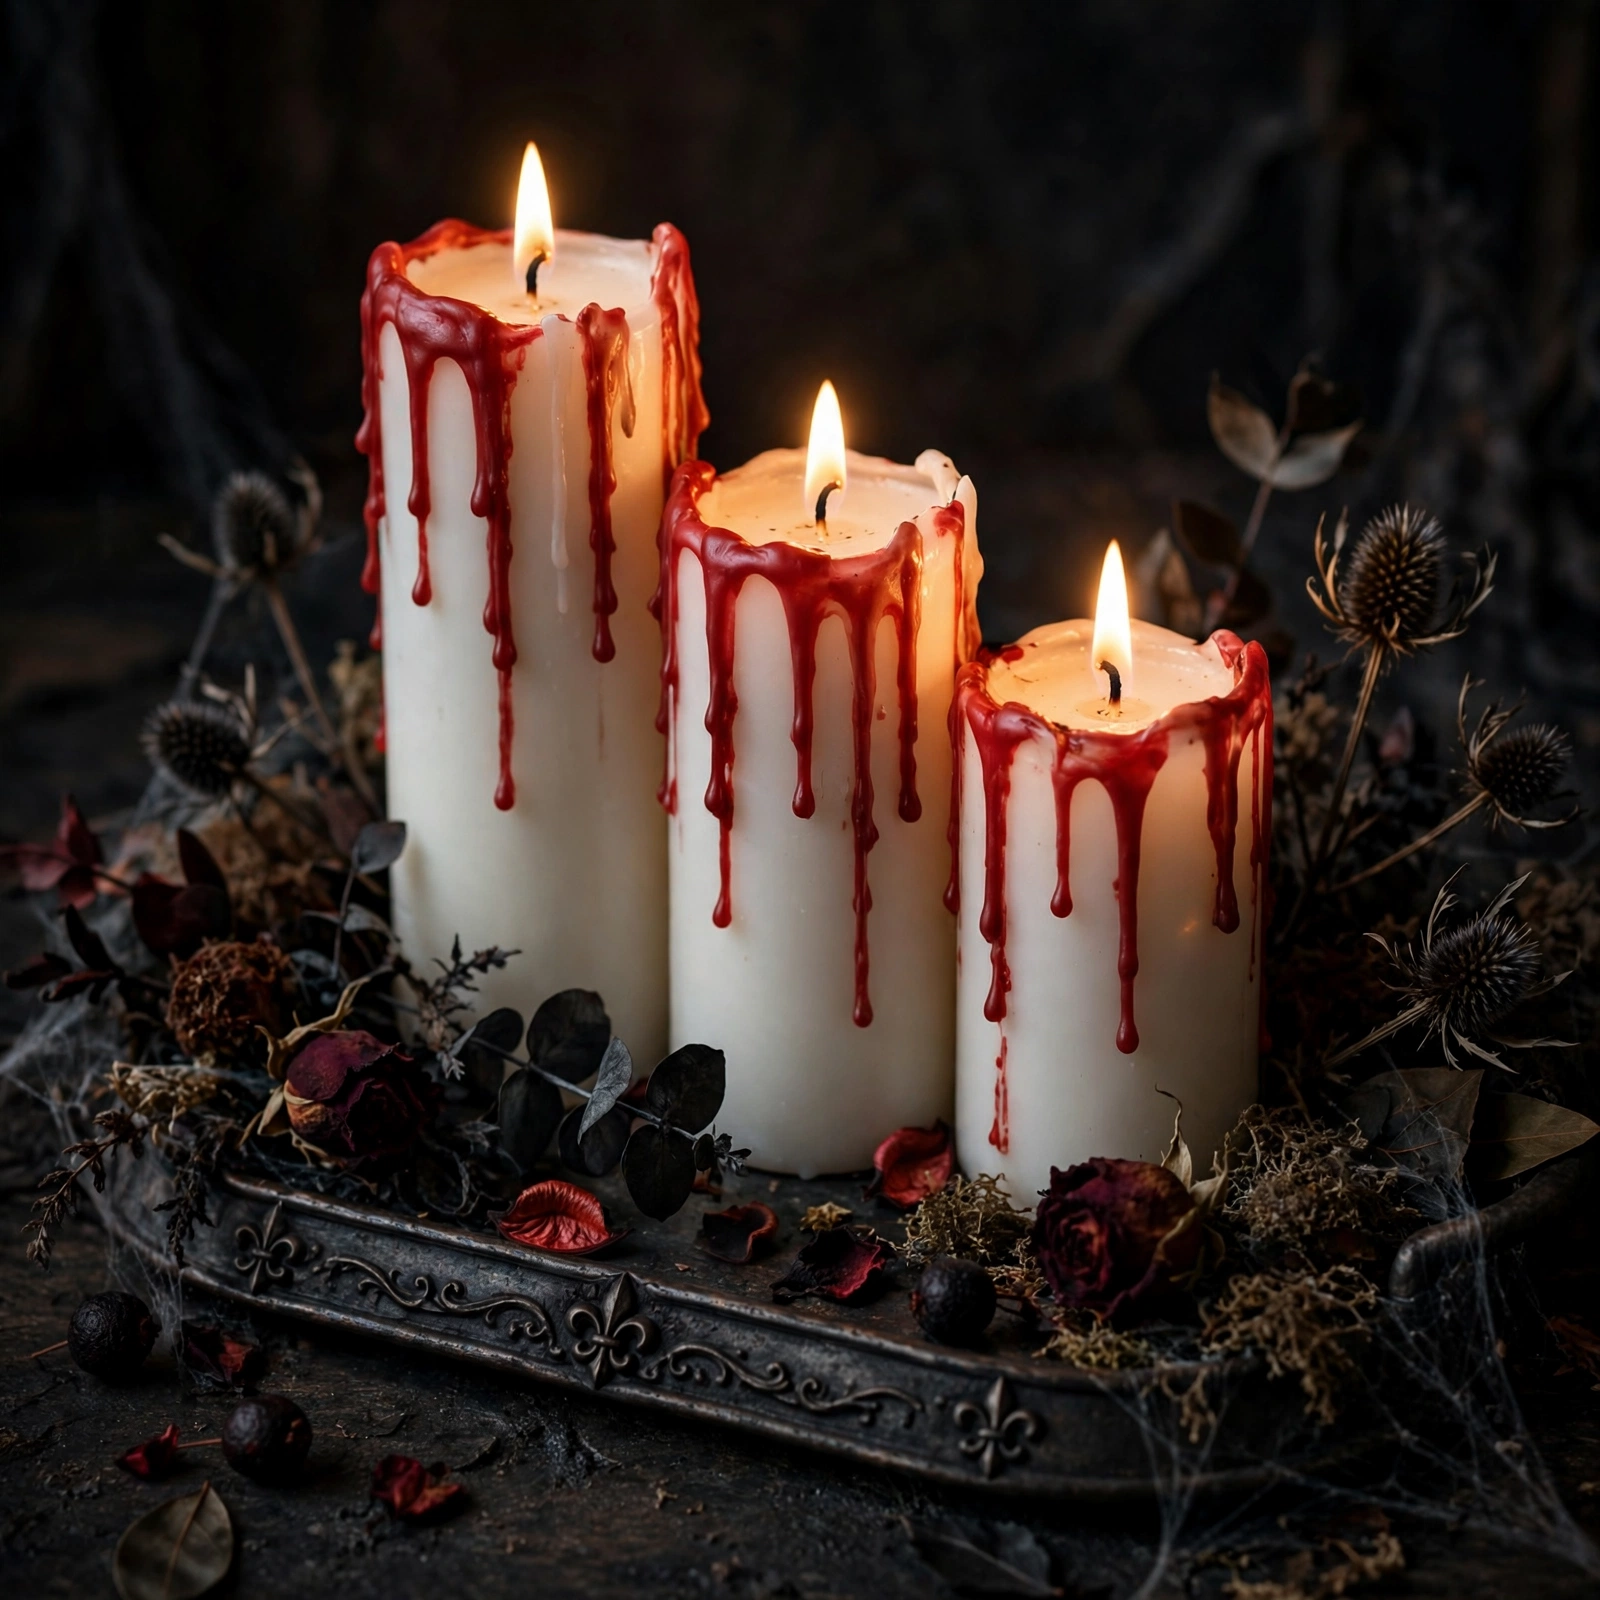
Drip red wax down white pillar candles for a gothic-horror prop that is mesmerizing when lit. The red rivulets catch the candlelight and look deliciously dramatic on a dark tray with black accents. It is one of the most striking Halloween DIY decorations on this list, and it takes about fifteen minutes.
Let the drips fall naturally down the sides; controlled, even drips look fake. Display the finished candles on a dark tray surrounded by black fabric or dried flowers for maximum gothic effect. A trio of different heights makes the best arrangement.
Tip: Melt the red wax in a tin can set in simmering water; never melt wax directly over a burner.
11. Thrift-Store Potion Bottles

Fill thrifted glass bottles with colored water (food coloring plus a drop of dish soap), label them “Wolfsbane” or “Nightshade” with aged paper tags, and group them on a tray backlit by fairy lights. The glass shapes and jewel-toned liquids do all the visual work. It is apothecary-chic for the price of dish soap. This project also teams up beautifully with our Halloween garland ideas.
Group varied heights and shapes together; the more mismatched the bottles, the more authentic the collection looks. Age the tags with a little tea stain for a vintage feel. These Halloween DIY decorations are perfect for a mantel or entryway table where guests will lean in to read the labels.
Tip: Add a teaspoon of rubbing alcohol per bottle to keep the water from clouding, and keep the display away from small children.
12. Cardstock Bat Garland
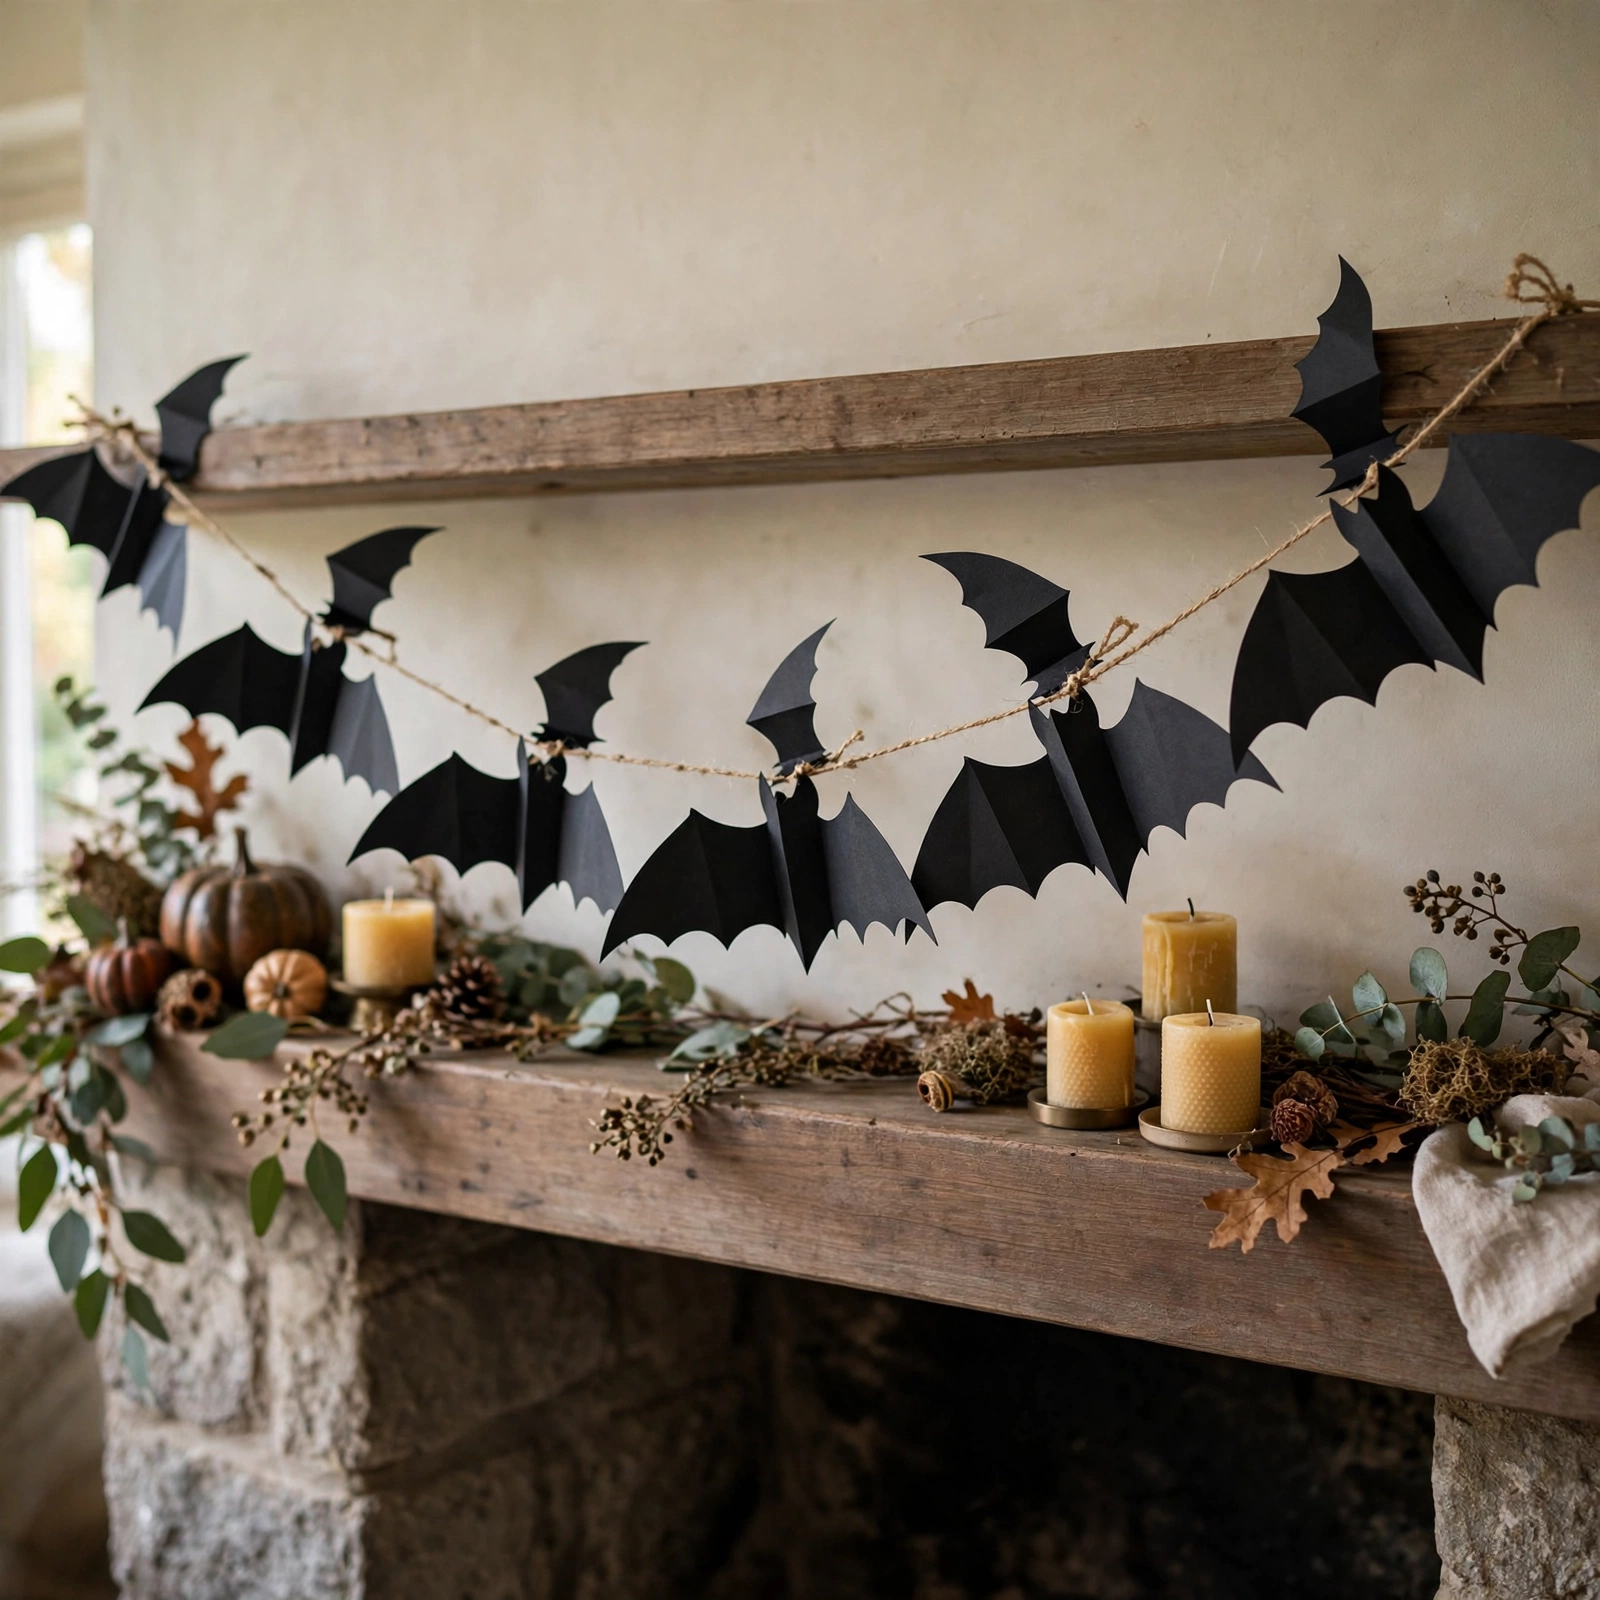
Fold black cardstock, cut half-bats along the fold, and unfold for perfect symmetry; string the bats on twine for a near-free garland. Strung across a mantel or doorway, a flock of bats in flight is one of the most graphic Halloween DIY decorations you can make. Total cost: one sheet of cardstock and some twine.
Cut three mixed sizes and face them in alternating directions so they read as a flock in flight rather than a repeating pattern. Score each wing and fold it slightly forward; the 3D angle catches the light far better than flat bats. Layer two strands at slightly different heights for depth.
Tip: Cut a whole stack at once by stapling the folded cardstock layers together before cutting; you will finish in minutes.
13. Tin Can Ghost Wind Chimes
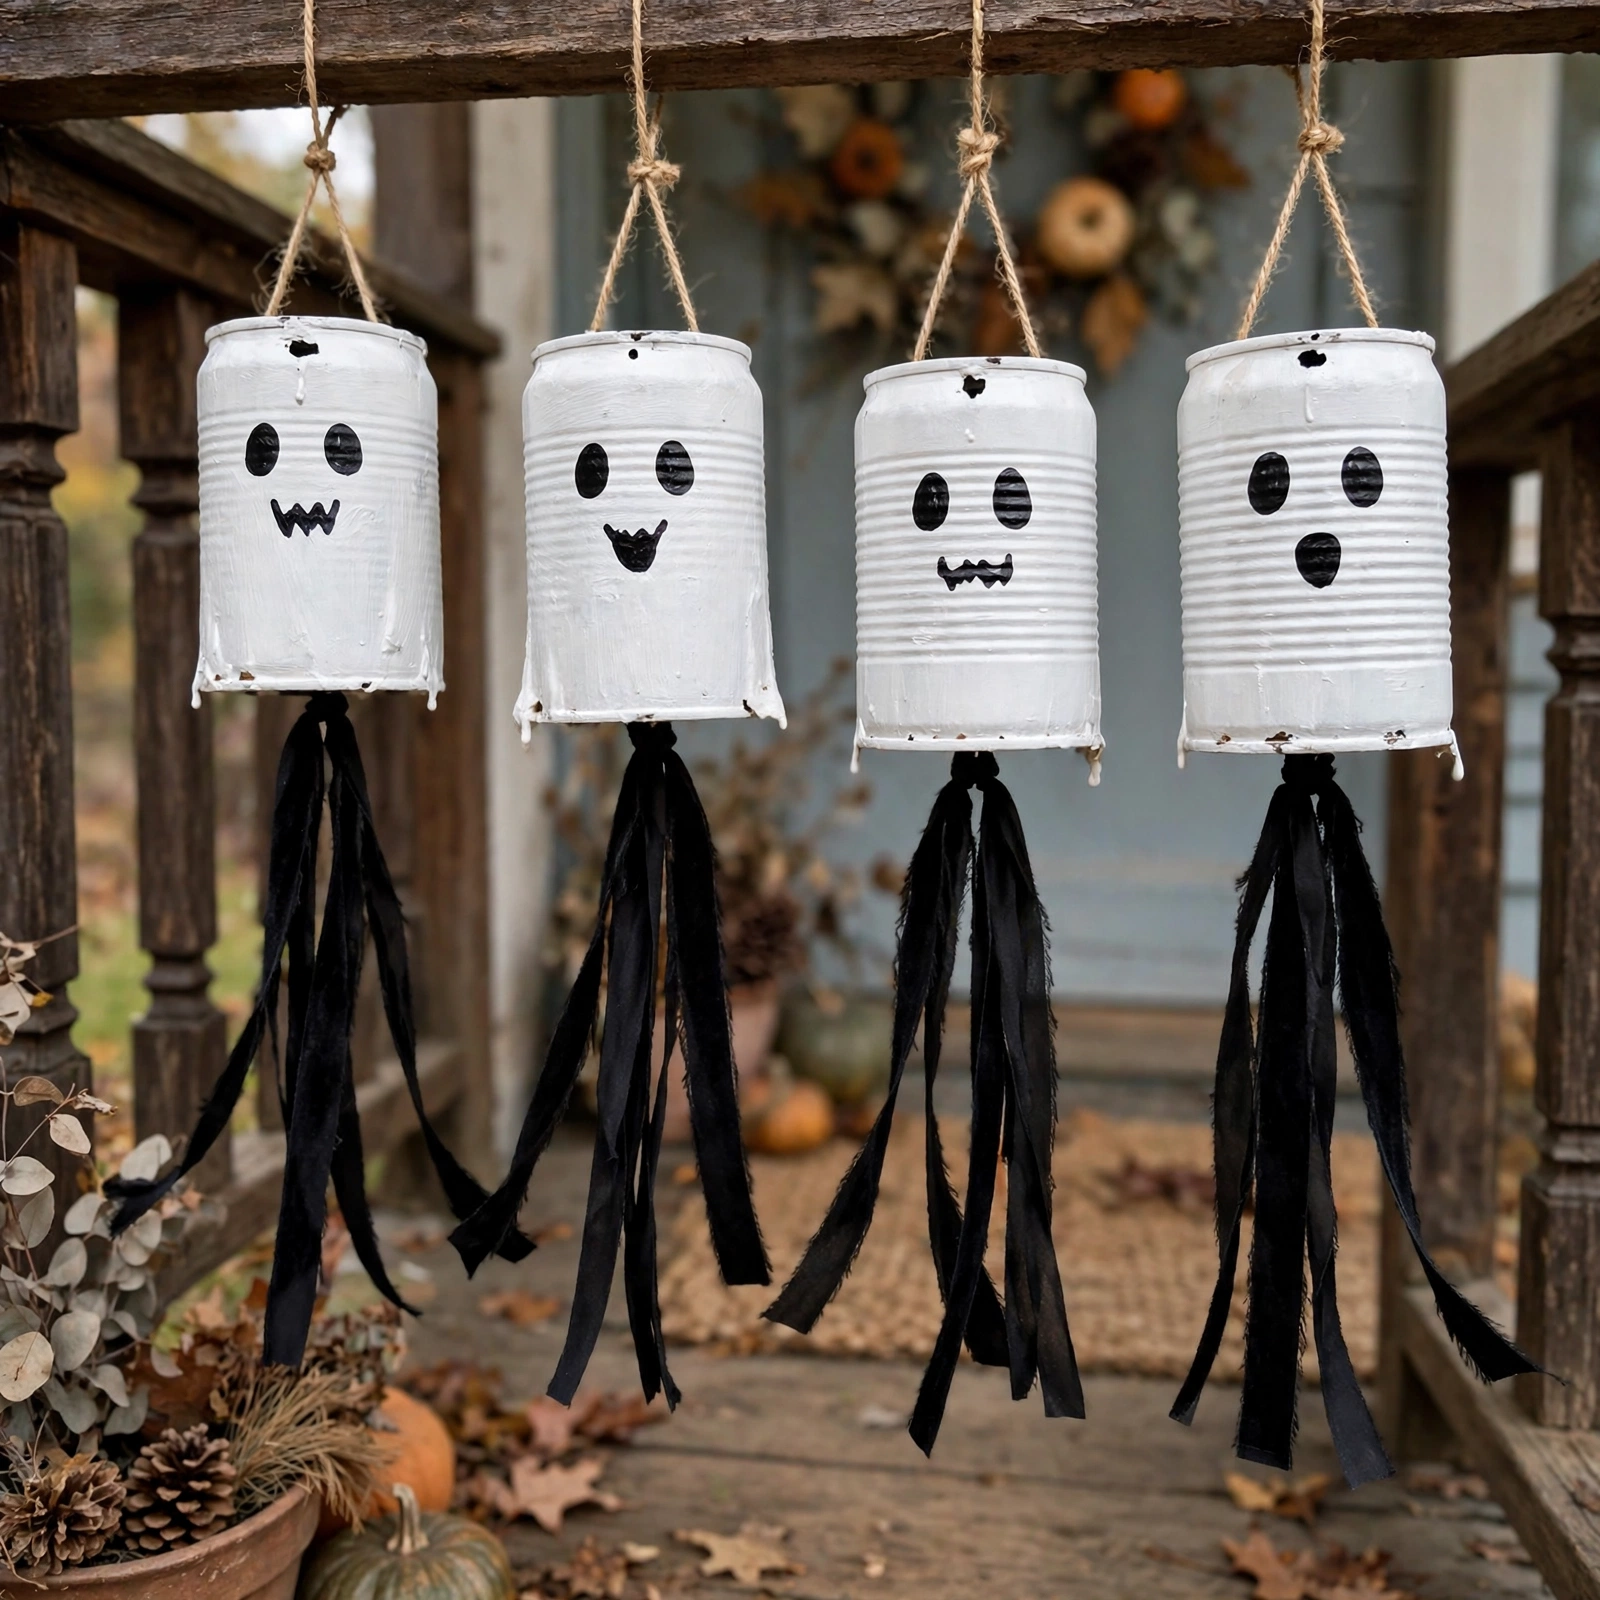
Paint tin cans white, add ghost faces, and hang them from a stick with jingle bells: soft clinks in the breeze, cute by day and spooky by night. Tin can ghost wind chimes are among the most charming Halloween DIY decorations, and they add sound to your porch, which most displays completely forget.
Vary the hanging lengths and add black ribbon streamers for movement. Five to seven cans chime fully without noise overload; more than that and the neighbors will have opinions. The white cans glow softly in porch light, and the little ghost faces are visible from the street.
Tip: Sand cut edges smooth and tape the rims; little fingers will reach for these.
14. Mummy-Wrapped Front Door
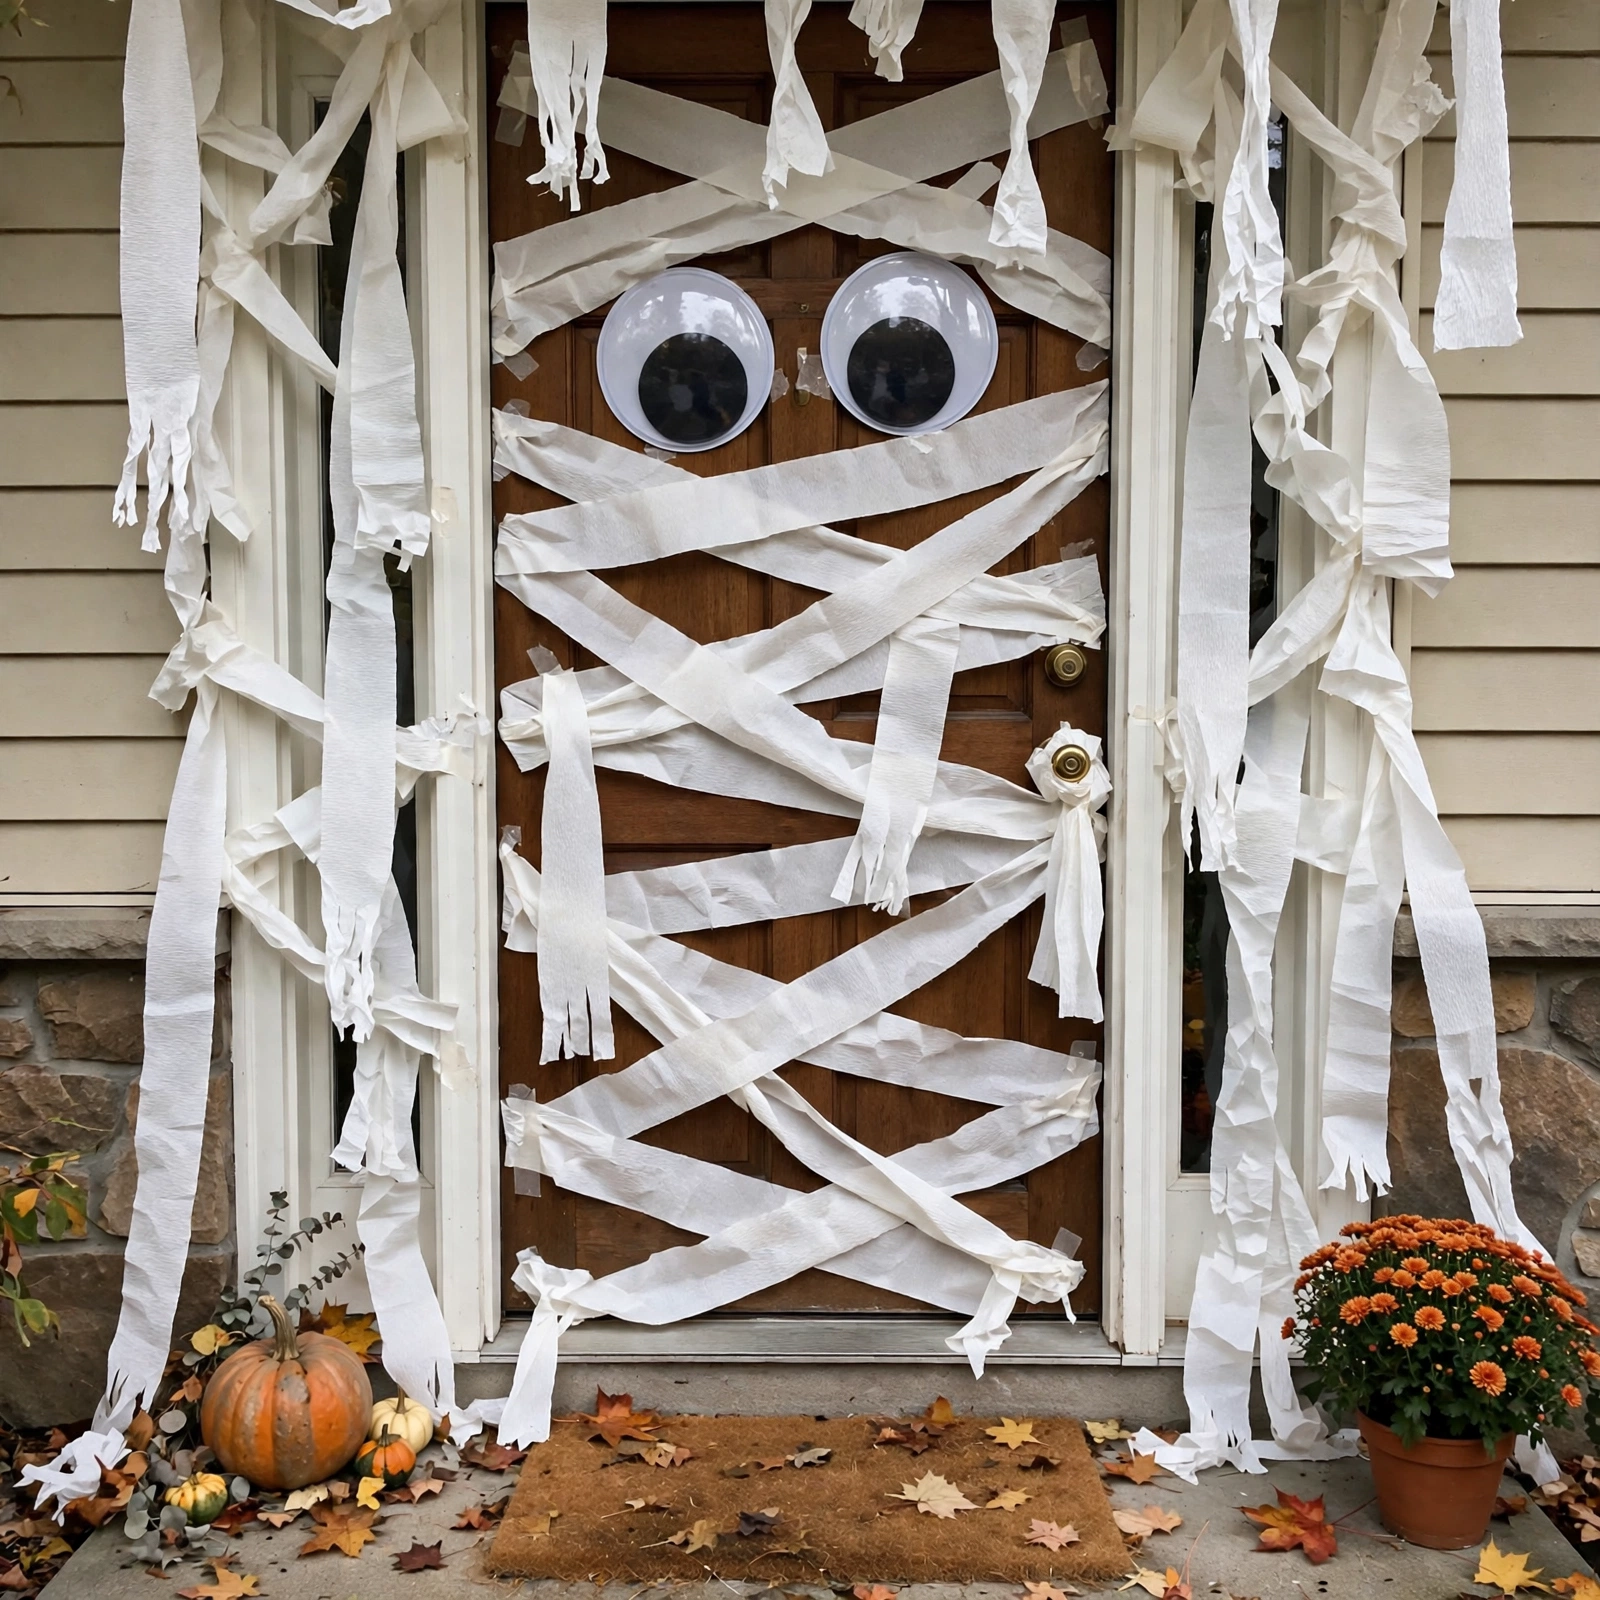
Crisscross white crepe-paper streamers over the front door and add two giant googly eyes: under an hour, a few dollars, and one giant mummy greeting every visitor. It is one of the highest-impact Halloween DIY decorations for the money, and kids can help with the whole project.
Keep the doorknob clear and overlap the streamers at random angles; too-neat wrapping looks less mummy-like. The giant eyes are non-negotiable, they are what make people laugh. These easy Halloween DIY projects turn the whole entryway into the decoration, which means the rest of the porch can stay simple.
Tip: Anchor streamers with painter’s tape; it holds through October weather and peels off cleanly in November.
15. Spray-Painted Crow Flock
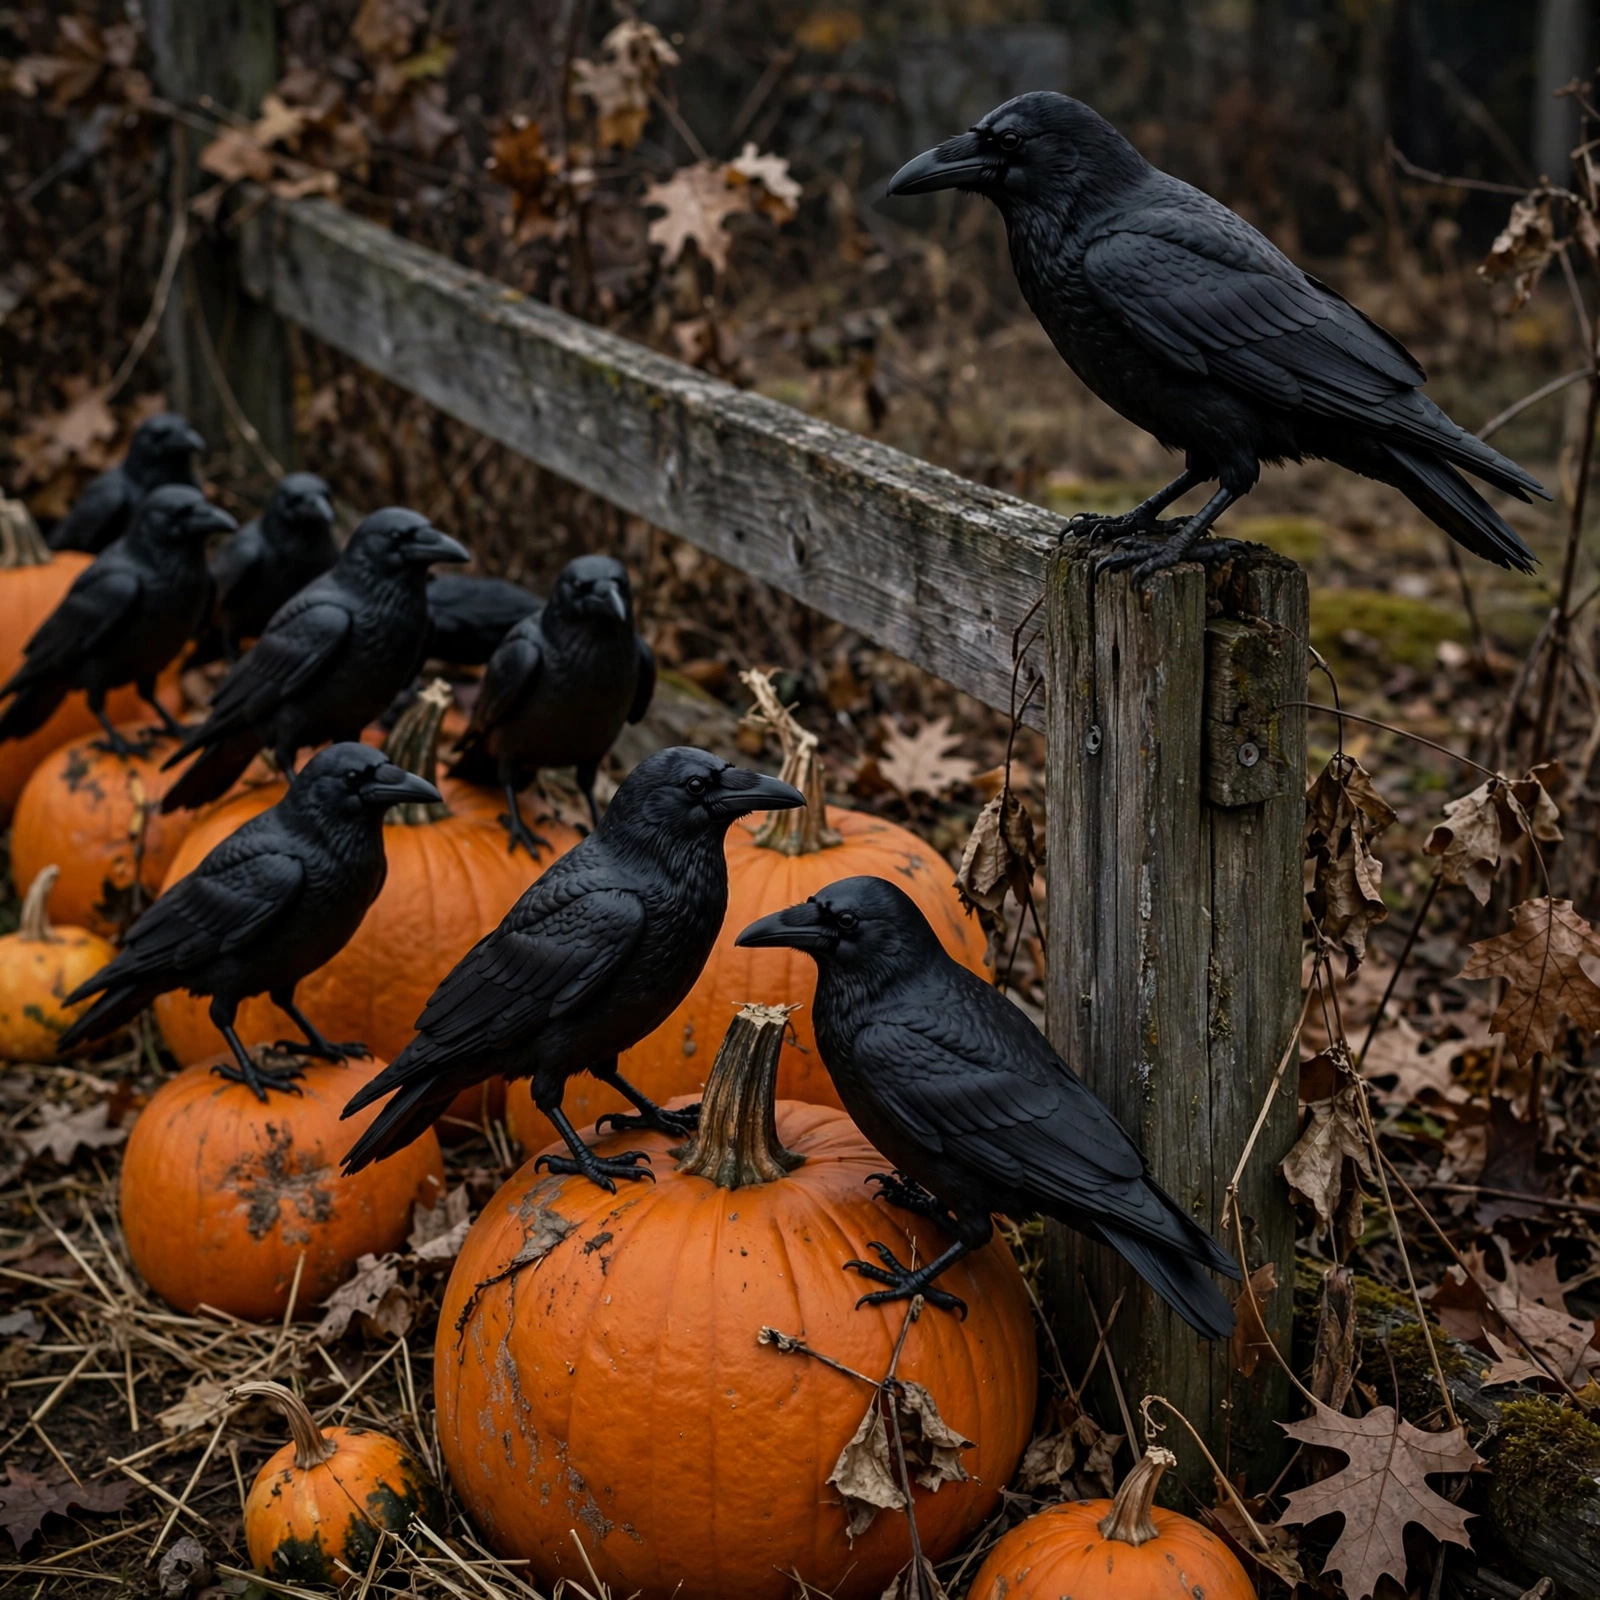
Spray cheap plastic birds matte black and perch them on pumpkins, fence posts, and branches: an ominous Hitchcockian flock watching the street. These spooky Halloween DIY decorations cost almost nothing but deliver genuine atmosphere. One crow atop a tall pumpkin makes a perfect focal point; five of them is a statement.
Place them in groups of three or five facing different directions, like they are all watching something different. Light, even coats of paint applied outdoors with full drying between coats; one heavy coat drips and hides the feather detail. Mix in a few on the ground among fallen leaves for a scene that feels alive.
Tip: Prime glossy plastic birds first; paint peels off slick plastic by Halloween if you skip the primer.
Frequently Asked Questions
What is the cheapest way to start with Halloween DIY decorations?
Paper, cardboard, and the recycling bin: silhouettes, paper-bag luminaries, and cardboard tombstones cost almost nothing and deliver huge visual impact.
How do I keep DIY decorations from looking cheap?
Stick to a two-to-three-color palette, keep edges neat, and group pieces in clusters. Matching grouped displays always beat scattered singles.
Are these projects kid-friendly?
Most are, with supervision: painting, wrapping, and cutting are great for kids. Adults should handle hot glue, spray paint, and hammer-and-nail steps.
How long do handmade decorations last outdoors?
Paper and cardboard last one to two weeks in dry weather; sealed or plastic-based projects last all season. Bring paper pieces inside during rain.
Where do I get cheap craft supplies?
Dollar stores, thrift stores, and your own recycling bin. Buying larger sizes of paint and glue drops the per-project cost fast.
Final Thoughts
The best Halloween decorations are not bought; they are the ones with your fingerprints on them (sometimes literally, if the glue gun misbehaves). These fifteen Halloween DIY decorations prove that a small budget and a free afternoon can out-decorate a shopping spree, because handmade pieces have soul.
Pick two or three projects at your skill level, make an afternoon of it with family or friends, and enjoy decor that costs less than a pizza and looks like a million bucks. And when a neighbor asks where you bought your ghosts, you get the best answer of all: I made them.