How to Clean a Coffee Maker: 15 Steps for Better-Tasting Coffee
To learn how to clean a coffee maker, first understand what is making your coffee taste off: mineral scale from tap water coats the heating element and slows the brew, and old coffee oils turn rancid inside the carafe, the filter basket, and the lines. Both build up invisibly, and both make good beans taste bitter, sour, or flat.
The fifteen steps below cover every common machine — drip, single-serve pod, French press, and espresso — in order from the daily rinse to the monthly deep clean. Most of the work takes less than five minutes, and the payoff is immediate: cleaner water, hotter brewing, and coffee that tastes like the bag promised. If the rest of the kitchen needs the same attention, our stainless steel cleaning guide covers the sink and appliances around the coffee maker, and our easy home cleaning hacks keep the whole kitchen routine short.
1. The Daily 1-Minute Rinse Routine
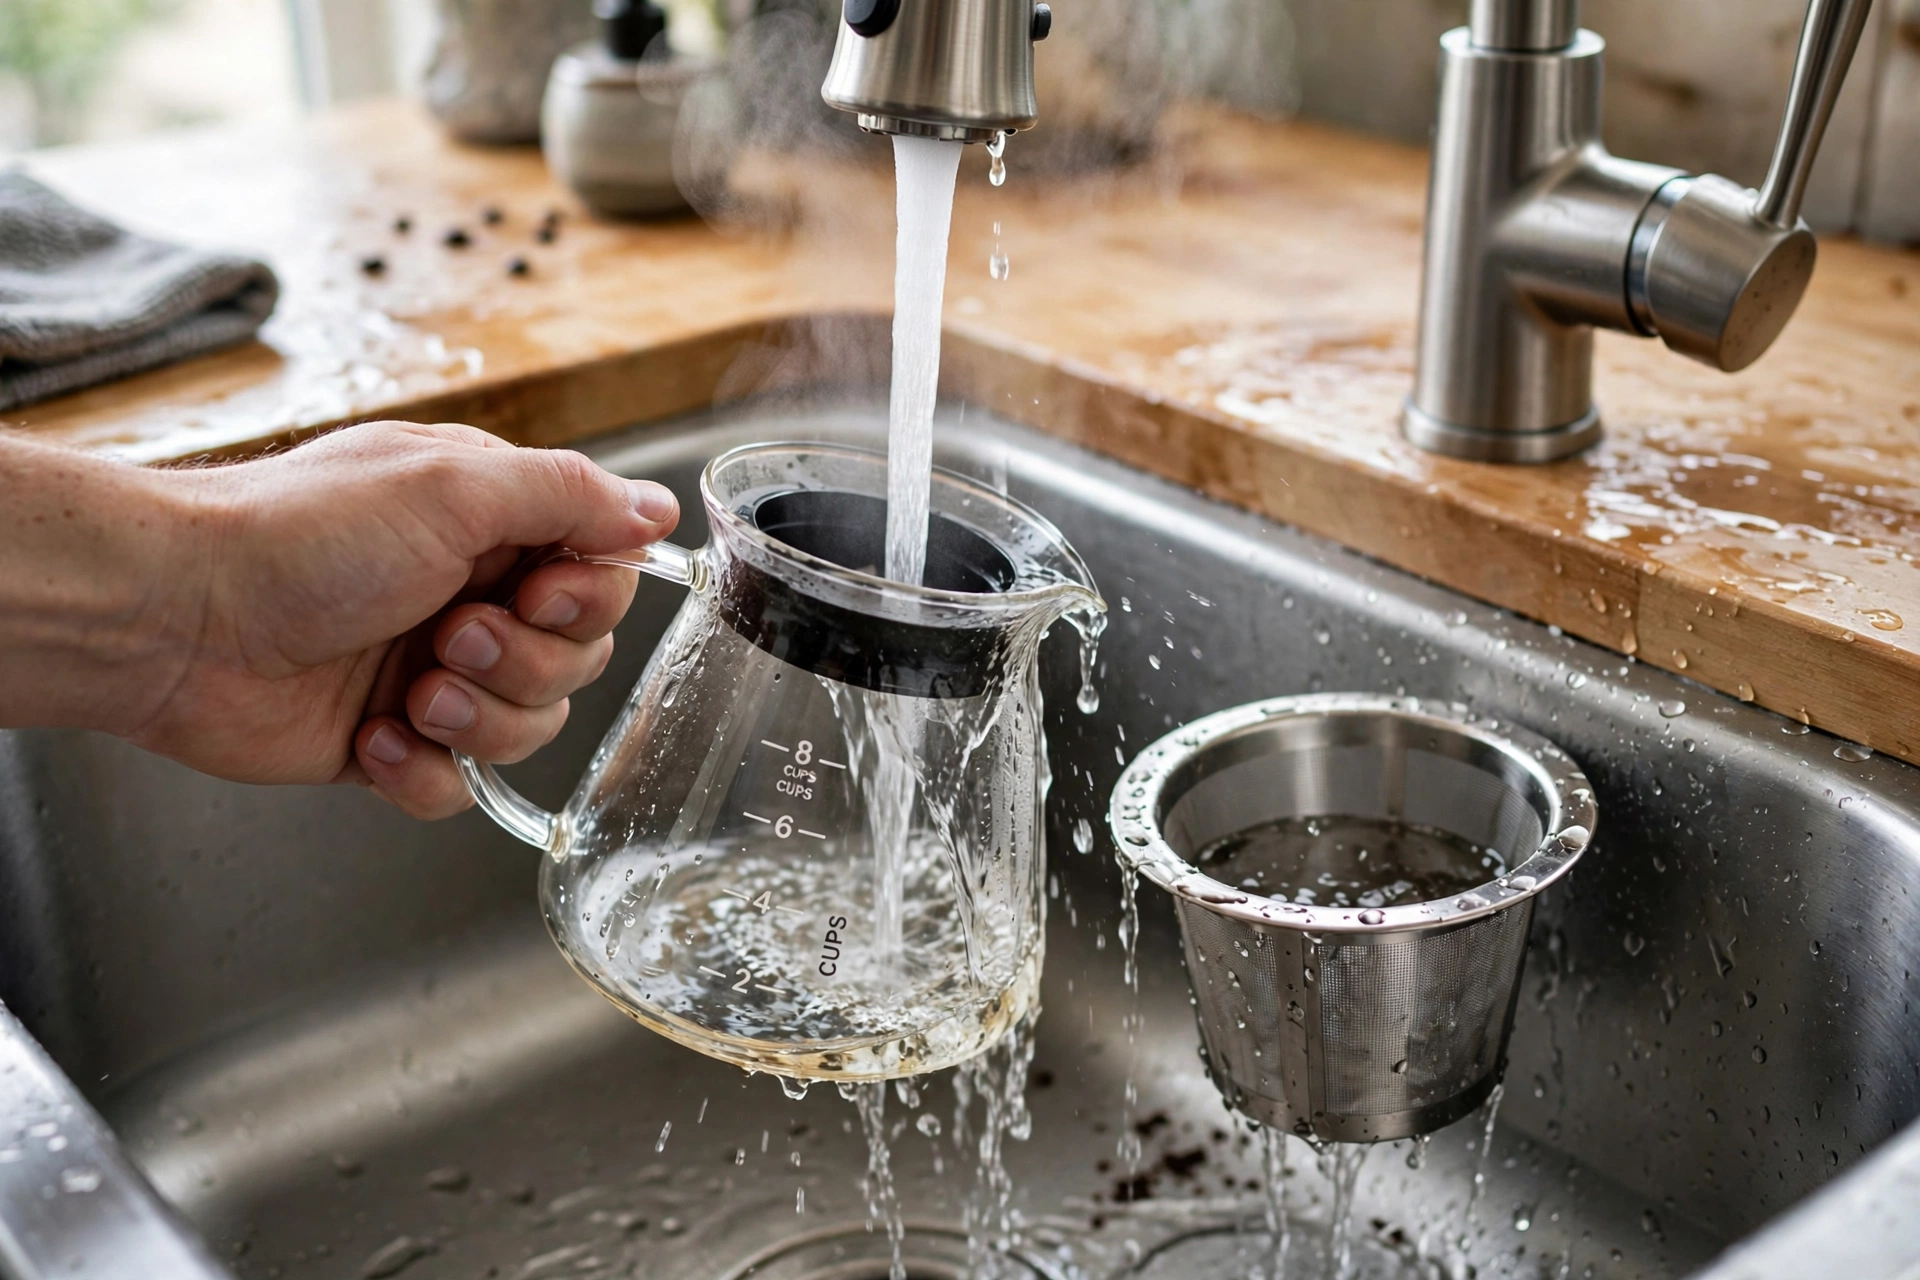
The easiest step in how to clean a coffee maker is also the one most people skip: rinse it every day. After your last cup, dump the grounds, rinse the carafe and the filter basket with hot water, and wipe the warming plate. It takes about a minute, and it stops coffee oils from drying into a rancid film overnight.
Do not leave brewed coffee sitting on the warming plate all day — it keeps cooking, turns bitter, and bakes residue onto the plate and the carafe. Pour what you will drink, then rinse. A daily rinse also means the monthly deep clean has far less buildup to fight, which is the whole point of a routine: small effort now, no big job later.
2. The Monthly Vinegar Descale for Drip Machines
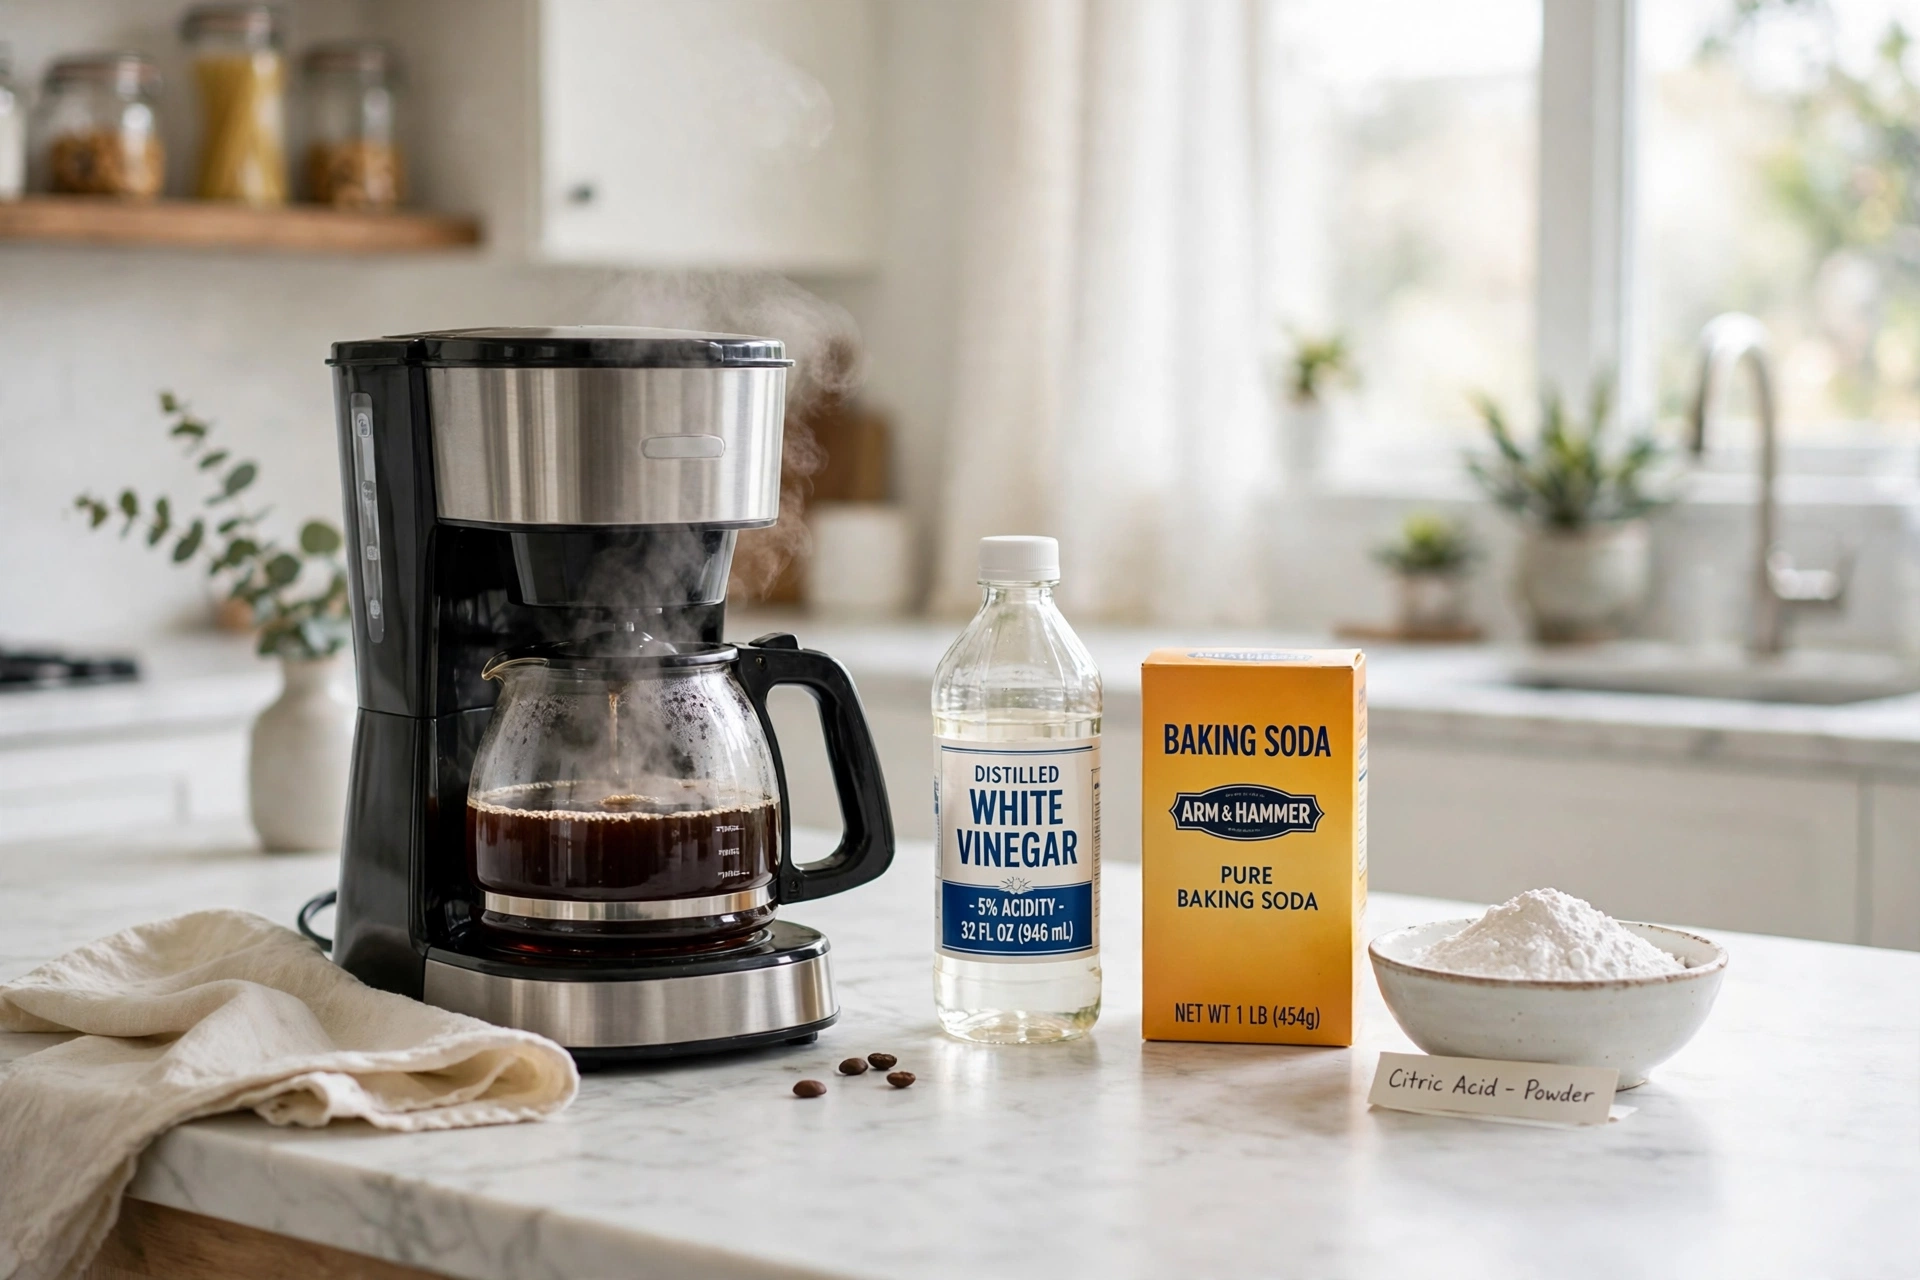
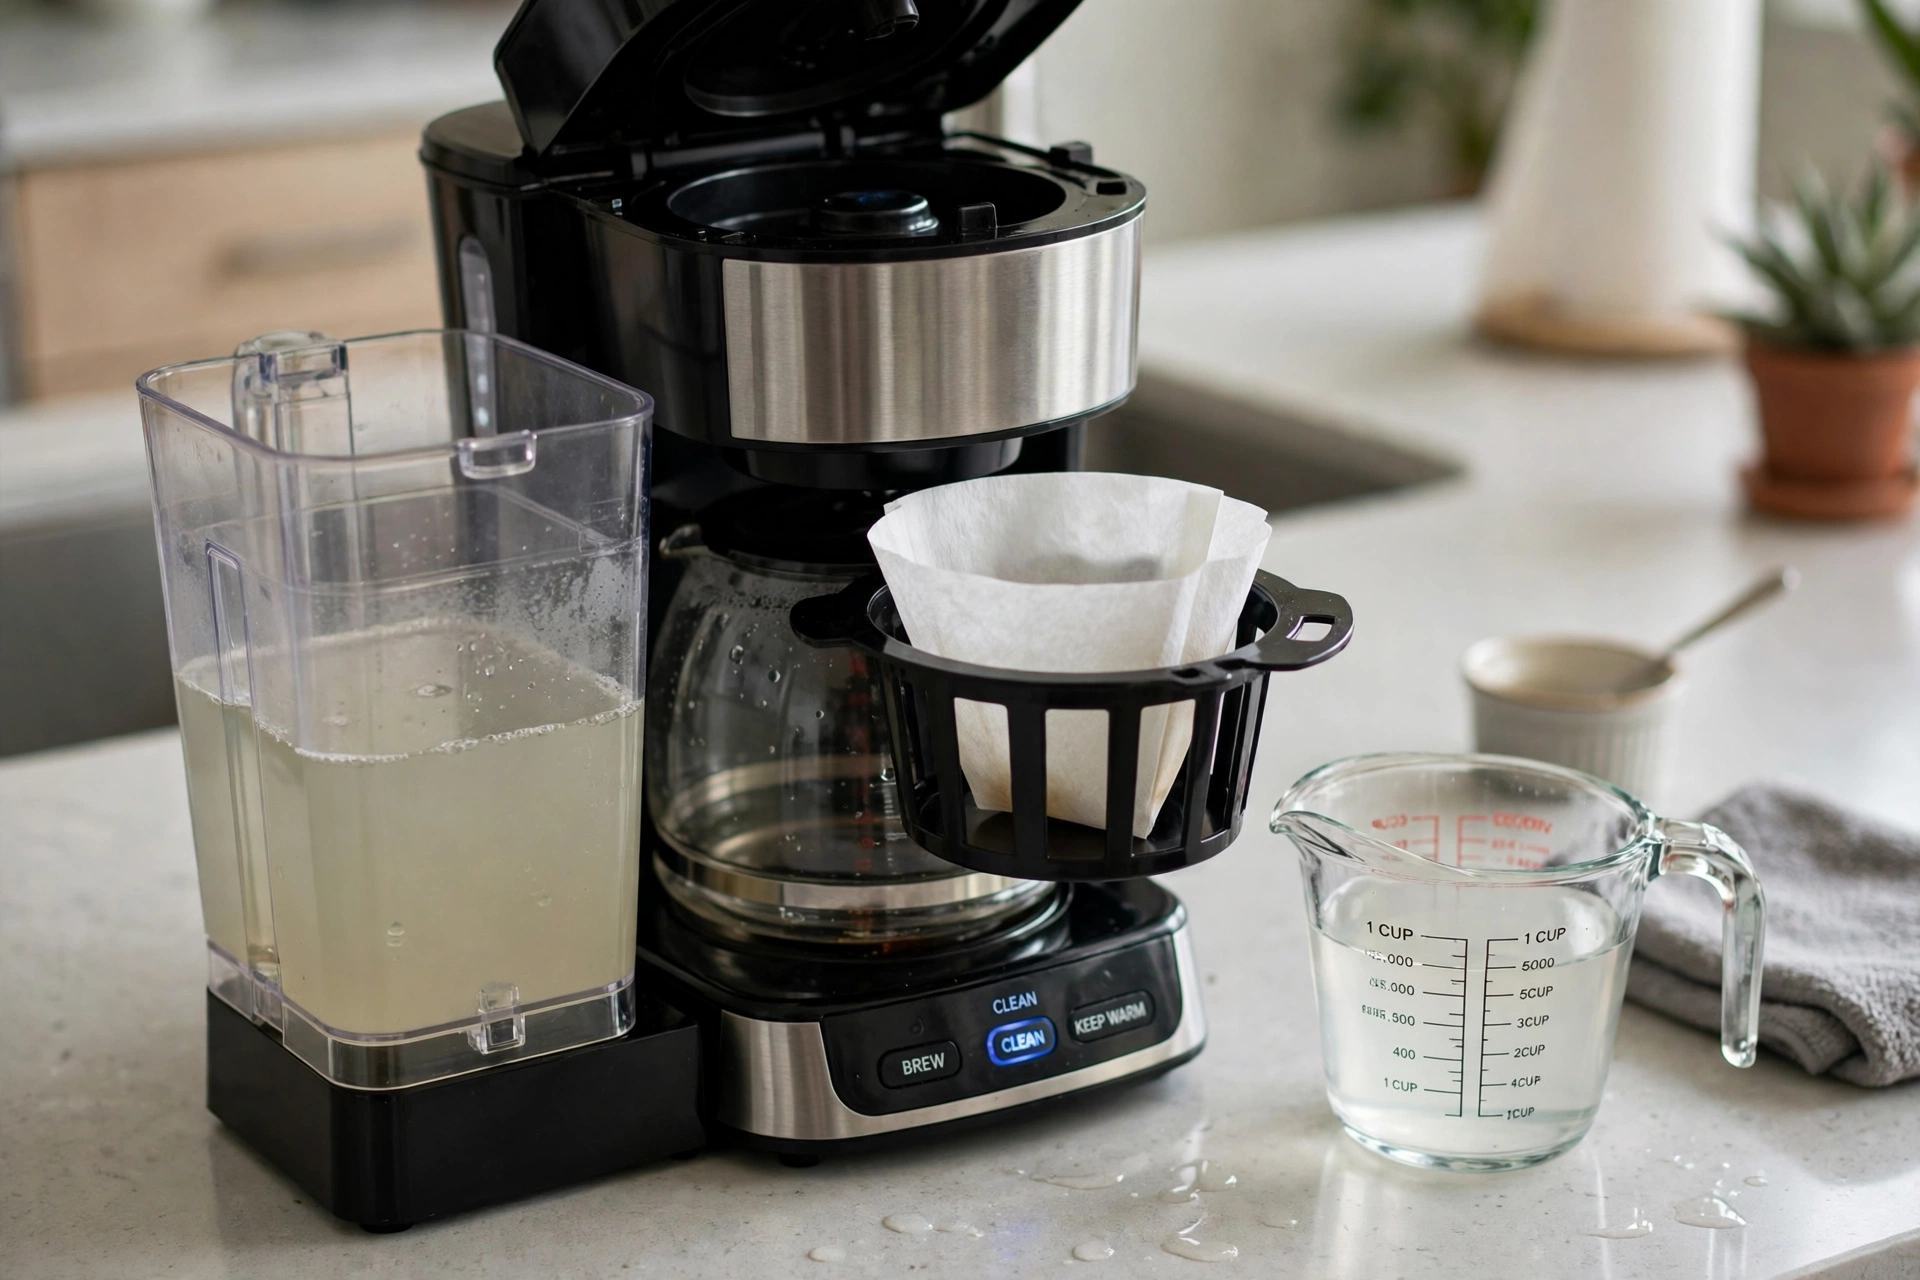
Descaling is the heart of how to clean a coffee maker, and white vinegar is the standard tool for a drip machine. Fill the reservoir with equal parts white vinegar and water, put an empty paper filter in the basket, and run a full brew cycle. Then run two full cycles of plain water to rinse the vinegar out completely.
Do this once a month if you brew daily, or every two months for lighter use. If your tap water is hard, you will see the difference right away: the machine brews faster and hotter, and the coffee stops tasting flat. Never use apple cider vinegar — it leaves a flavor behind that plain water rinses will not fully remove.
3. Citric Acid Descale for Heavy Limescale
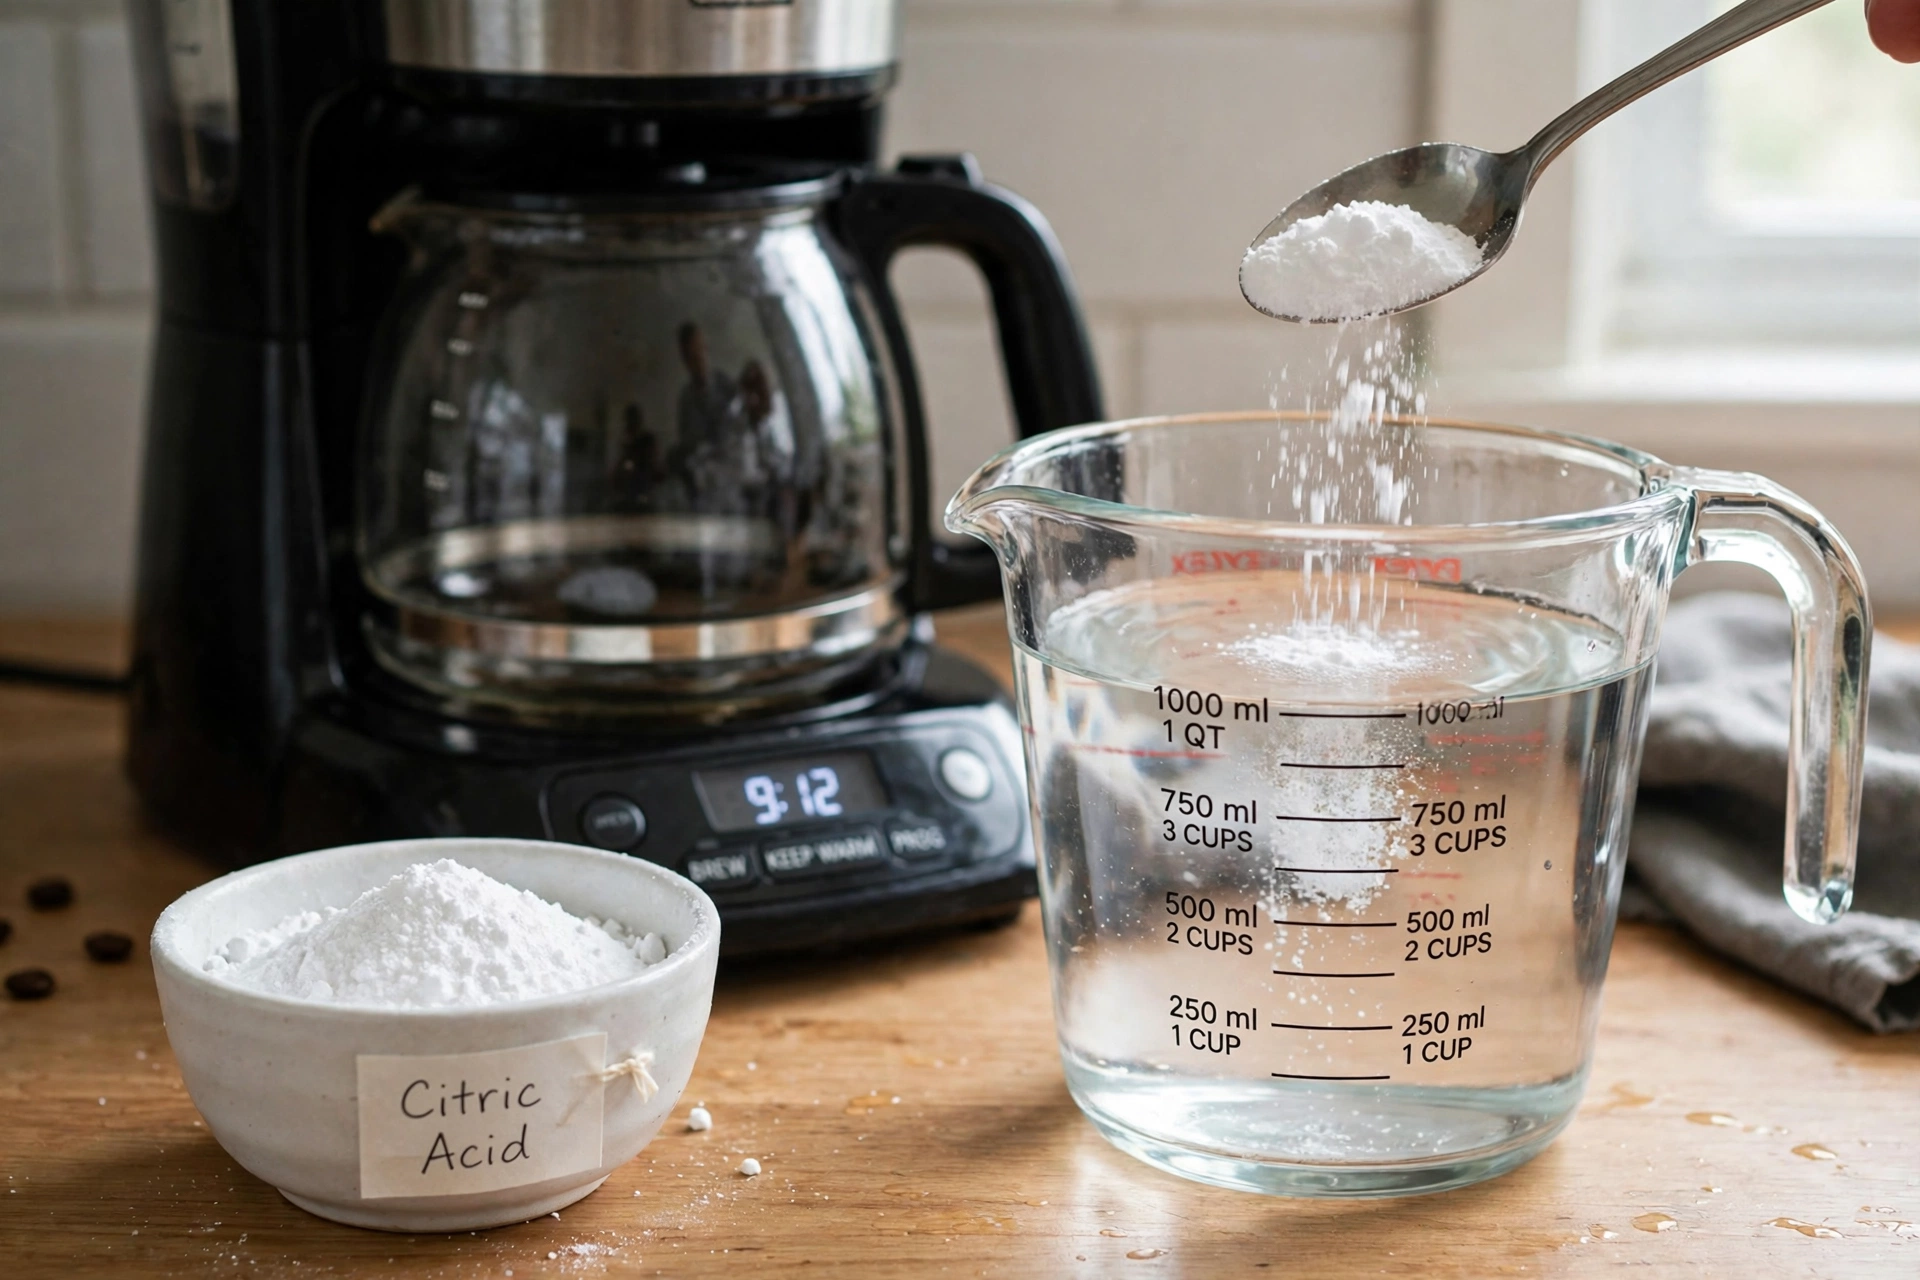
When vinegar is not enough — the machine brews slowly, the water is not hot, or you can see white scale in the reservoir — switch to citric acid. Dissolve one to two tablespoons of food-grade citric acid powder per quart of water in the reservoir, run a brew cycle, then run two or three plain-water cycles to rinse.
Citric acid is odorless, so there is no vinegar smell to rinse out, and it dissolves heavy limescale faster than vinegar. It is the same active ingredient in many commercial descaling solutions, minus the price. Buy it in the canning aisle or online in a small bag — a little goes a long way, and it keeps for years in a dry jar.
4. The Keurig Descale Cycle
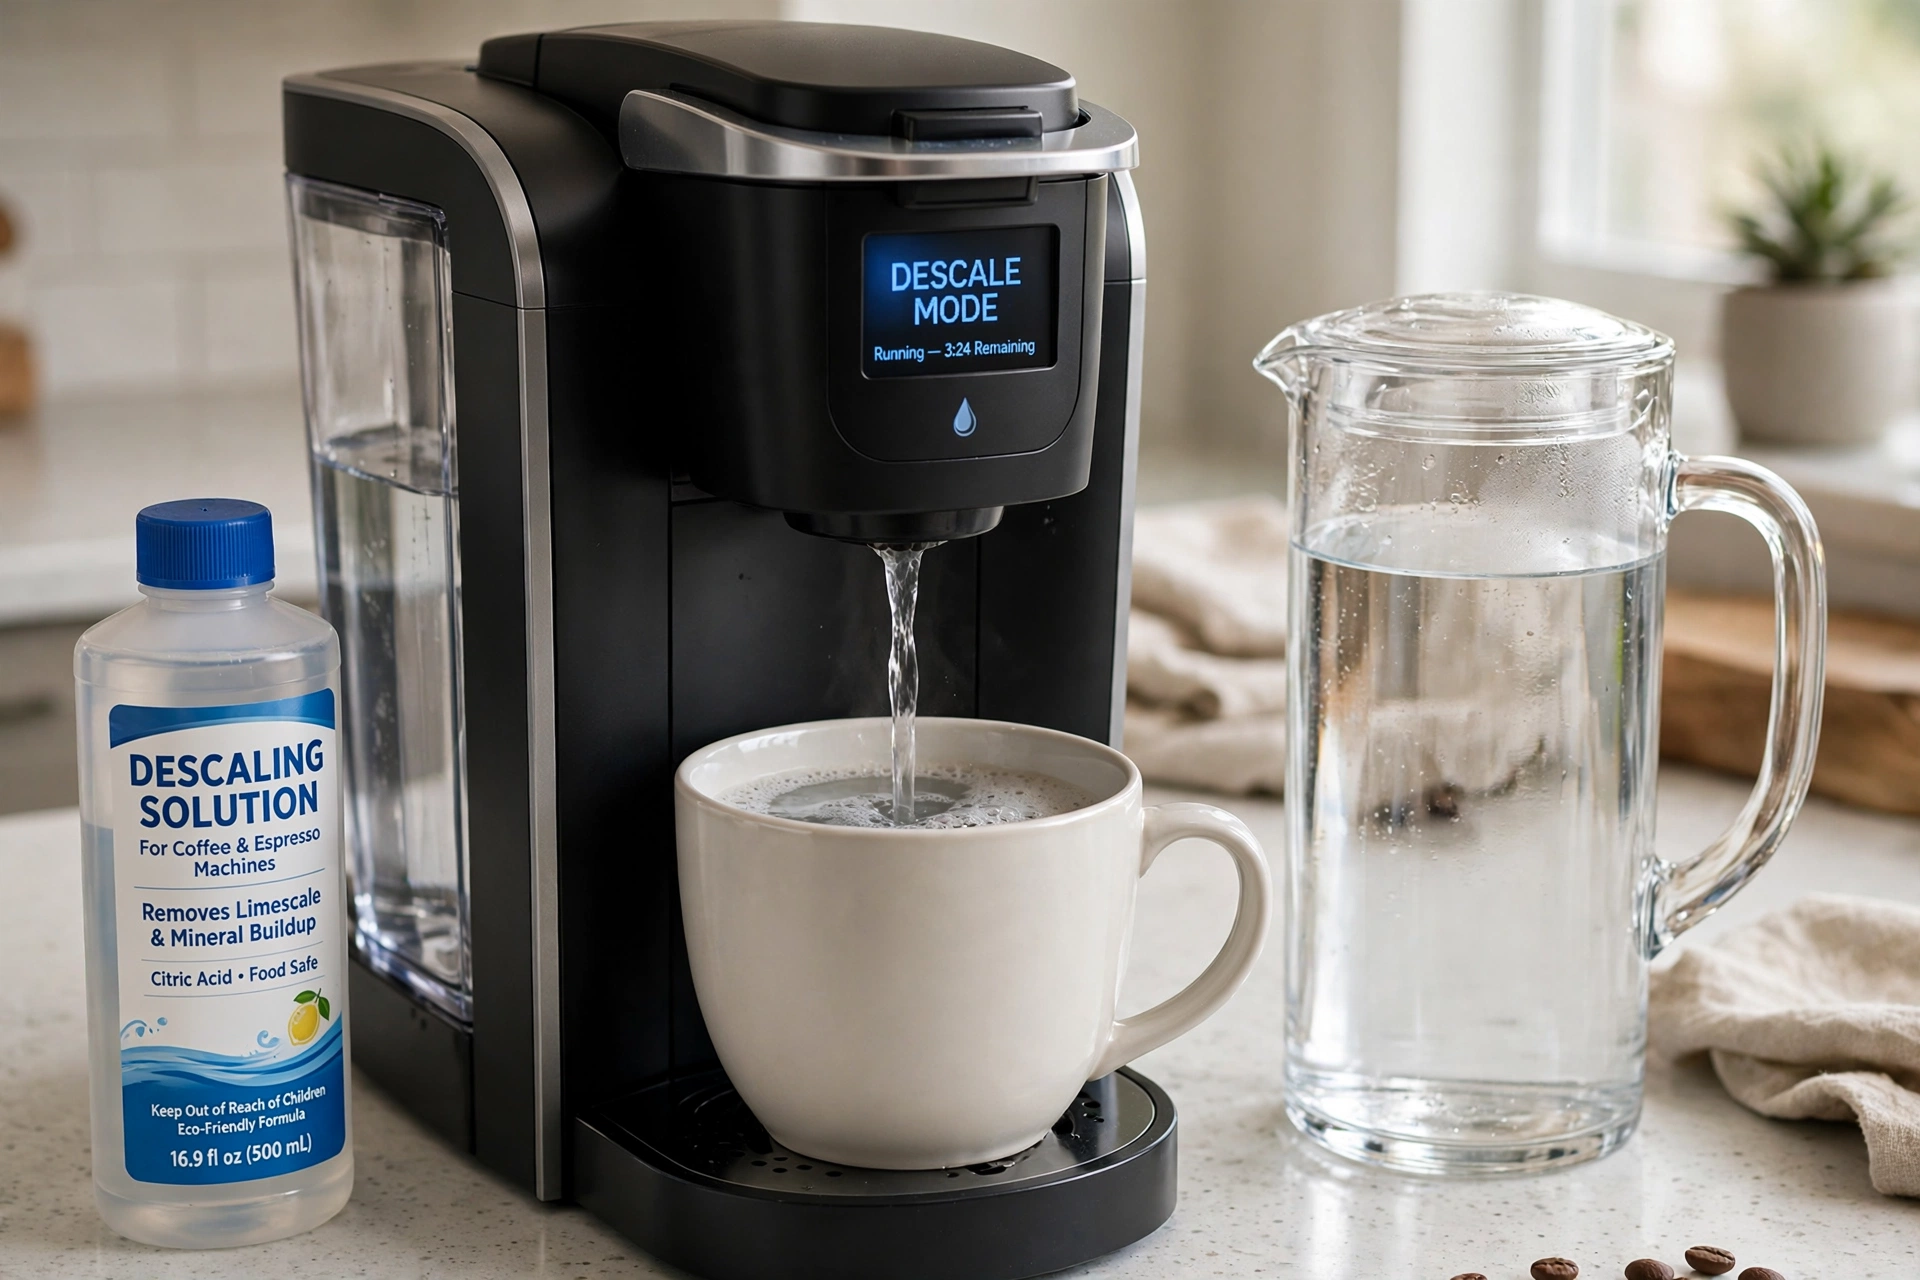
Single-serve machines need descaling too, and the process is different from a drip machine. Start with the machine on and the water reservoir empty, then fill it with descaling solution — either the brand’s own solution or a vinegar-and-water mix, if your manual allows it — and run the descale mode if your model has one. Without a descale mode, run brew cycles into a large mug until the reservoir is empty, discarding each cup.
Then fill the reservoir with fresh water and run at least three full rinse brews. Keurig machines hide scale in the internal lines, so the rinse matters more than the descale itself: skip it and the first cup tastes like vinegar. Descale every three months, or sooner if the machine brews slowly or makes a smaller cup than usual.
5. Clean the Carafe — Oils Turn Rancid
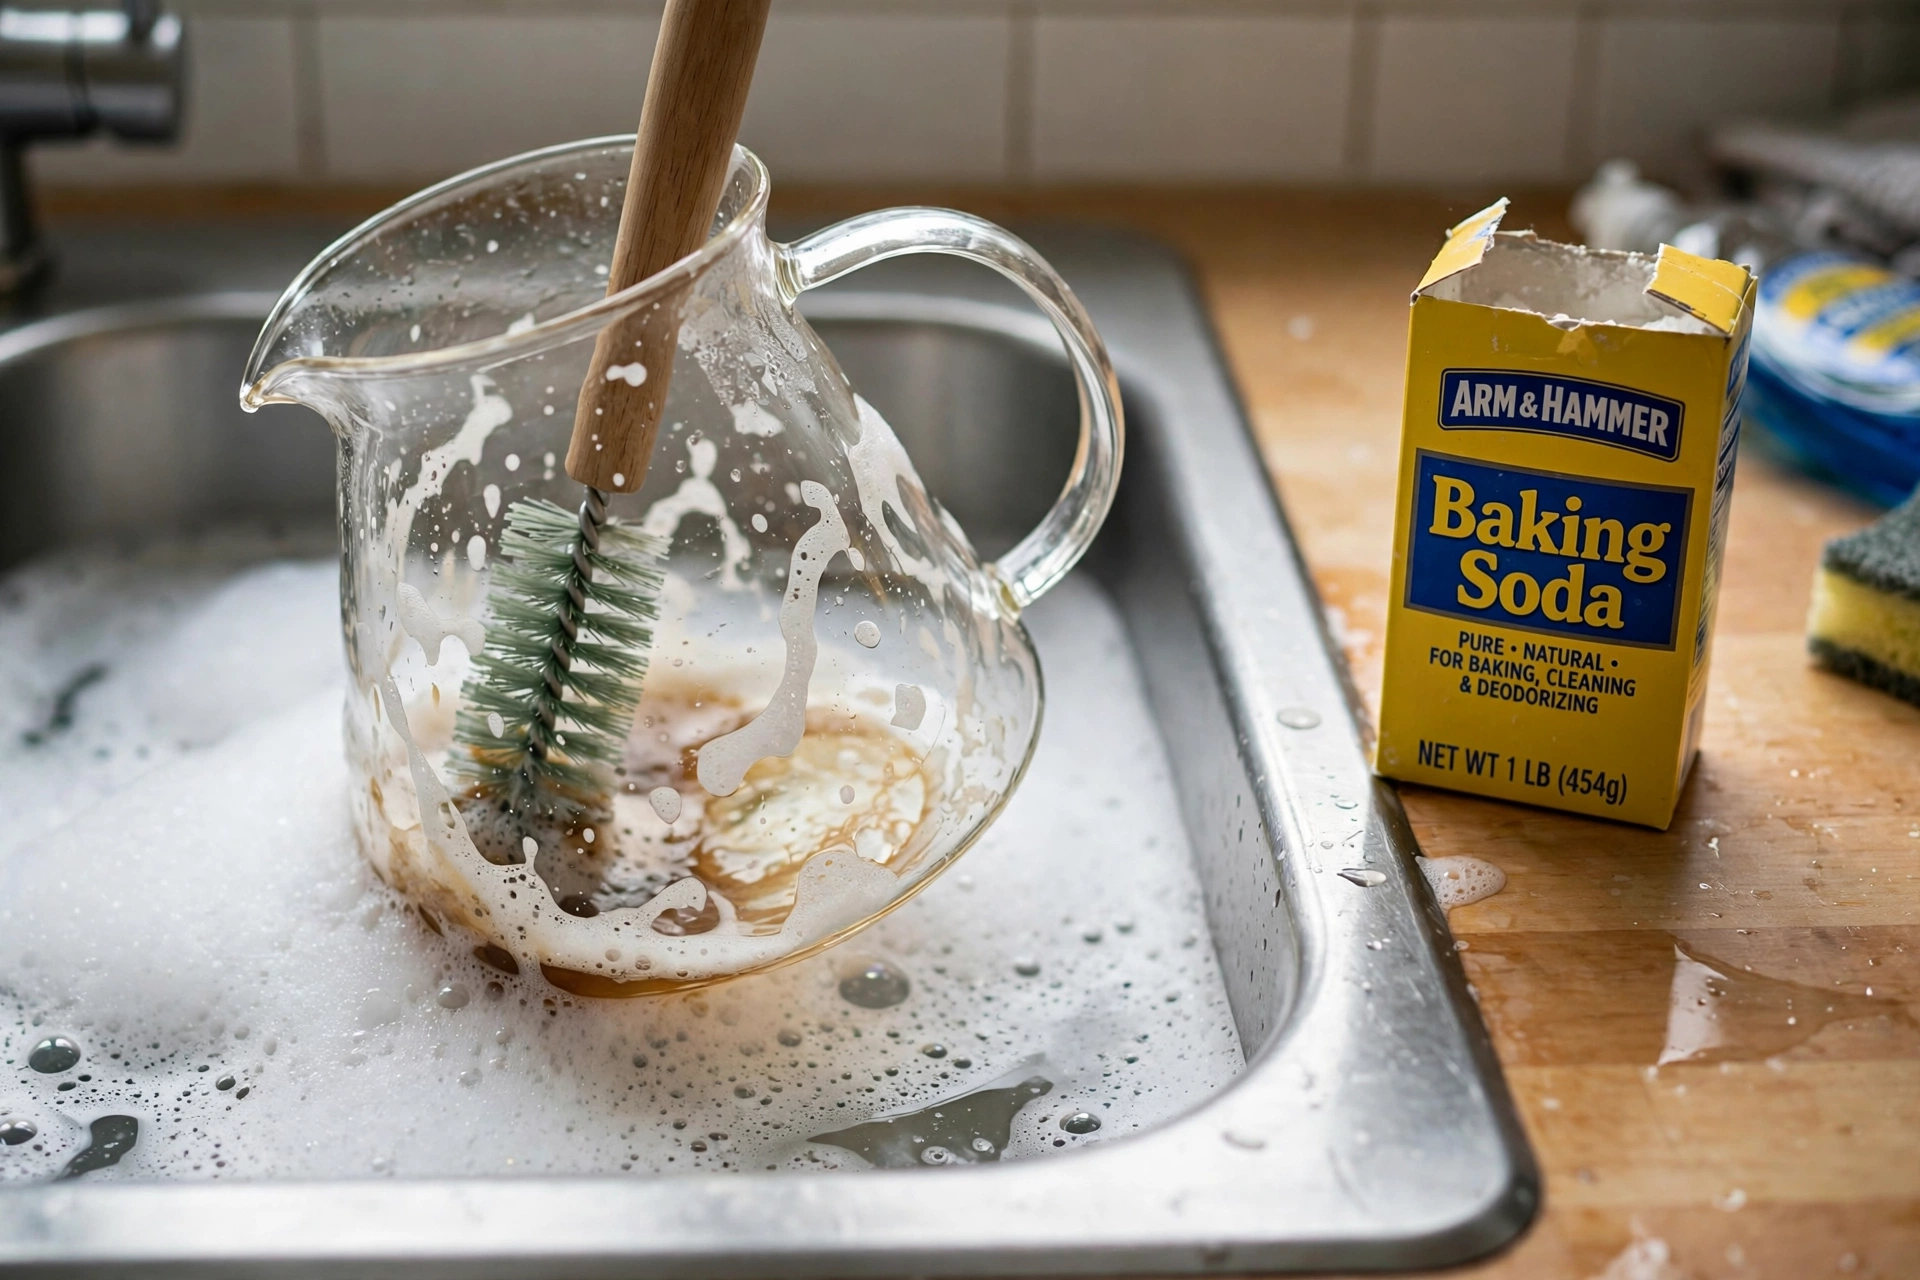
The carafe is where bad flavor lives. Coffee oils coat the glass or steel after every brew, and within a day or two they turn rancid and sour the next pot. Wash the carafe with hot water and dish soap after every use, and once a week give it a deeper clean: fill it with hot water, add a spoonful of baking soda, let it sit for fifteen minutes, then scrub and rinse.
For brown stains that soap will not remove, swirl a handful of uncooked rice with warm soapy water inside the carafe — the rice scrubs the stains without scratching the glass. Never put a glass carafe in the dishwasher unless the manual says it is safe, and never plunge a hot carafe into cold water.
6. Scrub the Filter Basket and Spout
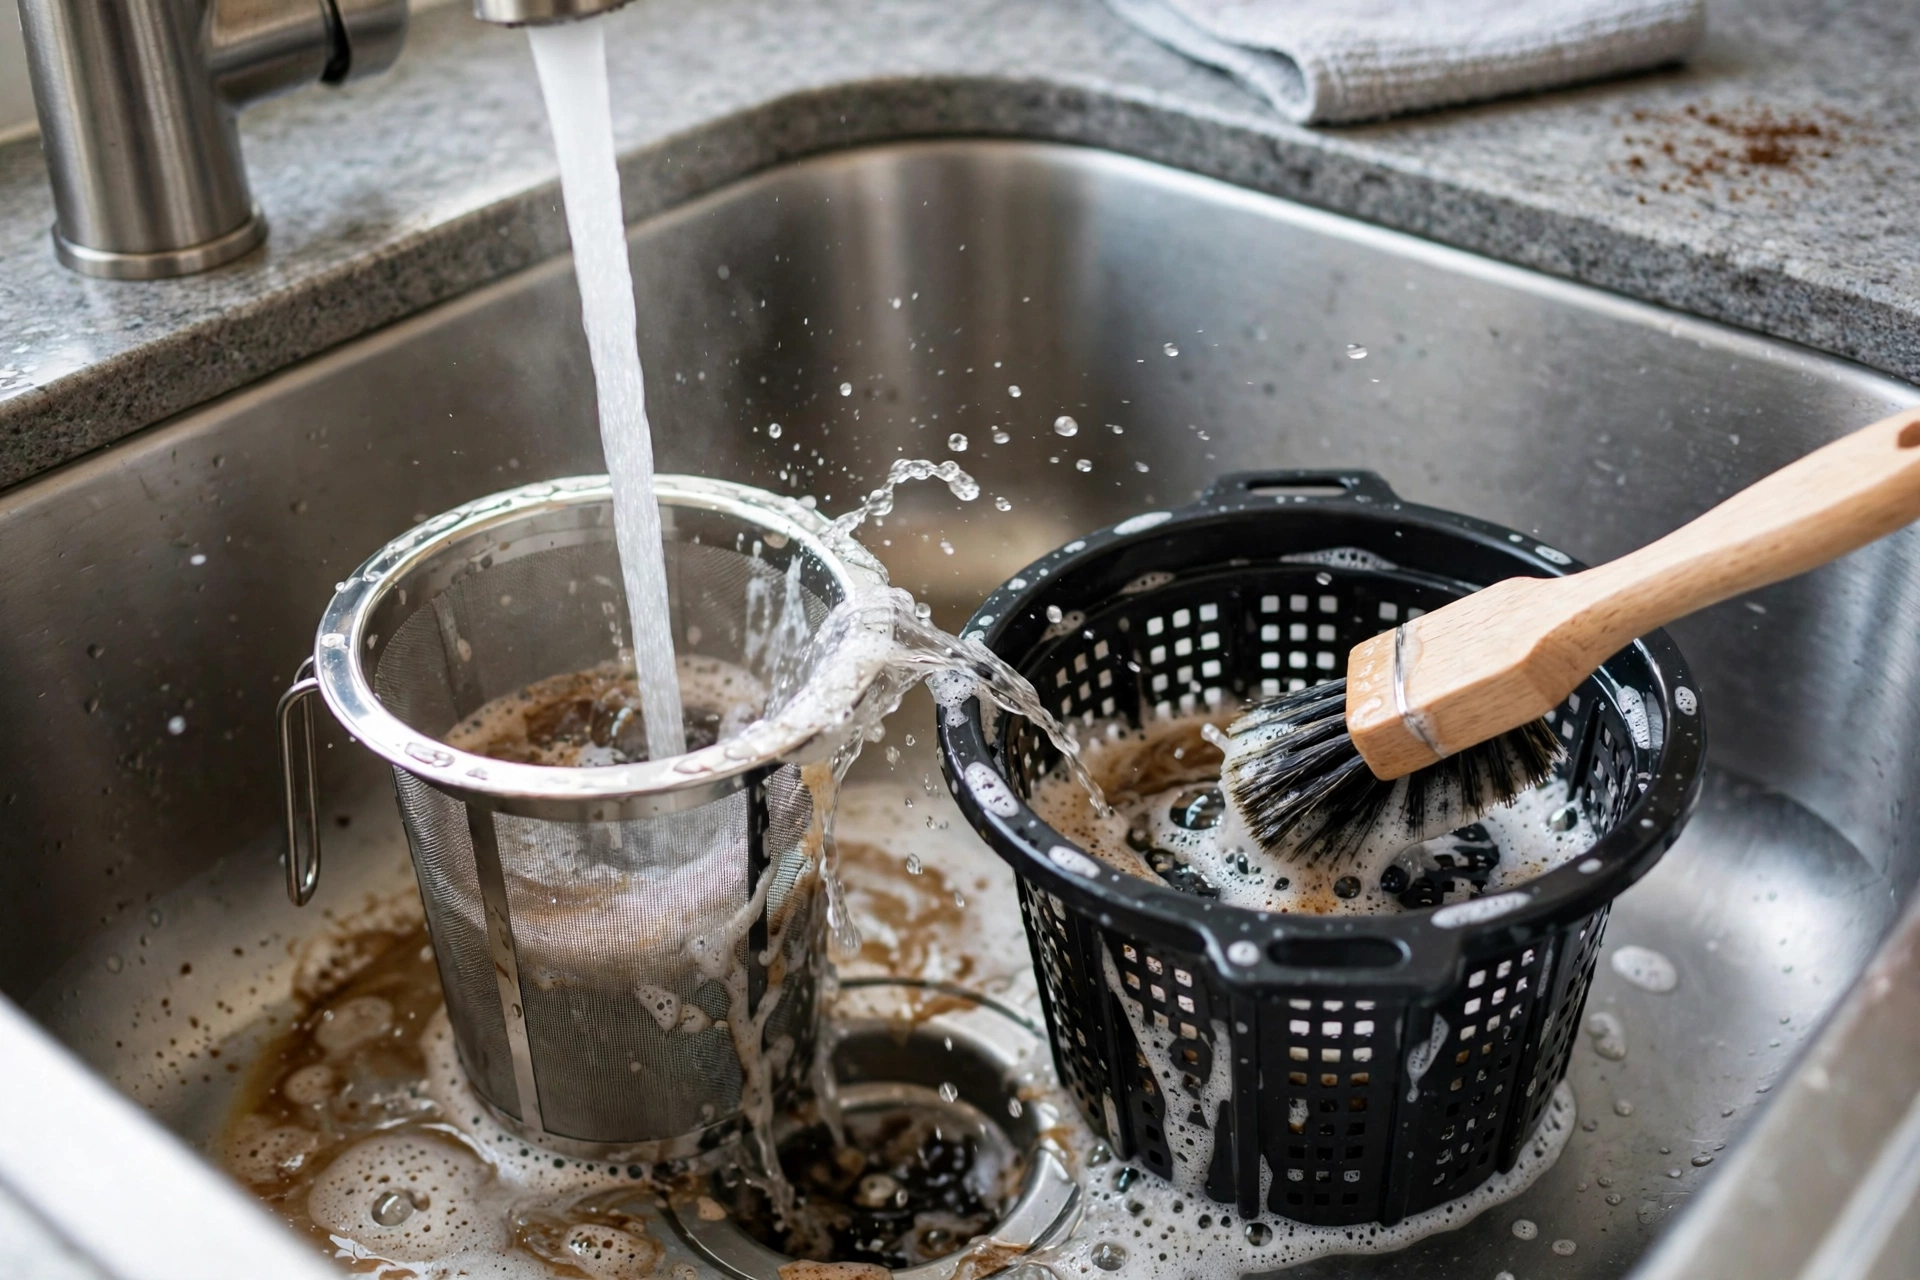
The filter basket and the spout are the two parts people touch least and clean least — and both collect rancid oils and coffee grounds. Once a week, remove the basket and the reusable filter, scrub them with hot soapy water and a small brush, and rinse until the water runs clear. Pay attention to the spout, where coffee drips and dries into a sticky ring.
If your machine uses paper filters, the basket still needs scrubbing — grounds and oils get trapped in the seams. If it uses a permanent metal filter, soak it in hot soapy water for ten minutes before scrubbing, and check the fine mesh for clogged holes. A clean basket drains faster, which means the coffee does not sit in the grounds and turn bitter.
7. Clean the Warming Plate
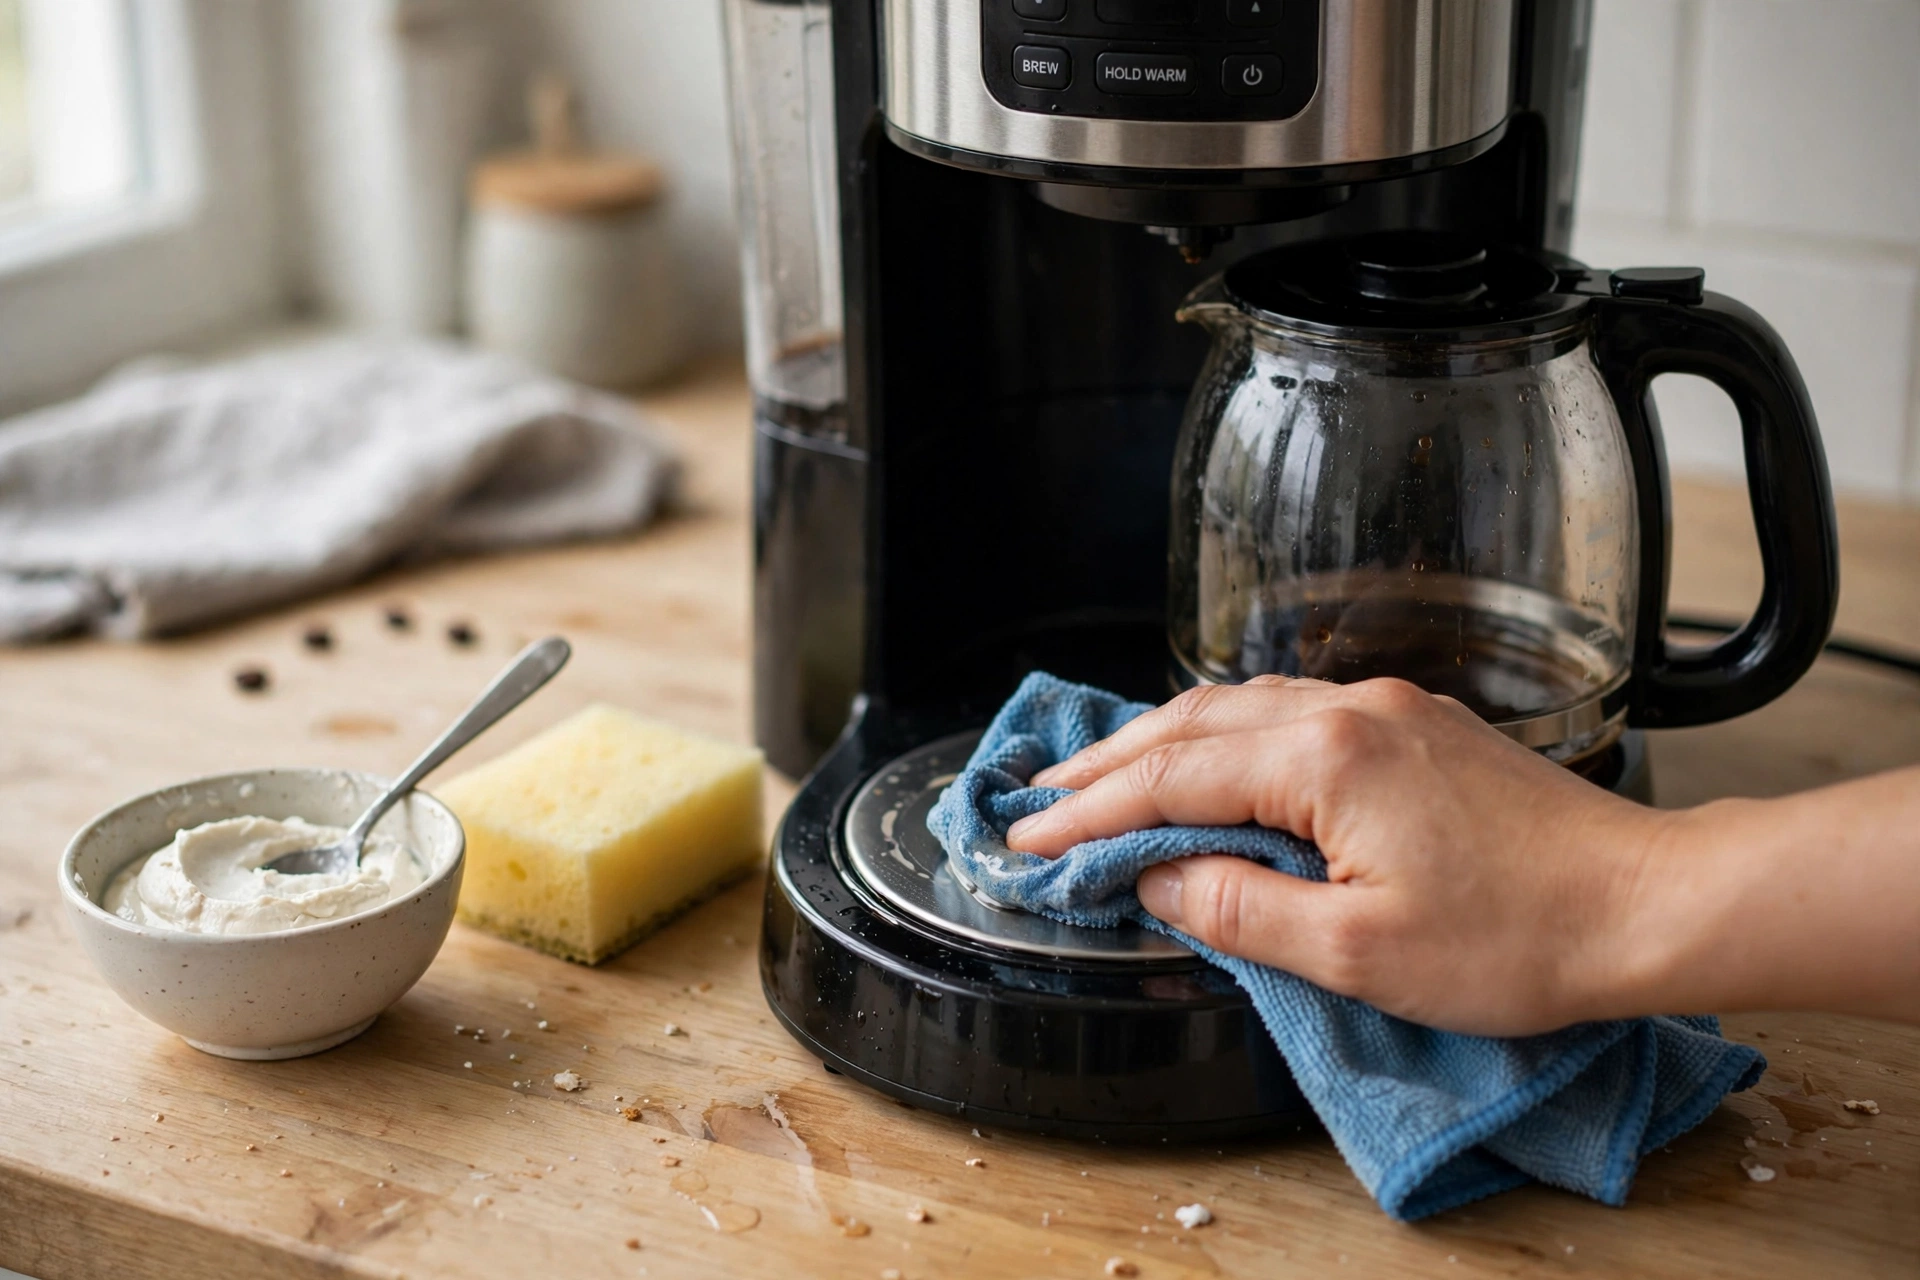
The warming plate collects burnt coffee drips, and once they bake on, they smell every time the machine heats up. Wipe the plate while it is still slightly warm — not hot — with a damp cloth and a little dish soap. For baked-on stains, make a paste of baking soda and water, spread it on the plate, wait ten minutes, and wipe it off.
Never use a metal scraper or an abrasive pad on the plate; the coating scratches, and a scratched plate stains faster. If your machine has a thermal carafe and no warming plate, you have already solved this problem — one more reason thermal carafes keep coffee tasting better for longer.
8. Clean the Water Reservoir
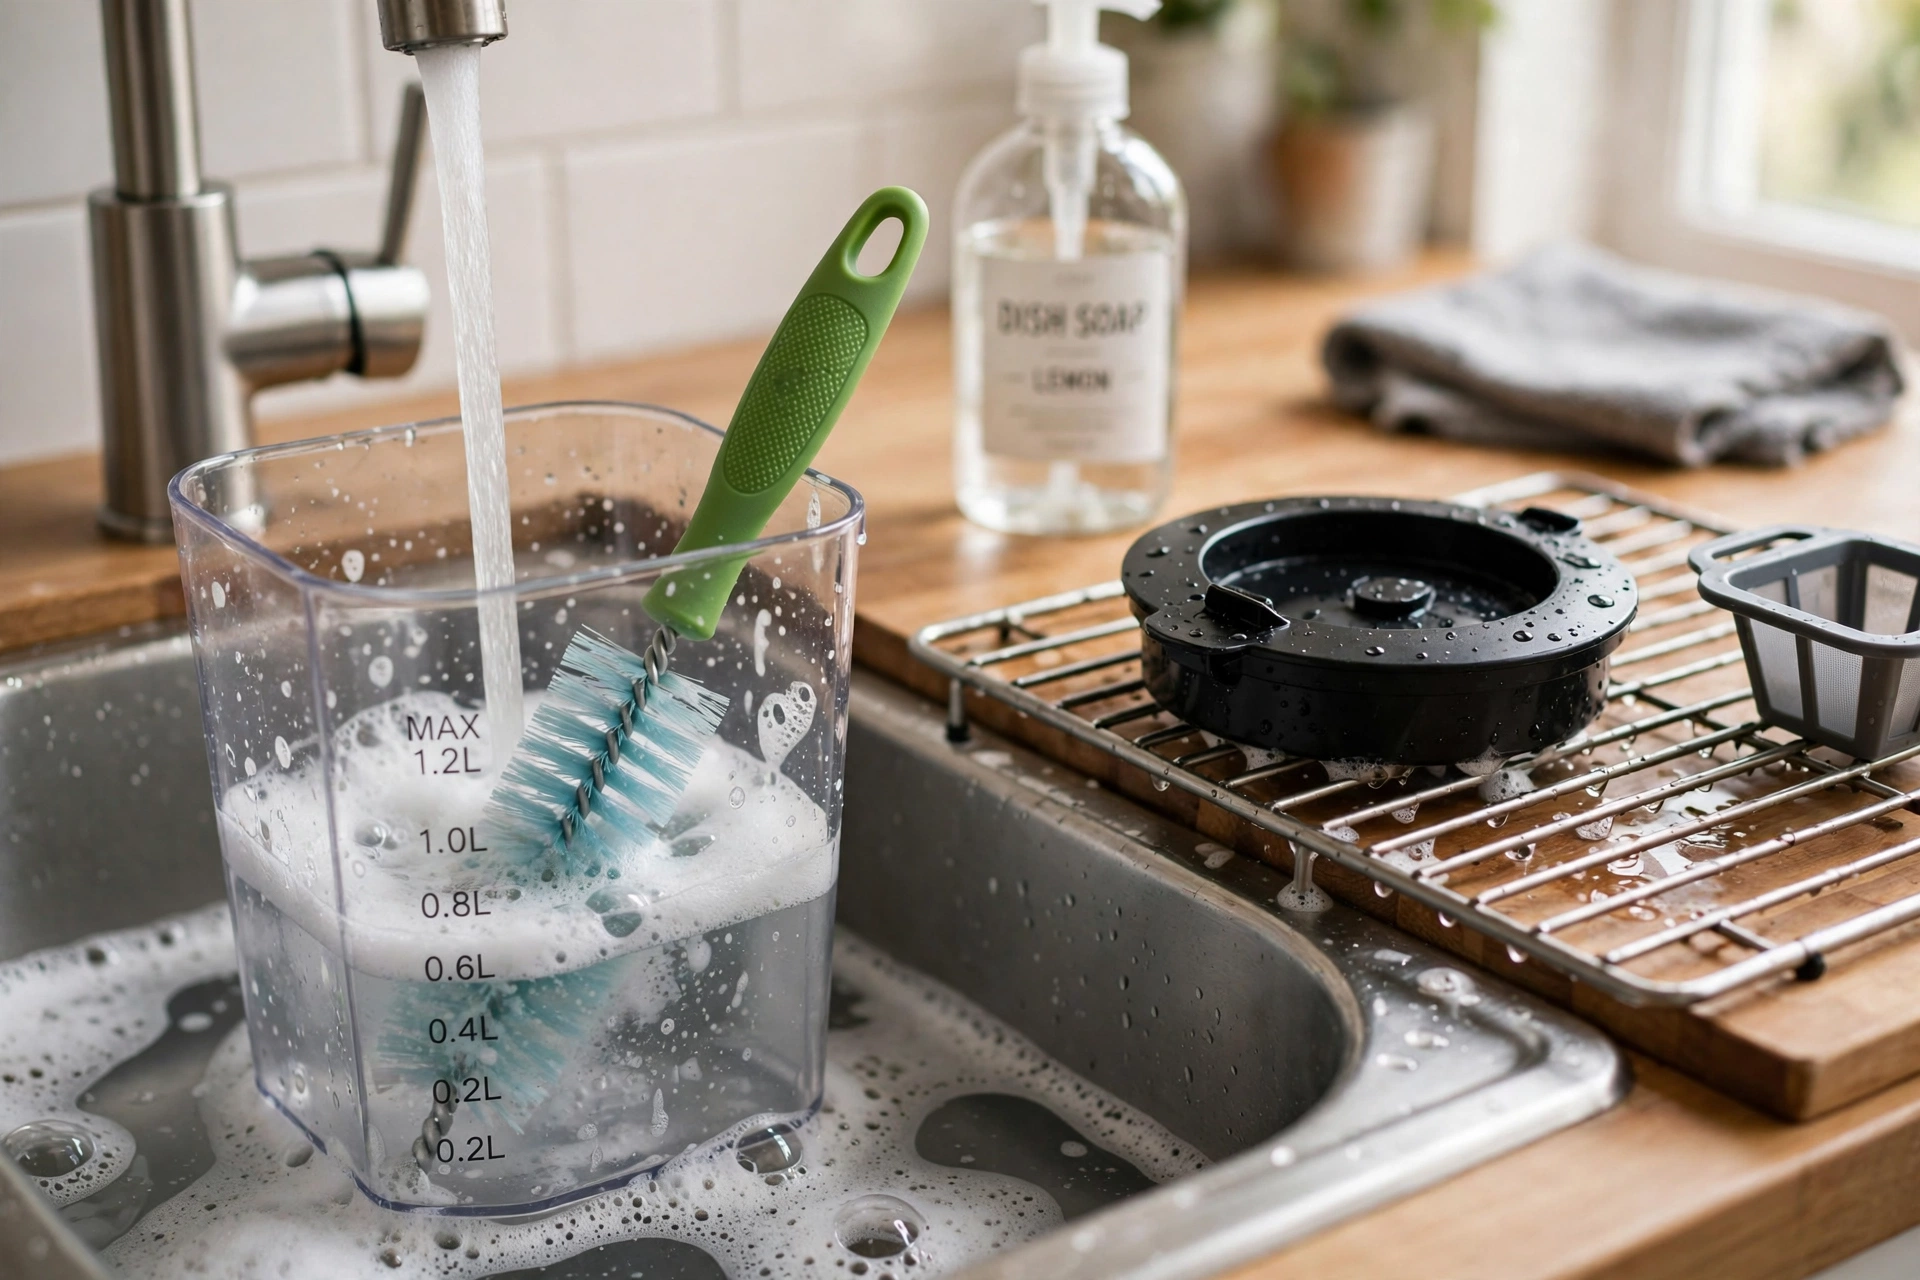
The water reservoir is a damp, dark place — exactly where mold and mineral scale grow. Once a month, empty it completely and wash it with hot soapy water, reaching into the corners with a bottle brush. Rinse it well and let it air-dry with the lid open before refilling.
If your reservoir is removable, wash it in the sink; if it is built in, wipe it out with a damp cloth and run a plain-water brew cycle after. Never leave water sitting in the reservoir for days when you are away — empty it before a trip, and fill it fresh when you get back. Stale water is the quietest cause of bad coffee.
9. Remove the Water Filter Before Descaling
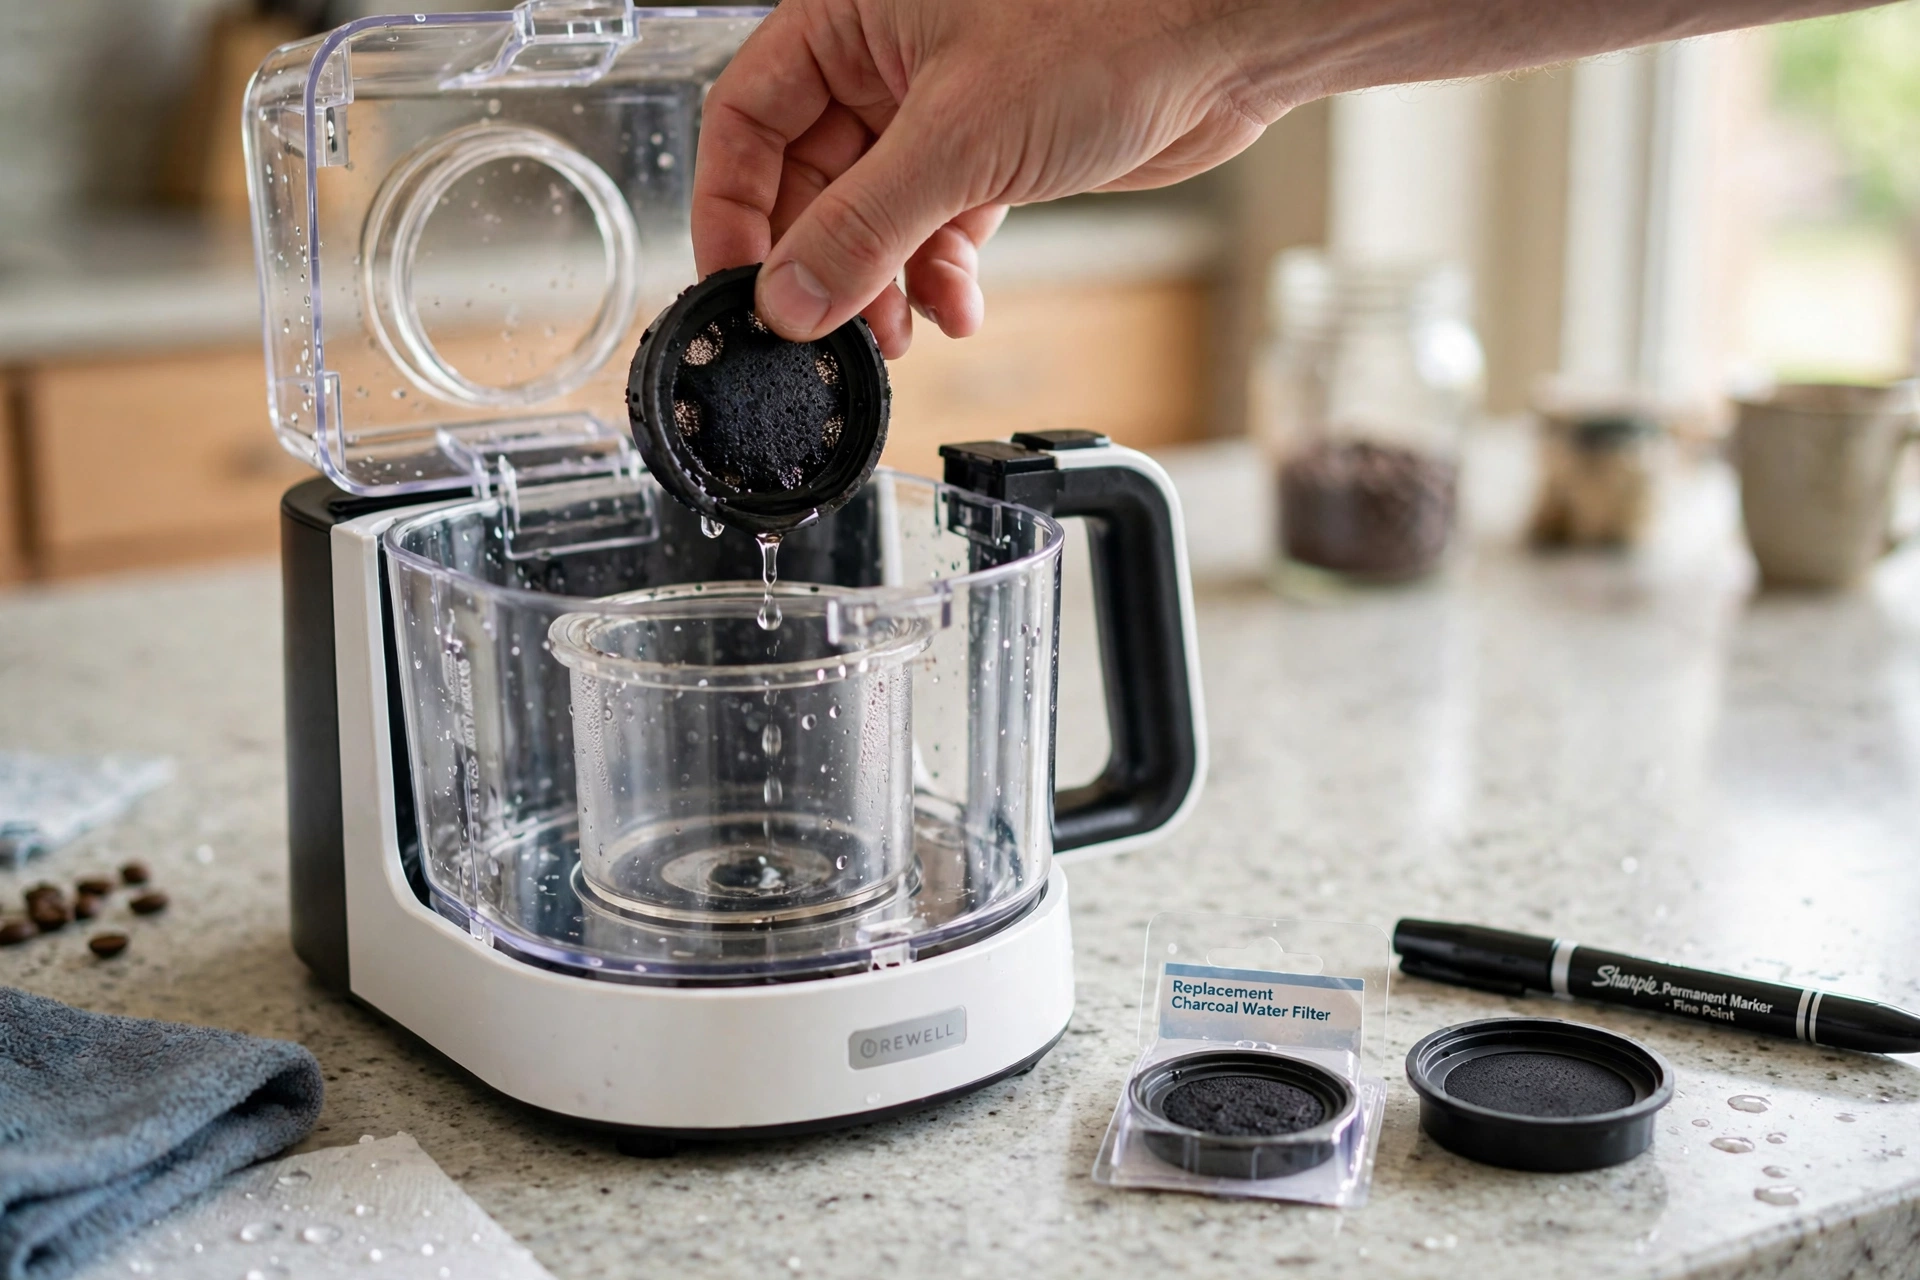
Many coffee makers have a small charcoal water filter in the reservoir, and it must come out before you descale. The descaling solution — vinegar or citric acid — will ruin the filter, and a ruined filter will flavor every cup after. Pull the filter out, set it aside, and put it back only after the final rinse cycle is done.
While the filter is out, check its age: most charcoal filters last about two months or sixty brews, and an old one stops removing chlorine and off-flavors. If you cannot remember when you changed it, change it. Write the date on the filter housing with a marker so the next change is not a guess.
10. Clean the Spray Head and the Keurig Needle
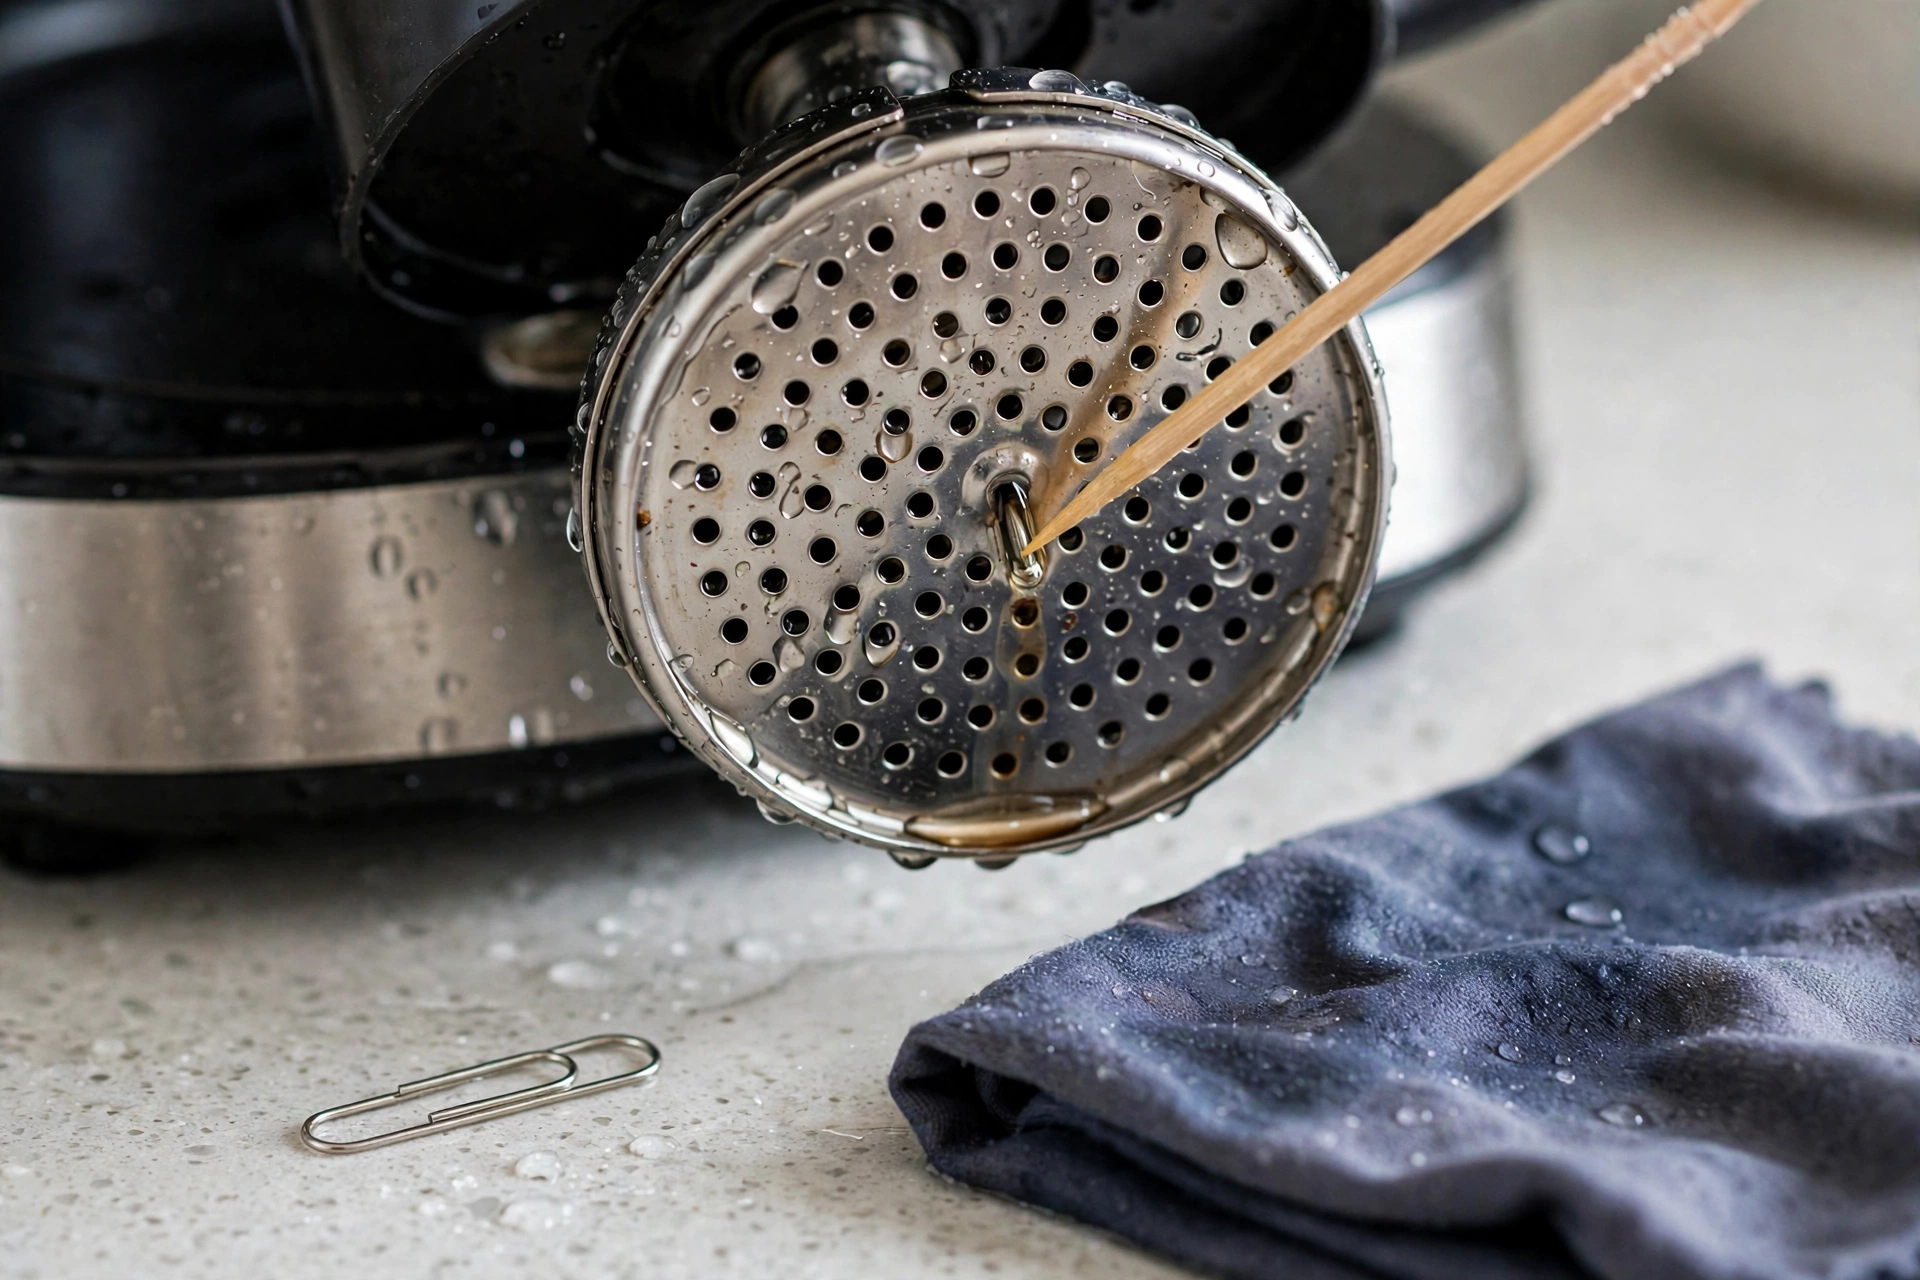
In a drip machine, the spray head above the grounds spreads hot water over the coffee — and when its holes clog with scale, the water pours in one spot and the coffee brews unevenly. Once a month, wipe the spray head with a damp cloth and poke any clogged holes gently with a toothpick. In a pod machine, the needle that punctures the pod clogs the same way; most brands include a small cleaning tool, or a straightened paper clip works.
Do this with the machine unplugged and cool, and never force the tool — a bent needle leaks. After cleaning, run a plain-water brew to flush out anything you loosened. If your coffee suddenly tastes weak or the grounds are dry in the middle, a clogged spray head is the first thing to check.
11. Wipe the Exterior
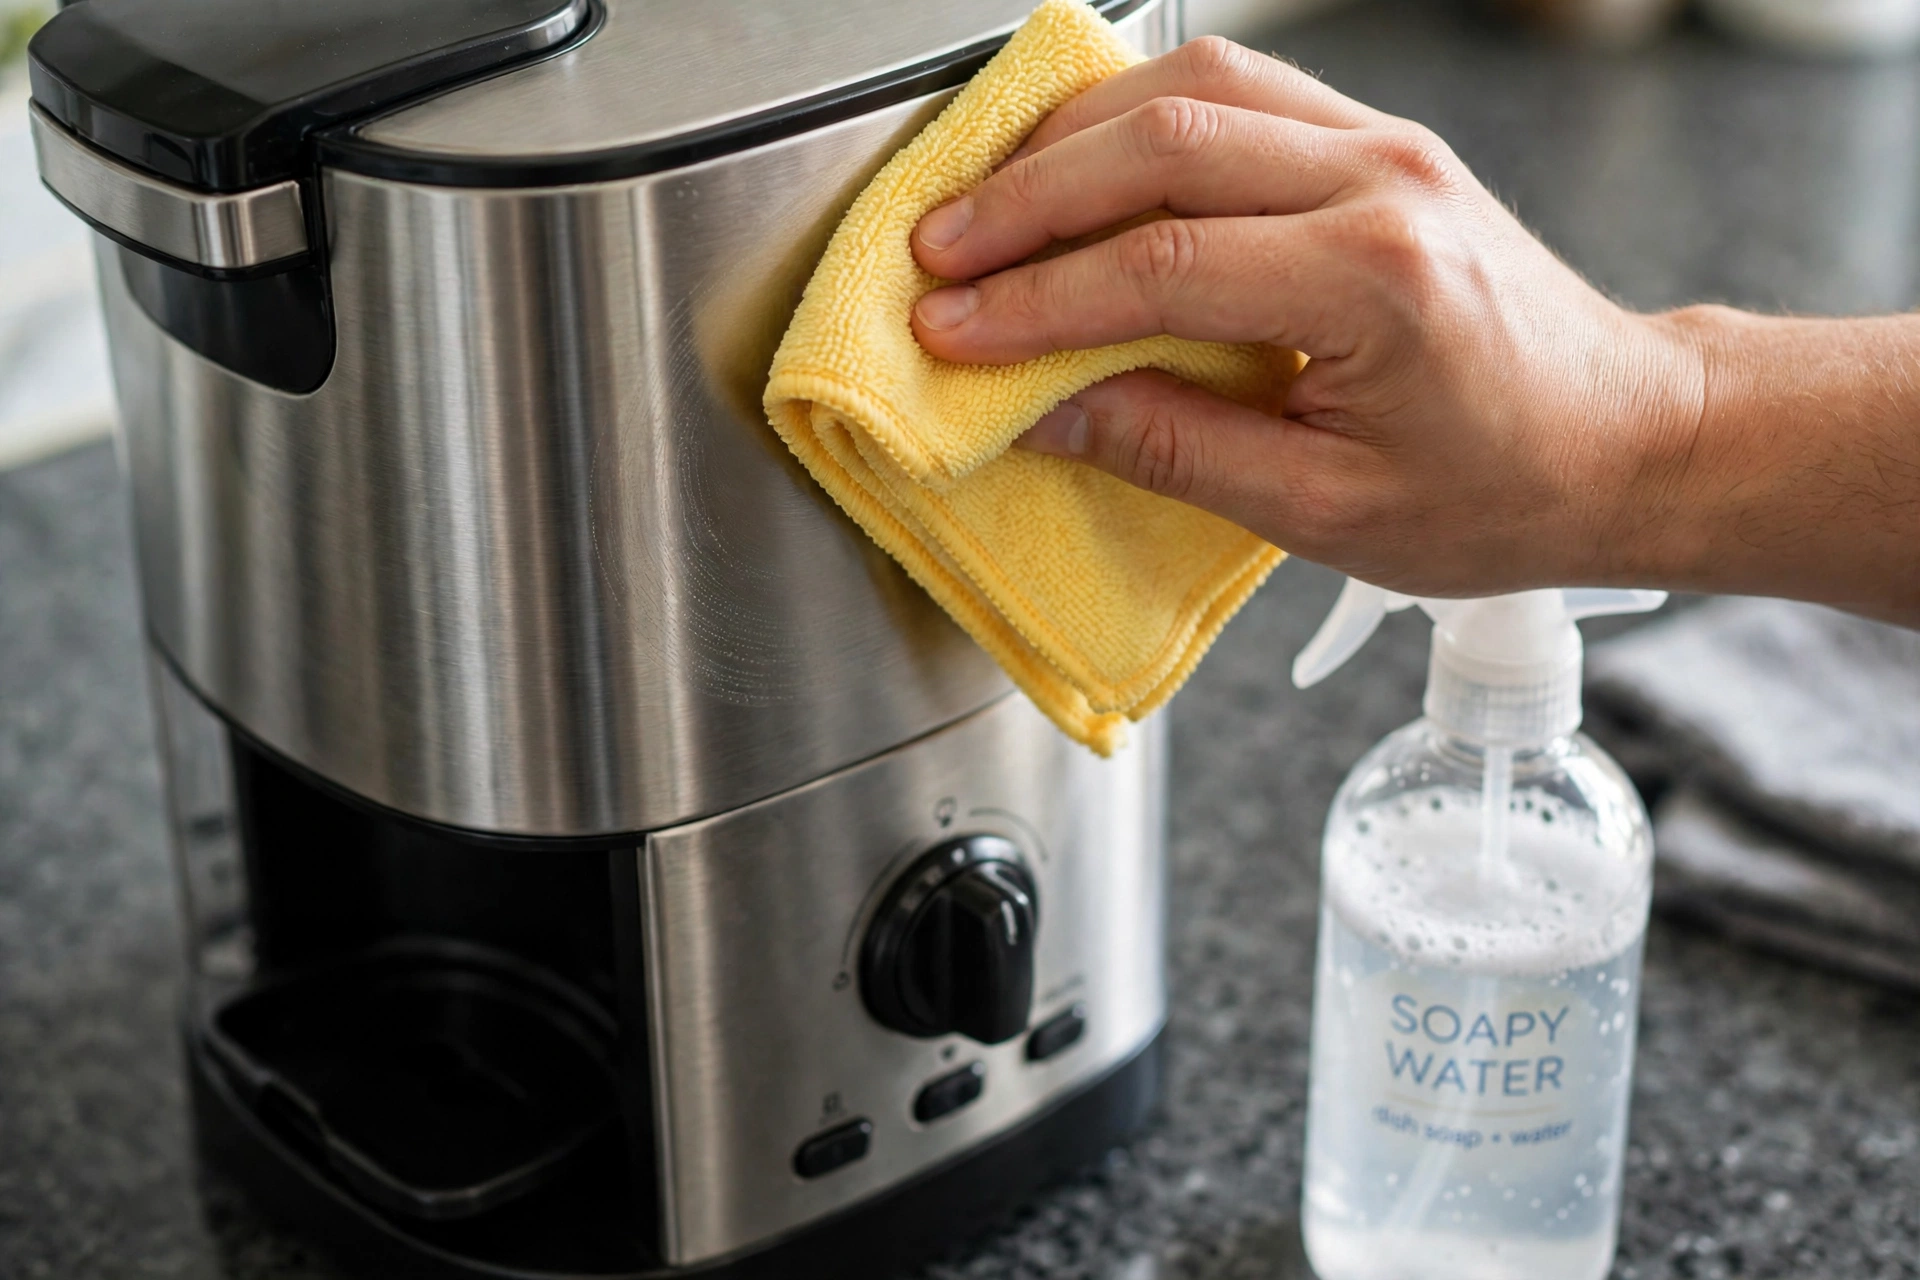
The outside of the machine collects coffee splashes, fingerprints, and dust — and in a kitchen, grease. Once a week, wipe the whole exterior with a damp microfiber cloth and a drop of dish soap, then dry it. Stainless steel exteriors need a wipe along the grain, not in circles, or the finish shows streaks.
Do not spray cleaner directly onto the machine; spray the cloth instead, so liquid never gets into the buttons or the vents. Keep the machine unplugged while you wipe around the controls. A clean exterior is not just cosmetic — it keeps sticky residue from working its way into seams and buttons.
12. Clean the Drip Tray
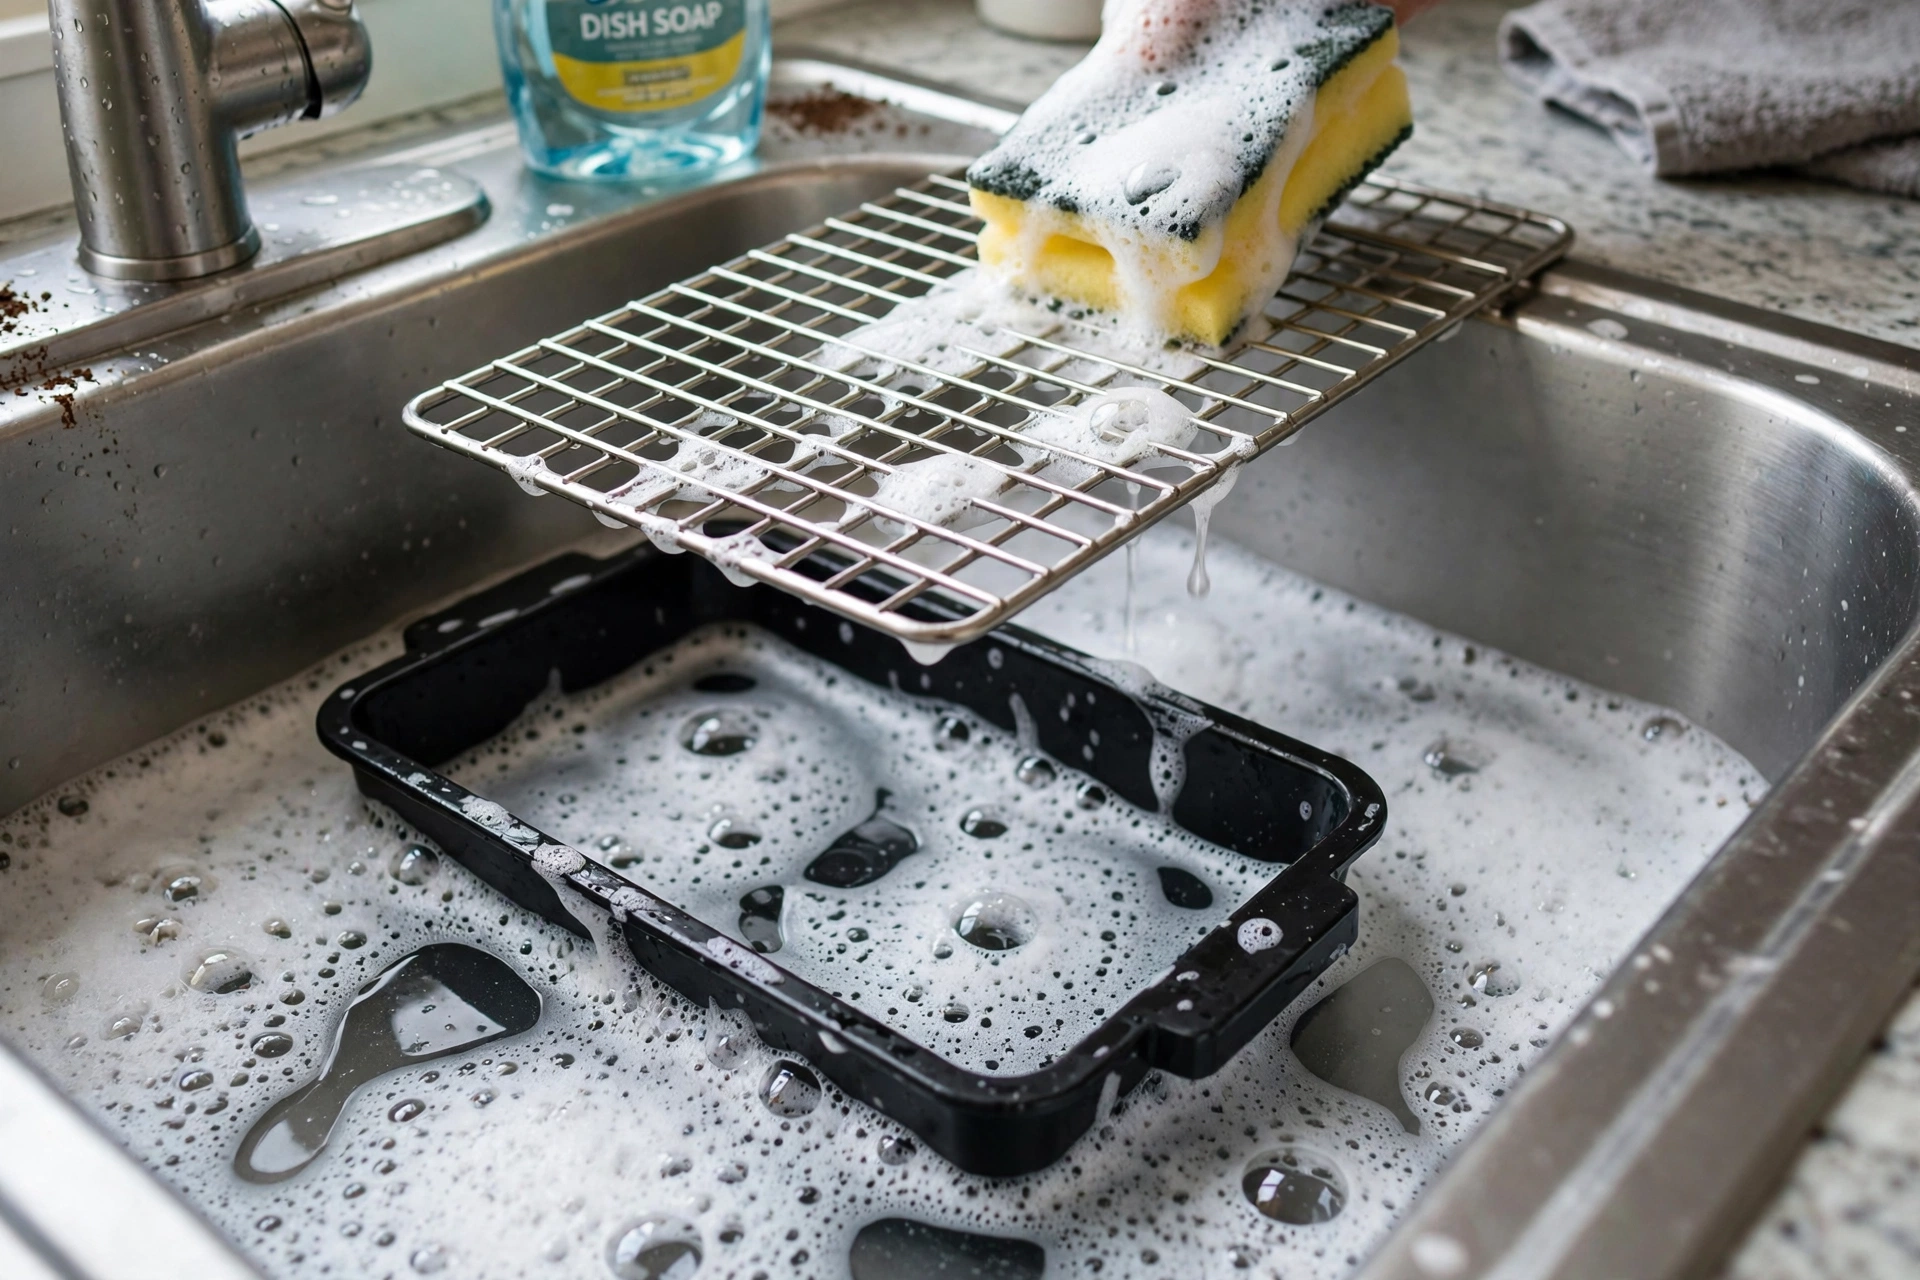
The drip tray catches spills, overflow, and the occasional missed cup — and then it sits there, damp, growing mold. Empty and wash it every week with hot soapy water, and dry it before sliding it back in. If your machine has a removable drip tray with a grate, wash both parts.
Some trays have a red float that pops up when the tray is full: if yours does, clean around it, because it sticks when it is dirty. A tray that overflows will leak under the machine, where the moisture warps the counter or feeds mold you cannot see. A weekly wash takes thirty seconds and prevents all of it.
13. How to Clean a French Press
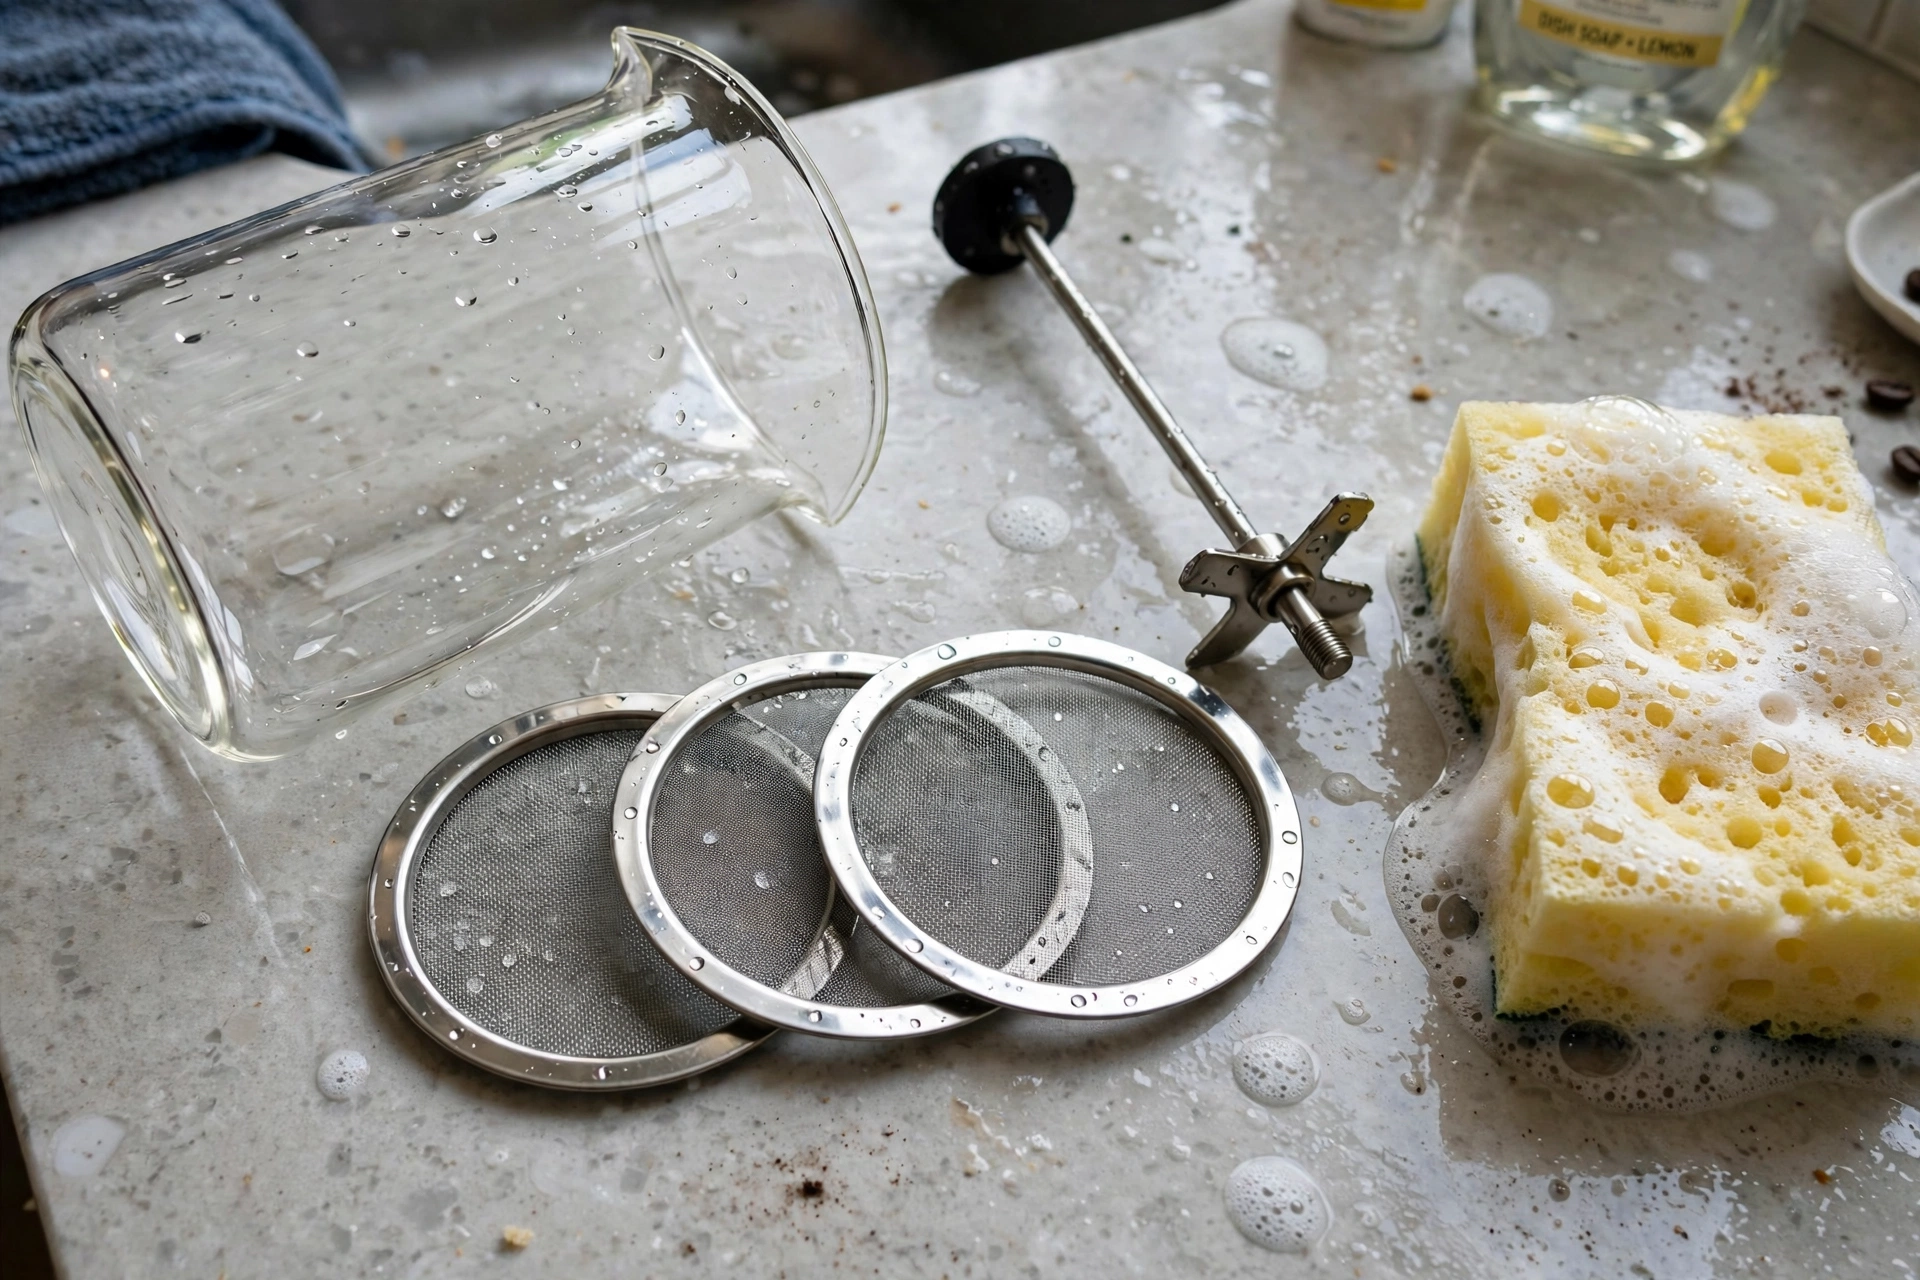
A French press is simple to clean, which is why people neglect it — and neglected French presses make the worst coffee of all. After each use, dump the grounds into the trash or compost (never down the drain, where they clog pipes), rinse the beaker and plunger with hot water, and wash both with dish soap.
Once a week, take the plunger apart: unscrew the mesh filter from the rod and wash each layer separately, because oils and fine grounds hide between the screens. Check the mesh for tears — a torn screen lets grounds into the cup and means it is time for a replacement filter. Dry the parts fully before reassembling, or the metal rod can rust.
14. Espresso Machines: Backflush and the Group Head
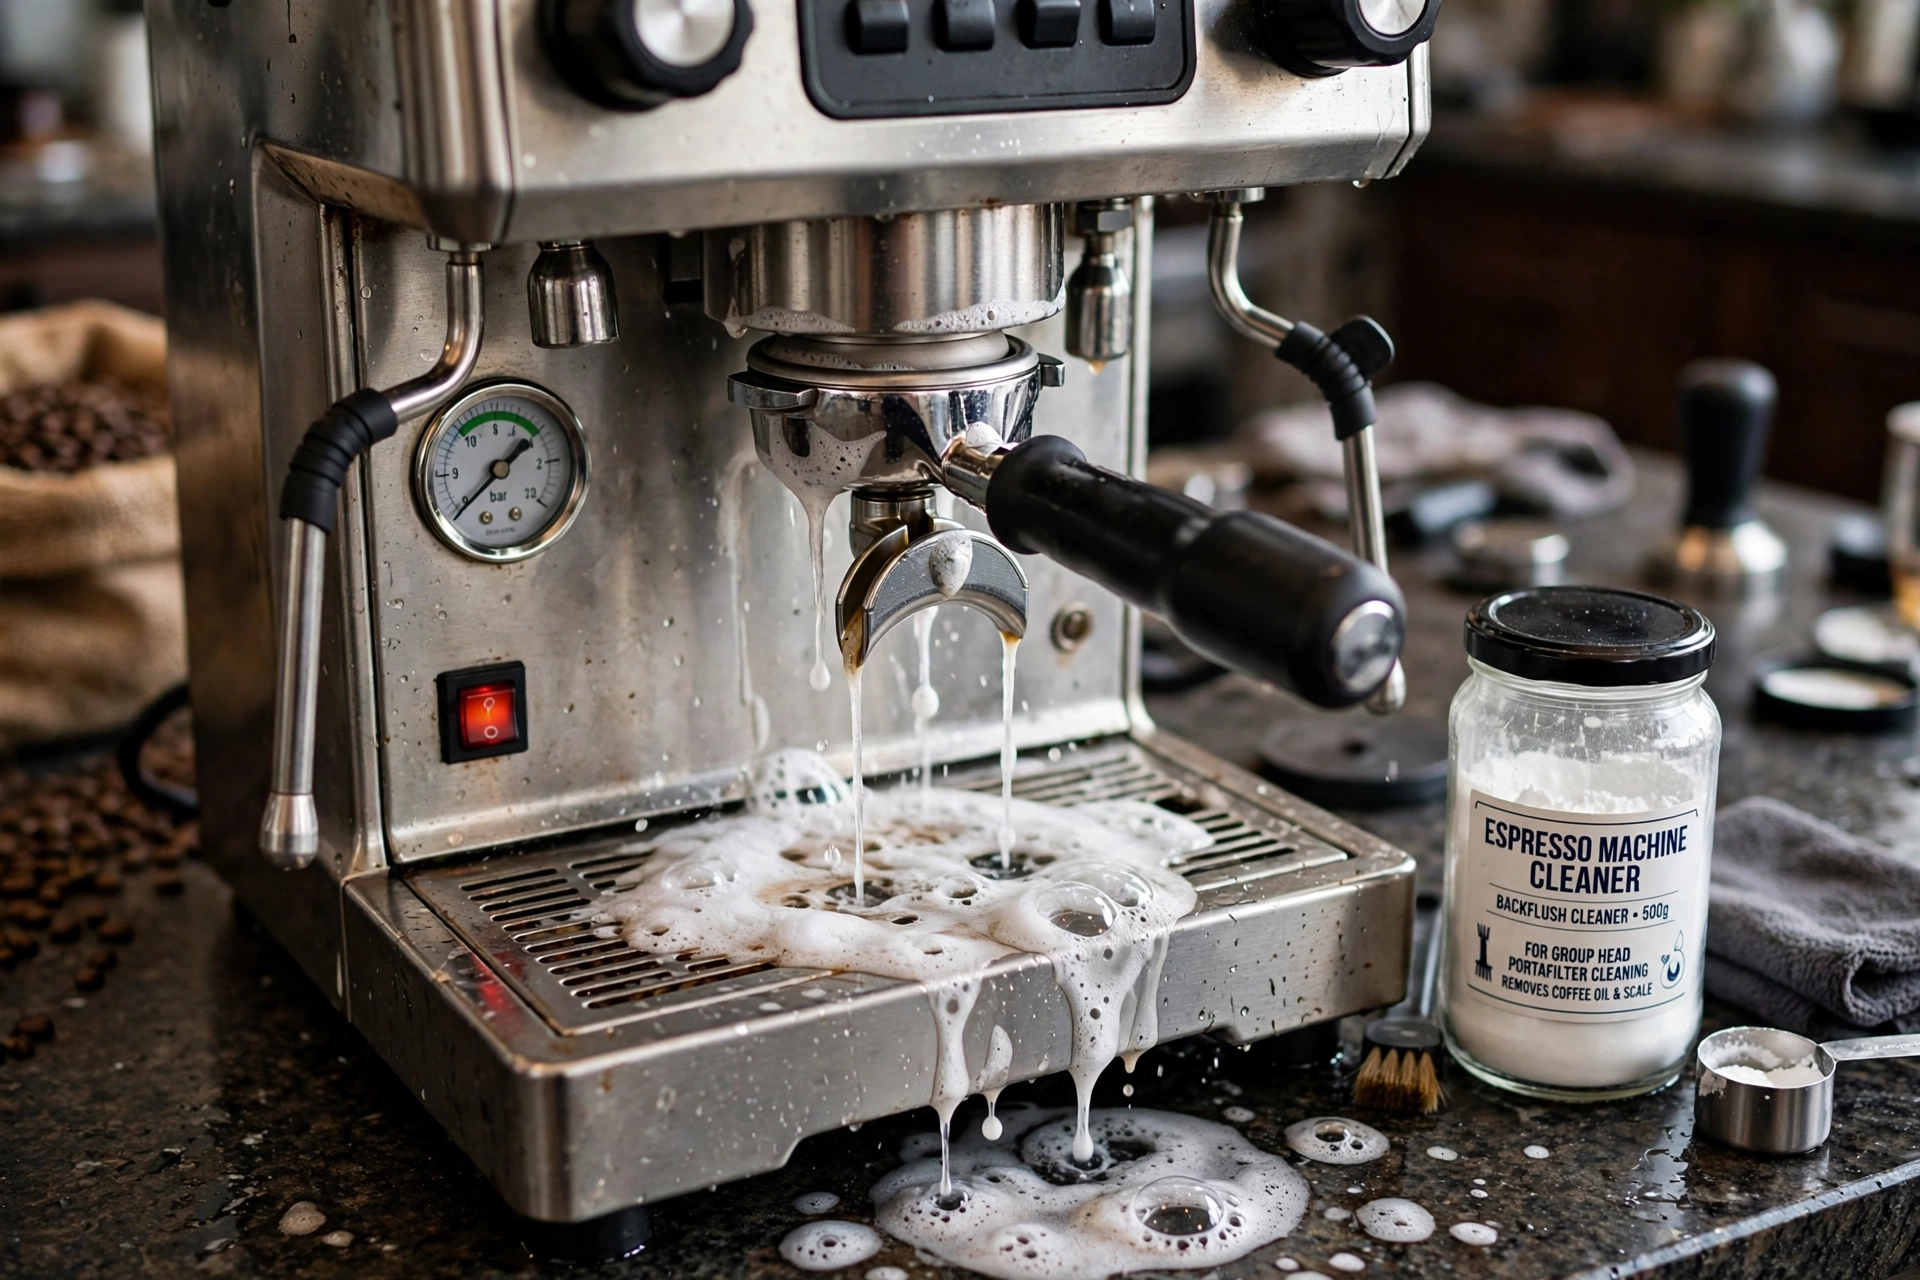
Espresso machines need a step the others do not: backflushing. Once a week, put a blind filter basket (a basket with no holes) in the portafilter, add a small amount of espresso machine cleaner, lock it in, and run the pump for ten seconds, then stop — repeat five times. The pressure forces the cleaner back through the group head and out the valve, flushing out rancid oils. Then run the same cycle with plain water to rinse.
Wipe the group head and the gasket after every shot with a damp cloth, and soak the portafilter and basket in hot water with espresso cleaner once a week. Never use vinegar to descale an espresso machine unless the manual says so — most manufacturers warn against it, and the wrong acid can damage the boiler.
15. Keep It Smelling Fresh — and What Never to Use
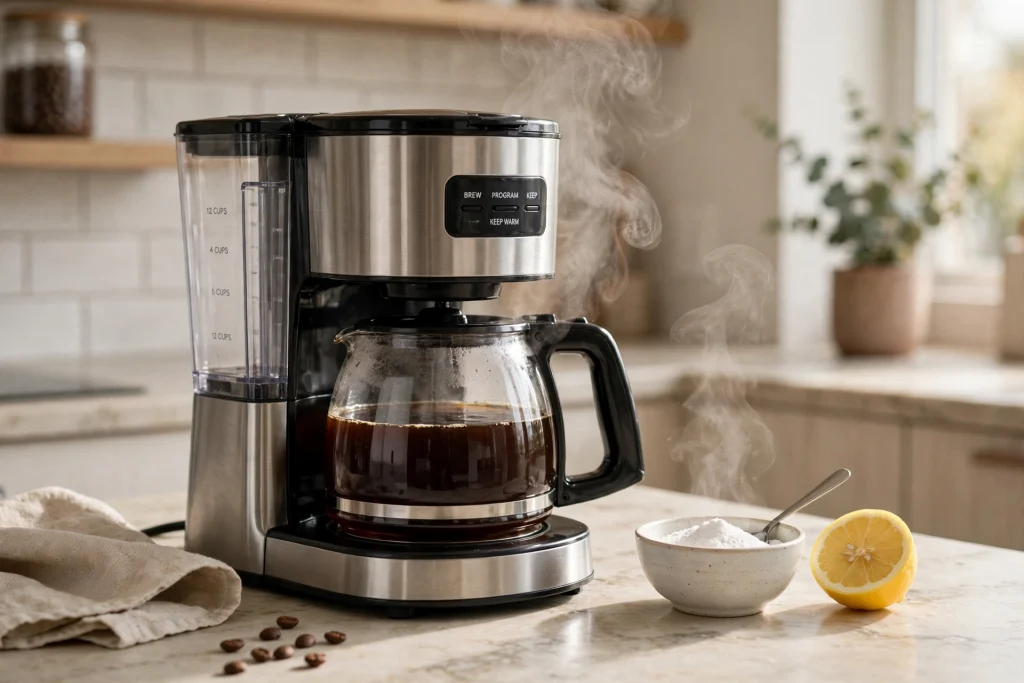
A clean machine should smell like nothing at all. If yours still smells stale after a full clean, run one more plain-water cycle with a spoonful of baking soda dissolved in the reservoir, then rinse again — baking soda absorbs the odor without leaving a flavor. A lemon slice in the carafe overnight does the same for the glass.
And the never list: never use bleach in a coffee maker — it is nearly impossible to rinse out fully and it corrodes metal parts. Never use abrasive pads on any surface. Never use oven cleaner or harsh chemicals anywhere near a machine that makes something you drink. And never descale a Breville espresso machine with vinegar — the manufacturer says to use its own descaling solution, and vinegar can damage the boiler.
Frequently Asked Questions
How often should I clean my coffee maker?
Rinse the carafe and basket daily, wipe the exterior and empty the drip tray weekly, and descale once a month if you brew every day — every two months for lighter use. Single-serve machines need descaling every three months. If the coffee starts tasting bitter or the machine brews slowly, descale right away instead of waiting for the schedule.
Can I use vinegar to descale a Keurig?
Yes, if your model’s manual allows it — most Keurig machines accept a vinegar-and-water mix or the brand’s own descaling solution. Run the descale mode or brew cycles until the reservoir is empty, then run at least three full rinse brews with fresh water. Never use vinegar to descale a Breville espresso machine; the manufacturer warns it can damage the boiler, so use its descaling solution instead.
Why does my coffee taste bitter even with fresh beans?
Bitterness usually comes from the machine, not the beans: rancid oils in the carafe and filter basket, scale slowing the brew, or a clogged spray head soaking the grounds unevenly. Clean the carafe and basket, descale the machine, and check the spray head. If the coffee still tastes bitter, the water temperature may be too high — or the beans may simply be over-roasted for your taste.
Is it safe to put coffee maker parts in the dishwasher?
Only the parts the manual says are dishwasher-safe — usually the carafe and the drip tray, sometimes the filter basket. The water reservoir, the permanent filter, and any part with electronics should never go in. When in doubt, hand-wash: hot soapy water and a brush clean every part of a coffee maker, and hand-washing never warps plastic or cracks glass.
What should I never use to clean a coffee maker?
Never use bleach, oven cleaner, or abrasive pads — bleach corrodes metal and is hard to rinse out of the lines, and abrasives scratch every surface they touch. Never use apple cider vinegar for descaling; it leaves a flavor behind. And never run a descale cycle with the charcoal water filter still in the reservoir, or the filter will be ruined.
Related Reading
- How to Clean a Washing Machine
- How to Clean Stainless Steel
- How to Clean Hardwood Floors
- Easy Home Cleaning Hacks
- How to Get Rid of Dust in Your House
- 10-Minute Daily Cleaning Habits for a Tidy Home
- How to Declutter Your Home Room by Room
Conclusion
Bad coffee is usually a dirty machine, not bad beans. Rinse it daily, descale it monthly, clean the parts you never think about — the spray head, the drip tray, the reservoir — and the coffee will taste like the bag promised. Five minutes a week is all it takes to keep a coffee maker brewing clean. The same habit pays off in the laundry room too: our how to clean a washing machine guide covers the hardest-working appliance in the house.